Create custom document views with Structure Builder
In this article, we'll look at adding a custom document view to view the JSON data for our posts.

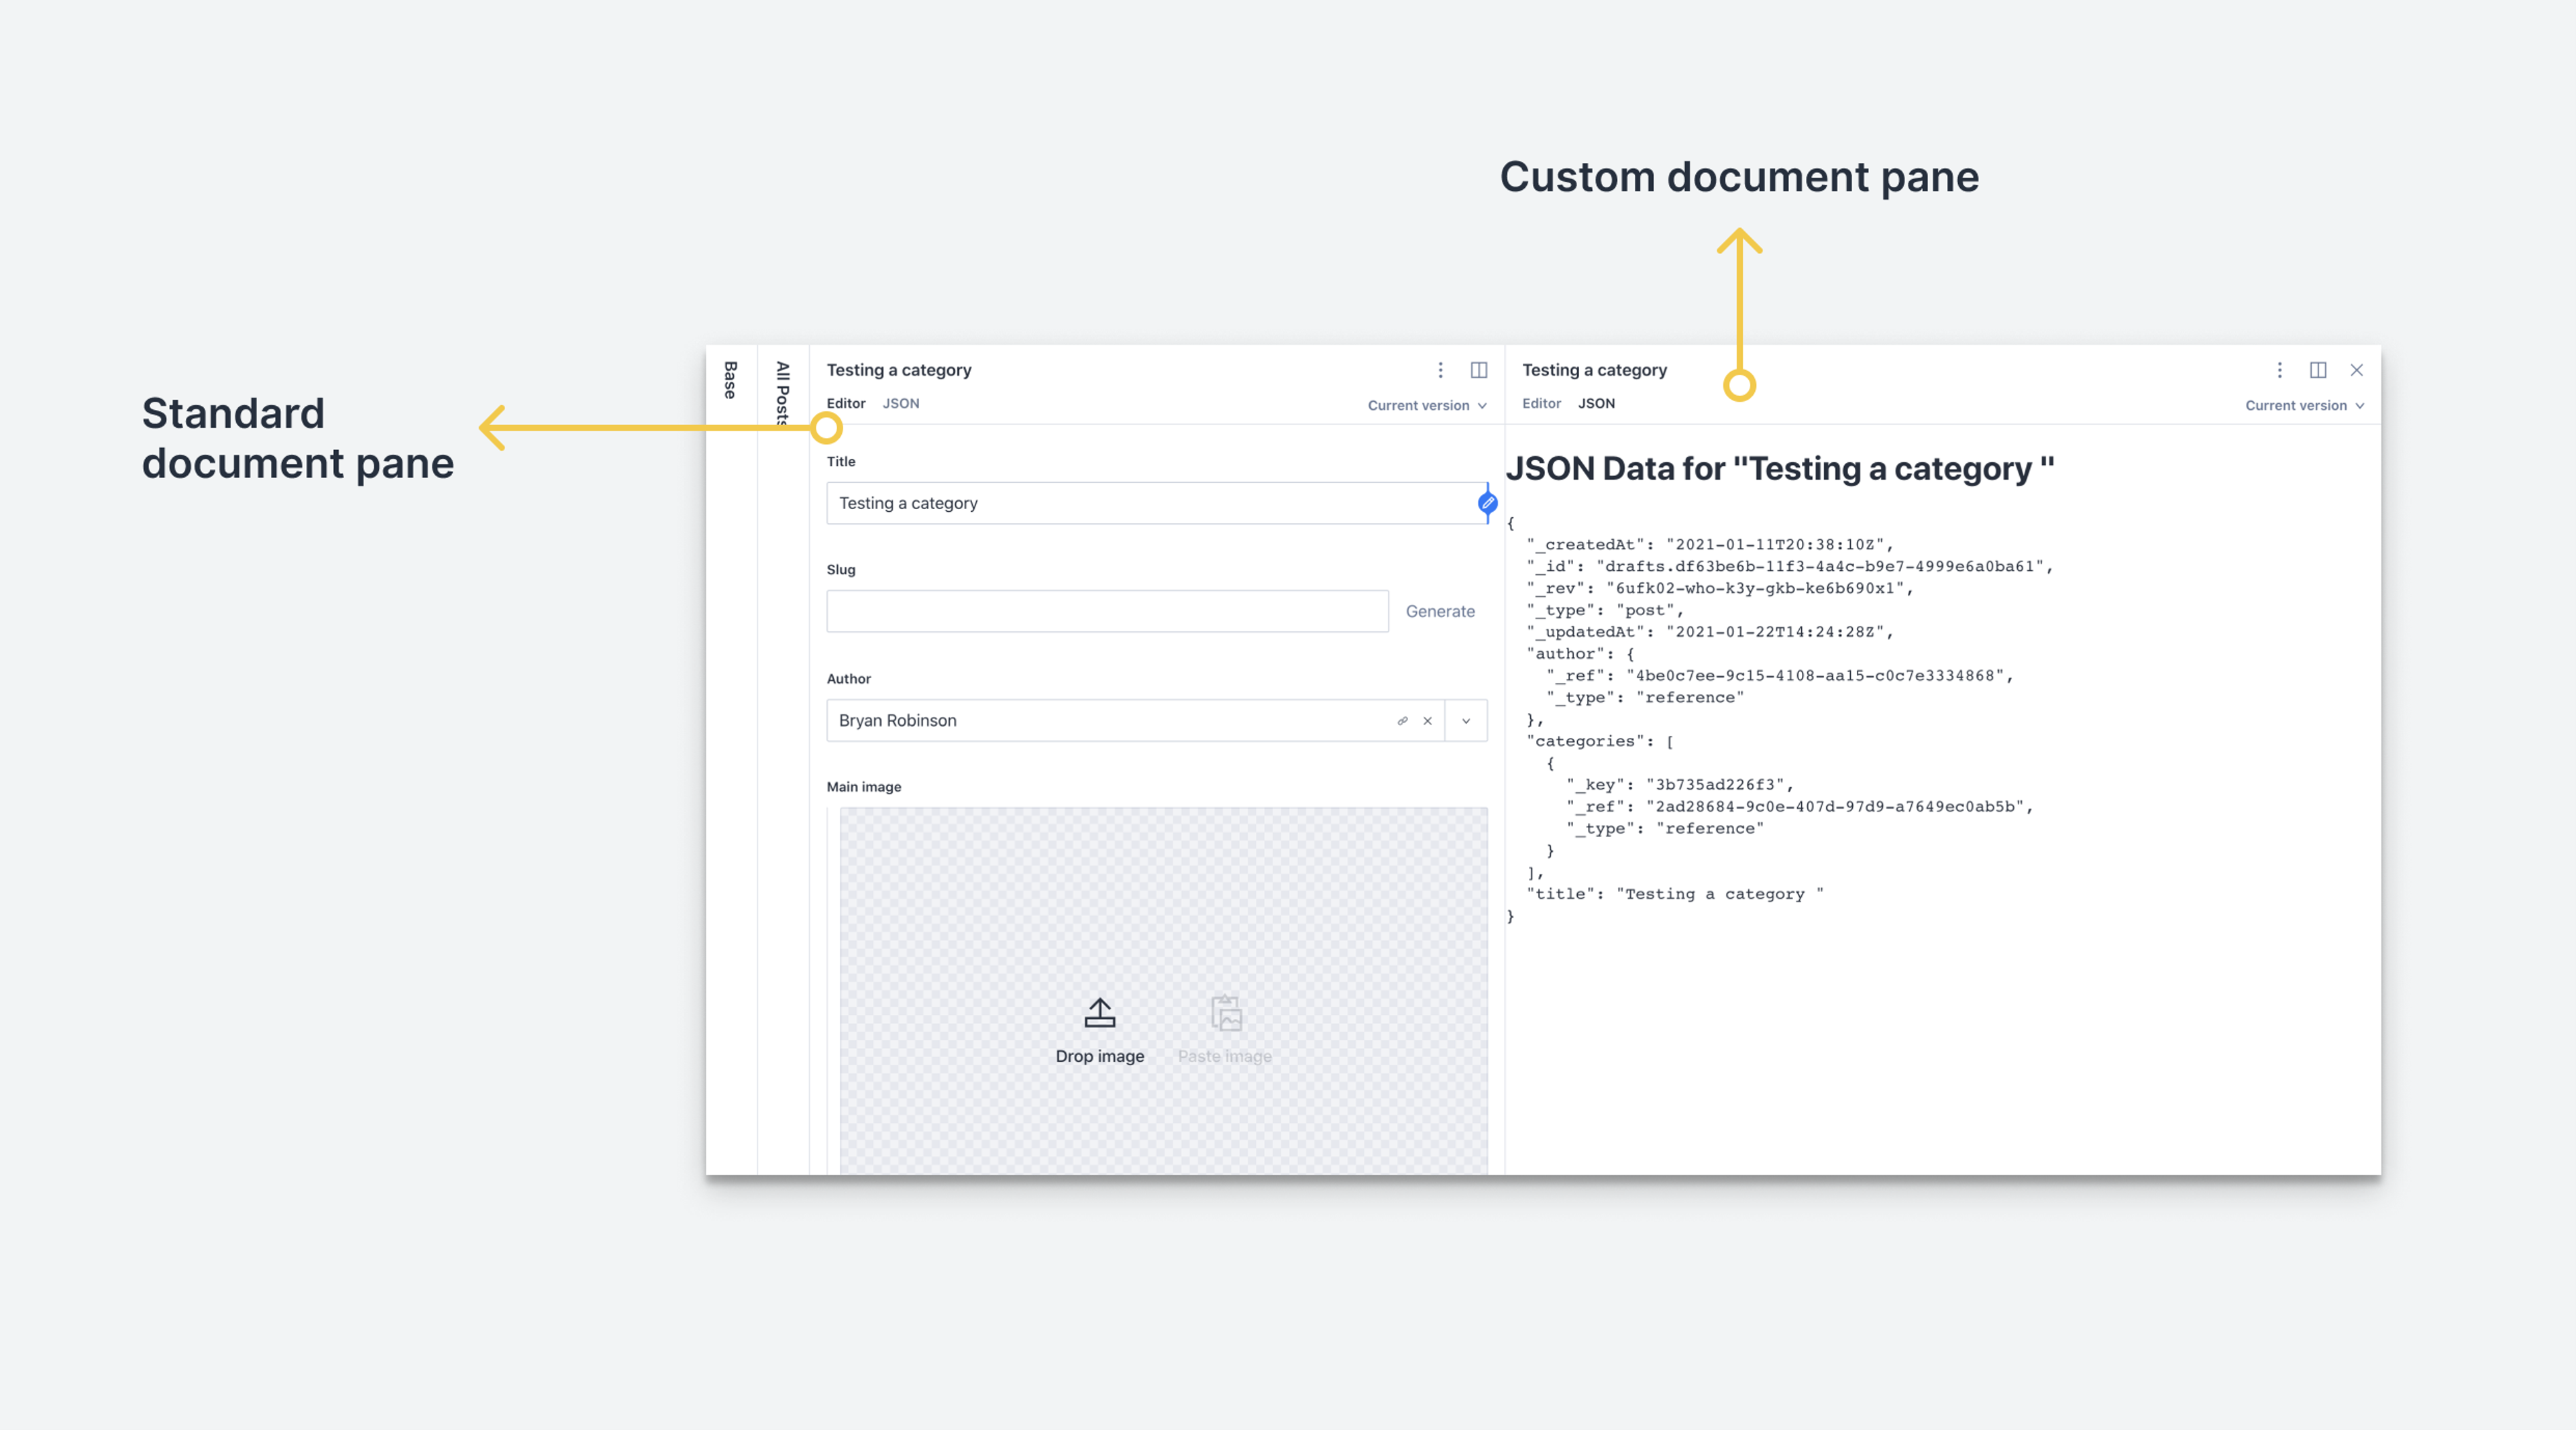
The Structure Builder API gives you control over how a document node is presented within a collapsable pane. Specifically, it allows you to set up one or more views that either return the default form or a custom React component. Each view receives a collection of props that include the document's values in different states: draft, published, historical, and the currently displayed version (for when you have selected a previous revision to a document).
This article will use the Structure Builder API to display the JSON data for a specific document. If you're unfamiliar with setting up a custom structure, read this article on setting up the basics.
Learning the Structure Builder API
This collection of articles will walk you through all the basics of using Structure Builder to create custom editing experiences.
Set up structure.ts to create a new default document node structure
If you've been following the earlier articles in this series, we've set our structure.ts file to export a named function that contains our new structure. Alongside this, we'll now export another named function.
Update structure.ts with the following code:
import type {DefaultDocumentNodeResolver, StructureBuilder, DefaultDocumentNodeContext, StructureResolver} from 'sanity/structure'

export const getDefaultDocumentNode: DefaultDocumentNodeResolver = (S: StructureBuilder, options: DefaultDocumentNodeContext) => {
  return S.document().views([
    S.view.form()
  ])
}
// ...rest of structure from previous steps
Then, in sanity.config.ts, import this function and add it to the structureTool configuration object under the key defaultDocumentNode.
import {defineConfig} from 'sanity'
import {structureTool} from 'sanity/structure'
import {structure, getDefaultDocumentNode} from './structure'
import {schemaTypes} from './schemas'

export default defineConfig({
  name: 'default',
  projectId: '<projectId>',
  dataset: 'production',
  plugins: [
    structureTool({
      structure: deskStructure,
      defaultDocumentNode: getDefaultDocumentNode,
    }),
  ],
  schema: {
    types: schemaTypes,
  },
})
In our getDefaultDocumentNode function, we return an array of views for all the documents. To start us off, we're only returning the default form view. Let's look at the structure builder methods in more detail.
S.document()
The .document() method creates the way the Structure tool displays documents. In this example, it changes how all documents are rendered.
.views()
The .views() method accepts an array of view elements which can be created using either S.view.form() or S.view.component(). The view elements define the items that show up in the document’s tab list.
Adding a second view to all documents
To add a second view, we'll add a second item to the array inside the .views() method. For this, we'll use the .view.component() method to use a custom component.
import type {DefaultDocumentNodeResolver, StructureBuilder, DefaultDocumentNodeContext, StructureResolver} from 'sanity/structure'
import {JsonPreview} from './components'

export const getDefaultDocumentNode: DefaultDocumentNodeResolver = (S: StructureBuilder, options: DefaultDocumentNodeContext) => {
  return S.document().views([
    S.view.form()
    S.view.component(JsonPreview).title('JSON')
  ])
}
// ...rest of structure from previous steps
import {type UserViewComponent} from 'sanity/structure'
export const JsonPreview: UserViewComponent = (props) => (
<>
<h1>JSON Preview</h1>
</>
).view.component()
The .view.component method takes a custom React component as an argument. The component can be chained with other methods such as .title() to provide a title for the new view.
Custom component: JsonPreview()
Our custom React component is called JsonPreview. Custom components have the following props:
document– an object containing the various document states and their datadocumentId– the ID of the current documentschemaType– the schema type of the current document
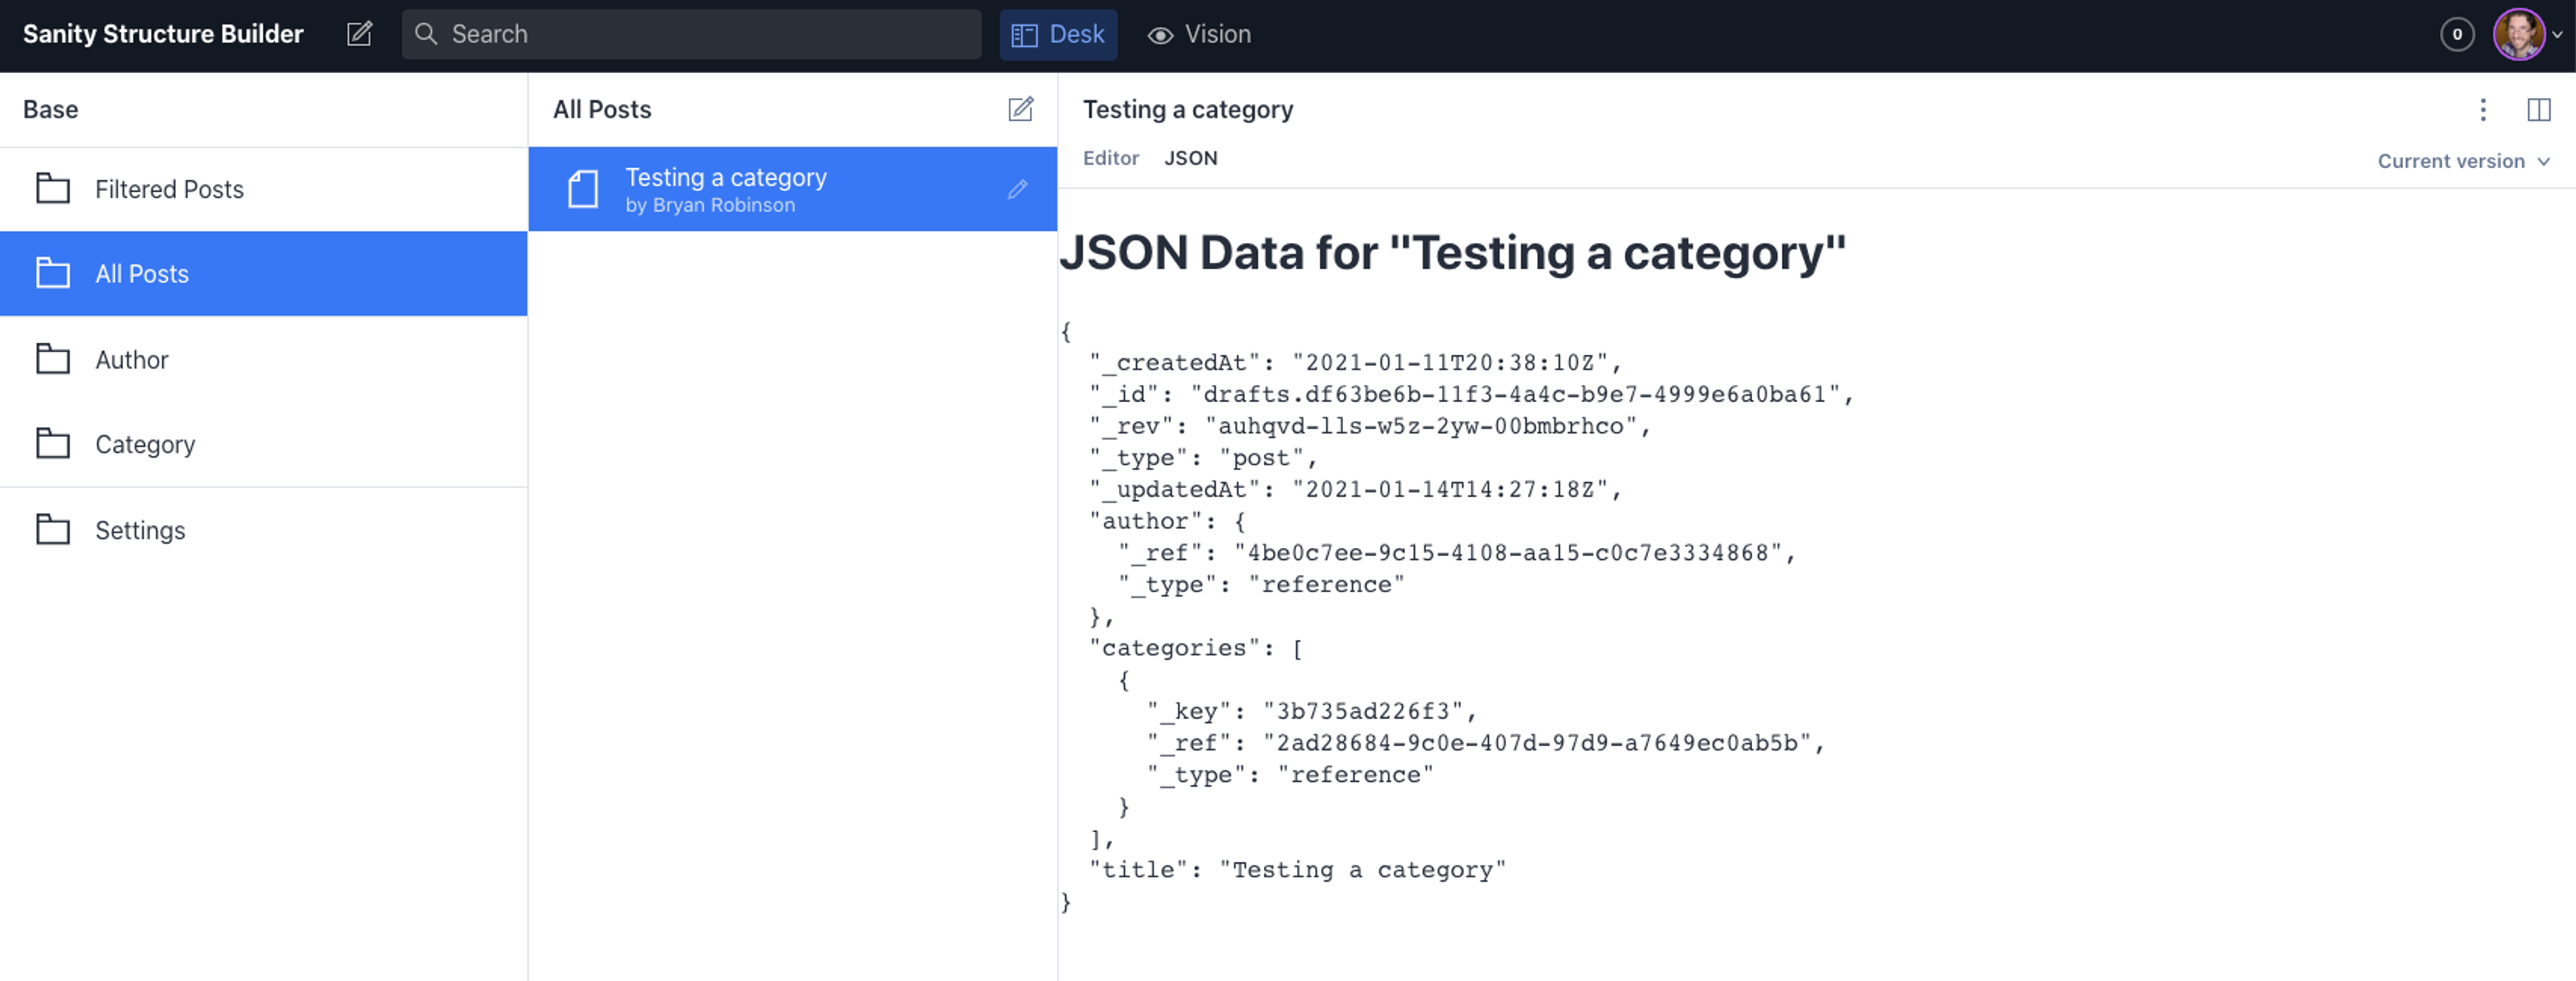
In this example, we'll only need the document object, but to start, let's render an h1 with the string JSON Data. We now have two tabs across the top of our documents.

Displaying dynamic data from the document

To pull data into our component, we'll need to select which version of the document we want to use. Luckily, the document prop contains the various states of the current document. For our uses, we want to show the JSON data for the currently selected version of the document, so we'll choose the displayed data.
import {type UserViewComponent} from 'sanity/structure'

export const JsonPreview: UserViewComponent = (props) => (
  <>
    <h1>JSON Preview</h1>
    <pre>{JSON.stringify(props.document.displayed, null, 2)}</pre>
  </>
)
Define views for specific schemas or documents
Sometimes you only want certain tabs to display for certain document types – or even individual documents. For this, the getDefaultDocumentNode() method comes with two options passed in: schemaType and documentId. We can use these with a JavaScript conditional to only build our JSON preview for certain documents.
import type {DefaultDocumentNodeResolver, StructureBuilder, DefaultDocumentNodeContext, StructureResolver} from 'sanity/structure'
import {JsonPreview} from './components'

export const getDefaultDocumentNode: DefaultDocumentNodeResolver = (S: StructureBuilder, options: DefaultDocumentNodeContext) => {
  if (options.schemaType === "post" || options.documentId === "siteSettings") {
    return S.document().views([
      S.view.form()
      S.view.component(JsonPreview).title('JSON')
    ])
  }
}
// ...rest of structure from previous steps
import {type UserViewComponent} from 'sanity/structure'
export const JsonPreview: UserViewComponent = (props) => (
<>
<h1>JSON Preview</h1>
</>
)The default document node resolver will resolve the S.view.form() for any document types that haven’t been explicitly overridden.
Next steps
With all the data available to you in each of your documents, you can put together powerful previews, contextual images, or even custom editor flows for each document or document type.
From here, take a look at the full reference documentation for everything you can do with the Structure Builder API, and build something useful to you or your editors.
Was this page helpful?