Set up Structure Builder to override the default list view
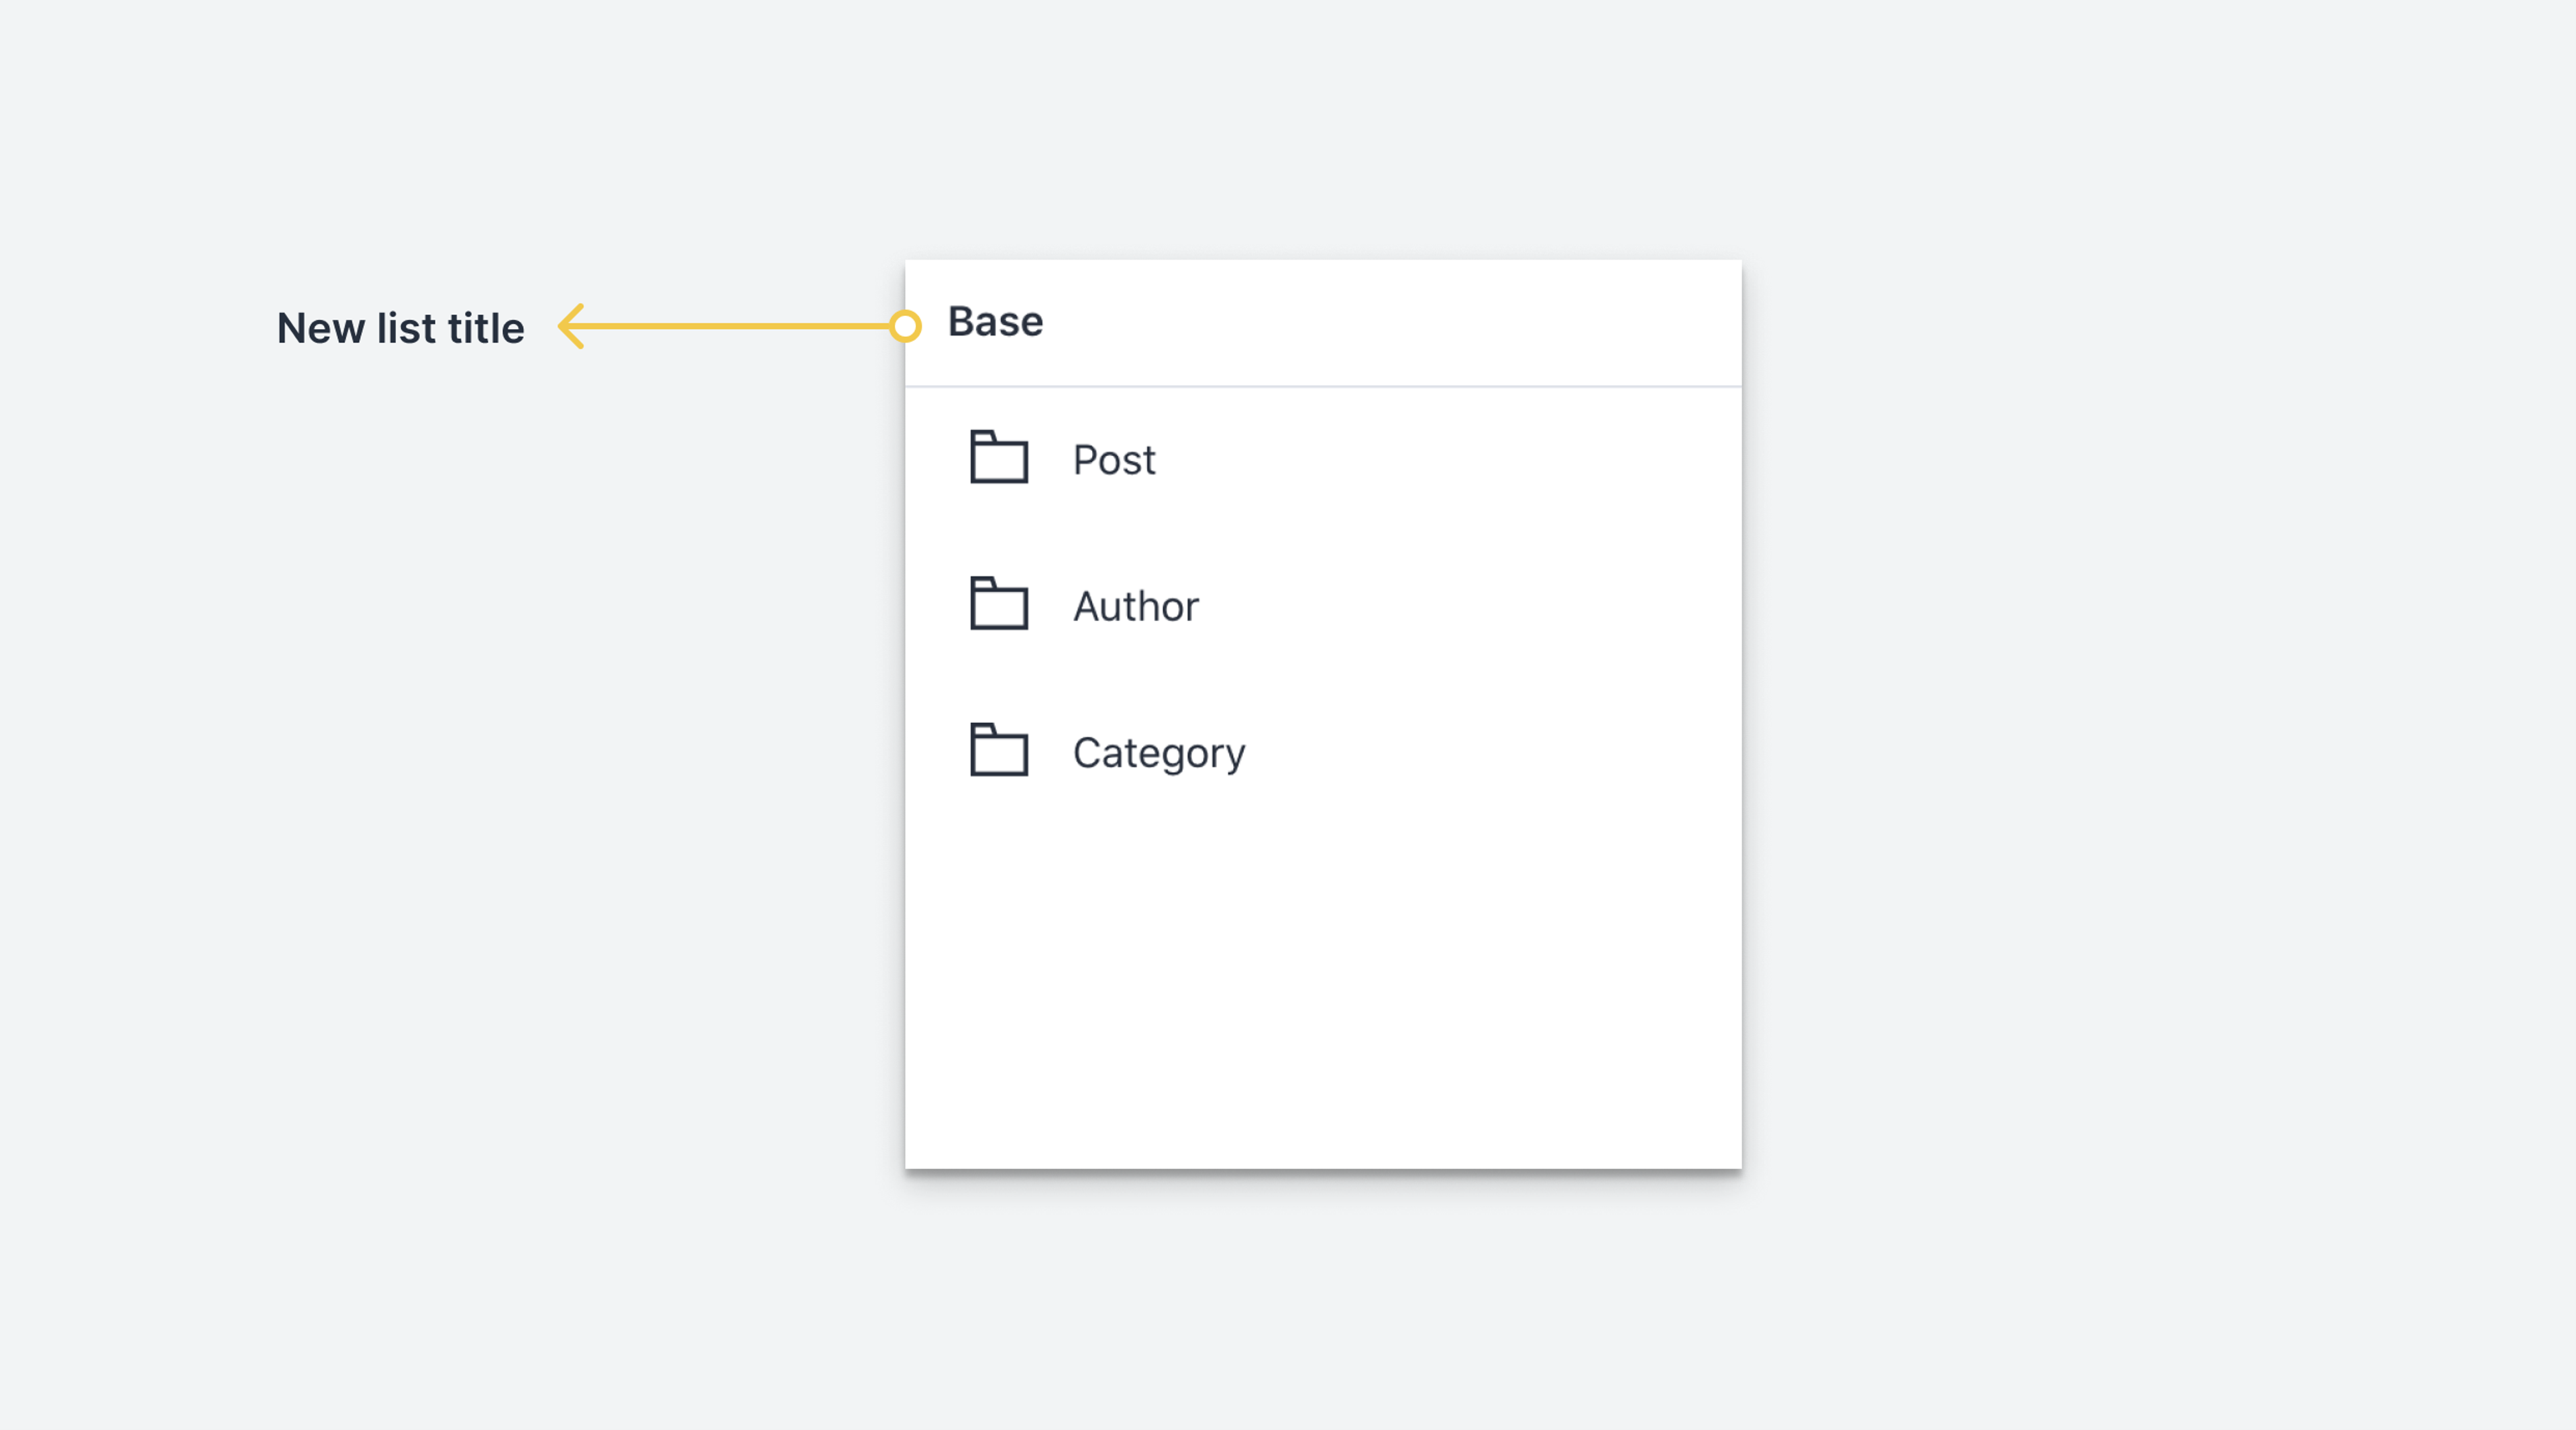
In this article, we'll explore how to initialize Structure Builder and override the default title of the "Content" list.

In this article, we'll use the Structure Builder API to modify the default list view for a Sanity Studio. If you're unfamiliar with the concepts behind Structure Builder, be sure to read the introductory article.
Learning the Structure Builder API
This collection of articles will walk you through all the basics of using Structure Builder to create custom editing experiences.
Setting up Structure Builder for your project
The studio comes with a default structure when it's installed. In order to override the default behavior we'll provide a structure resolving function to the configuration of the structureTool-plugin.
import {defineConfig} from 'sanity'
import {structureTool} from 'sanity/structure'
import {schemaTypes} from './schemas'

export default defineConfig({
  name: 'default',
  title: 'structure-builder-playground',
  projectId: '<projectId>',
  dataset: 'production',
  plugins: [
    structureTool({
      structure: (S) =>
        S.list()
          .title('Base')
          .items([...S.documentTypeListItems().reverse()]),
    }),
  ],
  schema: {
    types: schemaTypes,
  },
})
The structureTool's structure property accepts a callback function that receives the builder class, conventionally referred to as capital S, as as well as a context argument that contains details from Studio like the current user, client, and more. See the Structure Builder API for details. In the example above we list out the different types of the project, just like the studio would do by default, except in reversed order.
Protip
The code can live anywhere in your project. In the previous example we put the structure resolving function directly into the main configuration, but this gets unwieldy fast. A better solution is to externalize structures into their own file or several files.
For simple structures, having it in the root in one file makes sense. For larger customizations with multiple components, it's considered a best practice to move this code into its own folder.
Defining a new default structure
Let's clean up the previous example a bit by moving our structure into a separate file. At the root of your project, create a new file called structure.ts.
We'll define our structure function as a named export and import it in sanity.config.ts.
import {type StructureBuilder, type StructureResolver} from 'sanity/structure'

export const myStructure: StructureResolver = (S: StructureBuilder) =>
  S.list()
    .title('Base')
.items([...S.documentTypeListItems().reverse()])import {defineConfig} from 'sanity'
import {structureTool} from 'sanity/structure'
import {schemaTypes} from './schemas'
import {myStructure} from './structure'
export default defineConfig({
// ...rest of config
plugins: [
structureTool({
structure: myStructure,
}),
],
})Let's break these methods down.
S.list()
The .list() method generates a new generic list. Since it's not a child node, it will appear in the first pane of the studio. In most use cases, the documentTypeList or documentList will be preferred, since they have additional convenience methods. For the first pane of studio, the generic list works the best.
.title()
The .title() method exists nested on methods that create various types of panes and accepts a string as its argument. In this case, we'll change the title of our initial panel to be "Base" instead the default "Content."
Protip
Each panel should have an ID defined. If a title is provided, but no ID, the ID will be generated from the title of the pane.
This ID will be used to generate routes in the studio.
If we stop here, the studio will now load. It will contain an initial panel with no content. We need to tell our generic list what items should be listed.
.items()
The .items() method is used to define the contents of a list panel. The method will take an array of items to populate the list. Typically, it will accept a complementary method from Structure Builder, such as listItem or documentListItem. In this case, the initial panel of the studio should populate with a list of document types.
S.documentTypeListItems()
The documentTypeListItems() method will find all the document types defined in the schema section of your sanity.config.ts, and display links to lists of documents that are of that type.
Next steps
From here, there's a working instance of Structure Builder in the project. In the next tutorial, we'll look at adding a link to edit a specific document in the first panel we just rebuilt.
Get started with Structure Builder API
NextCreate a link to a single edit page in your main document type list
Was this page helpful?