Unlock seamless workflows and faster delivery with our latest releases – get the details

Previewing content in Sanity Studio

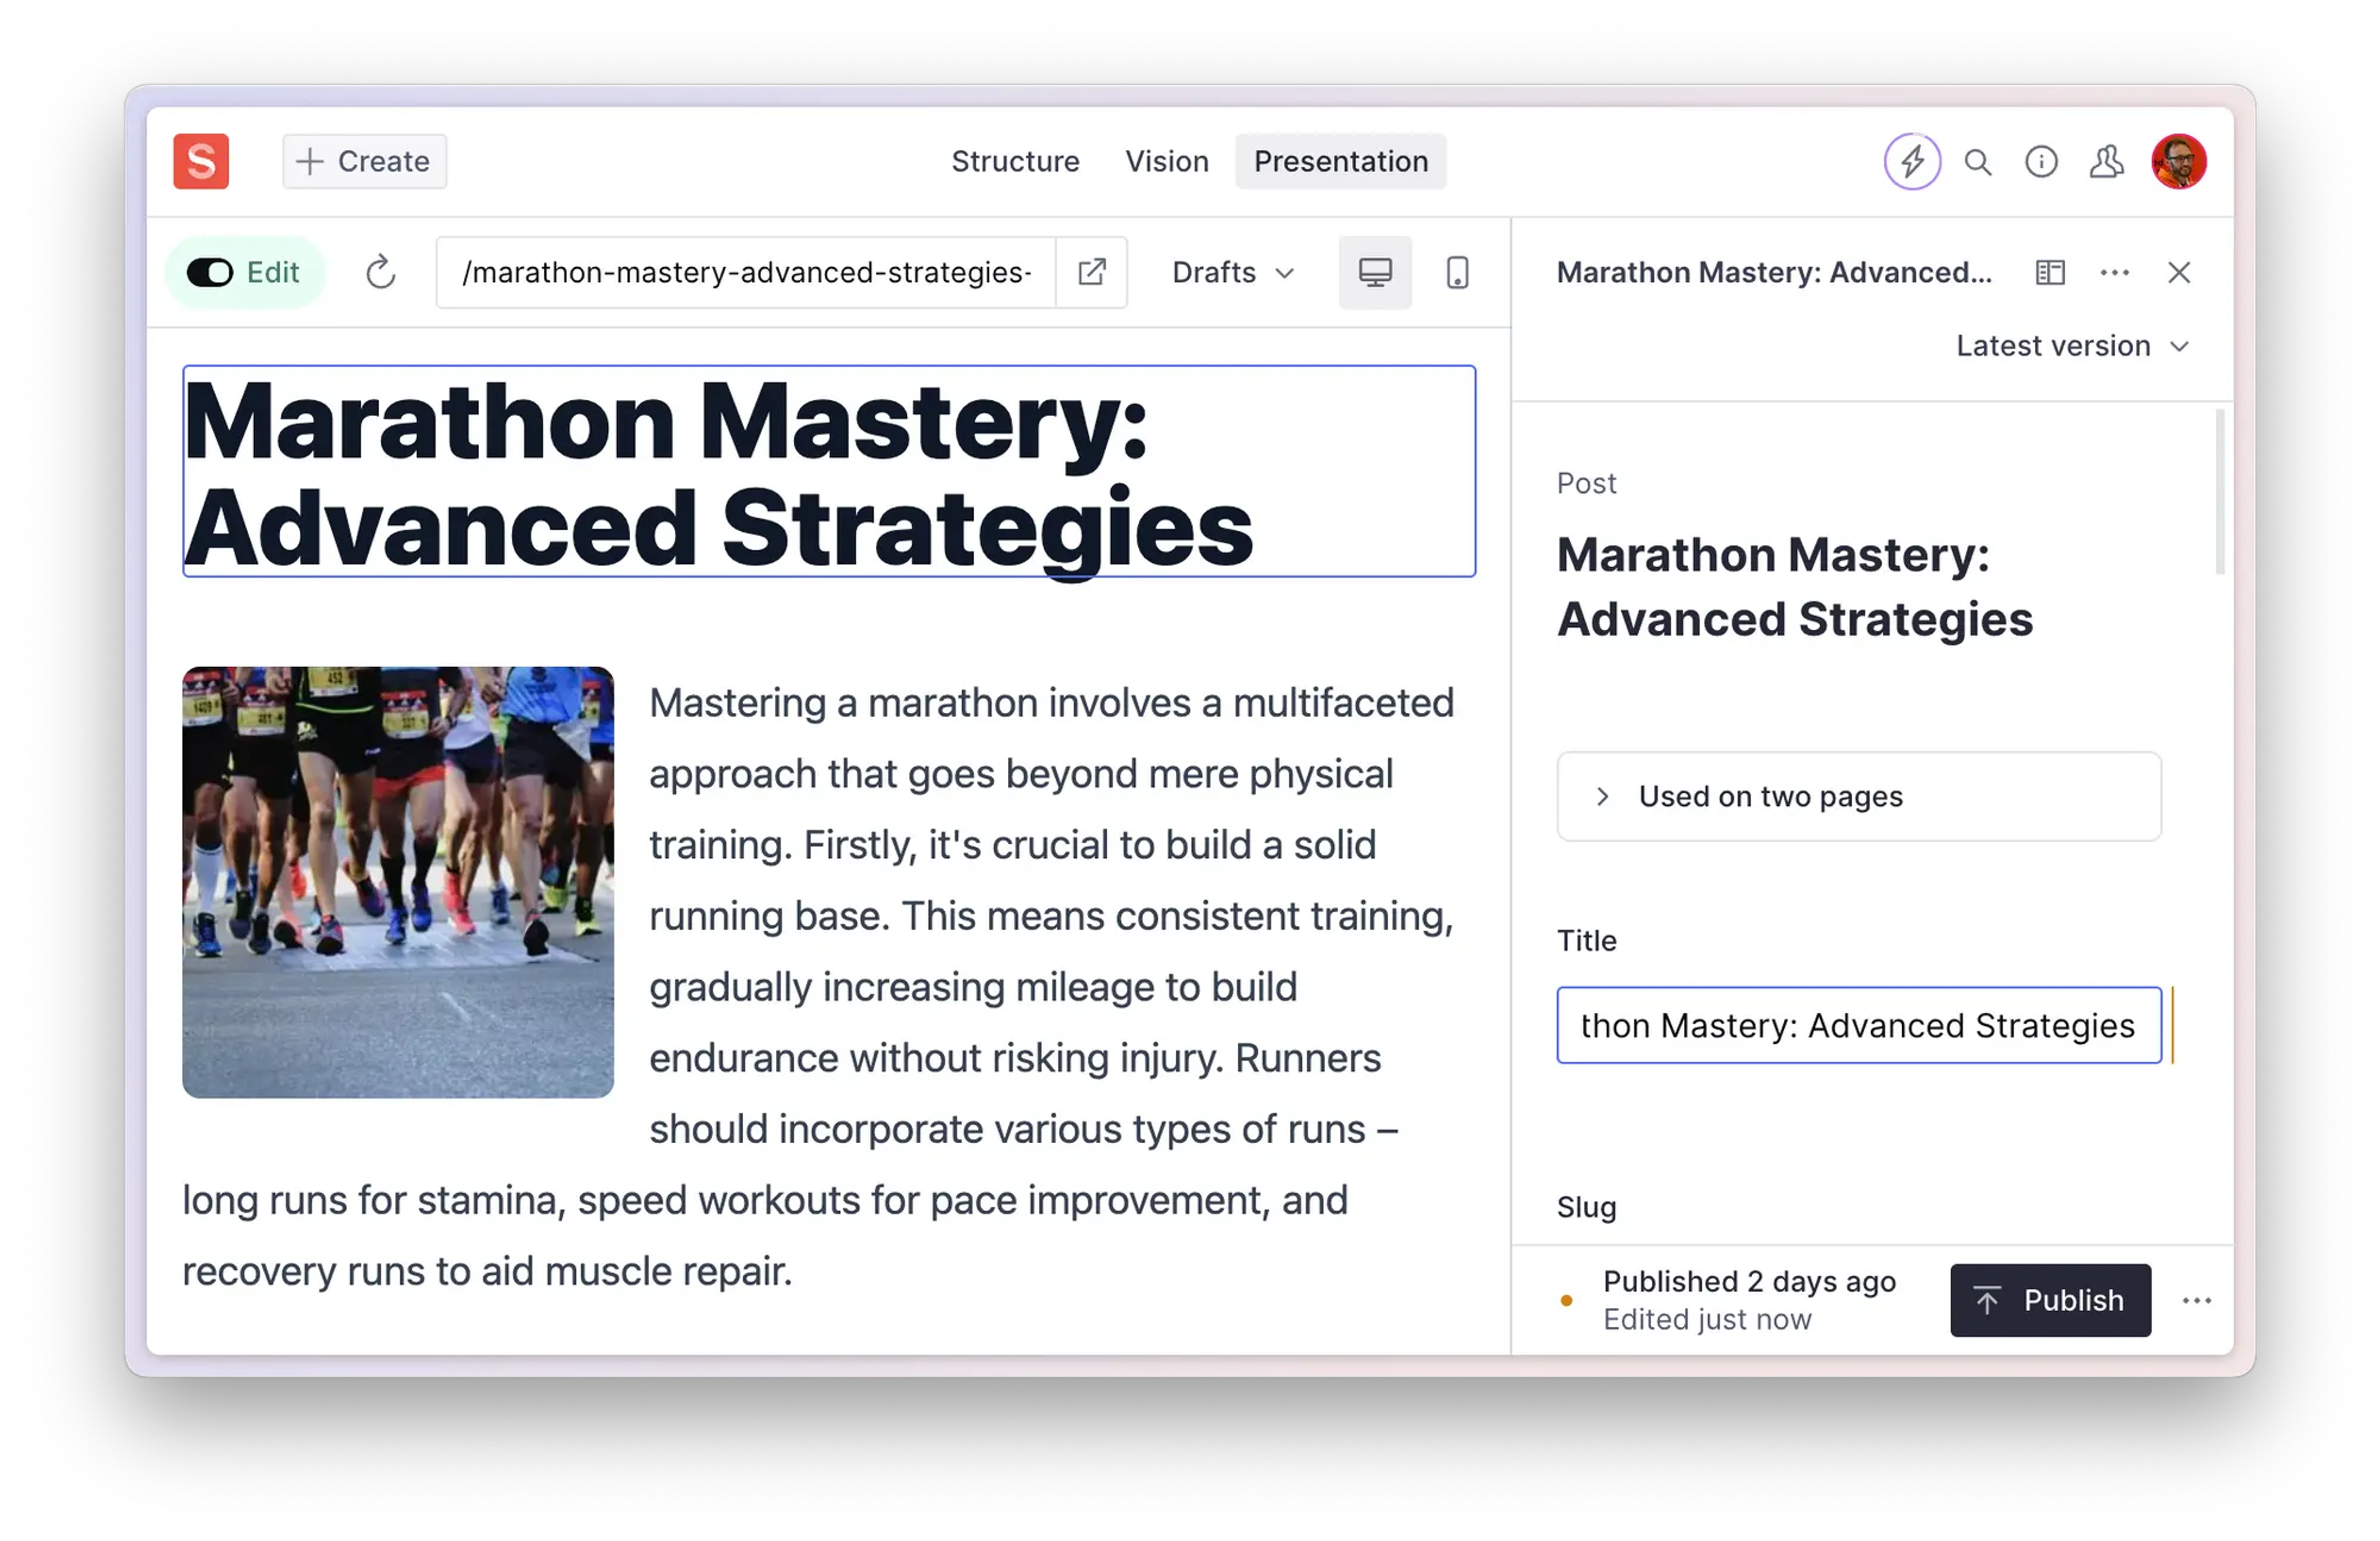
When editing content, it’s very useful for content creators to be able to preview how their changes will appear before publishing.

There are different approaches to previewing unpublished content depending on your use case, the technology you're building with, and how complex your content models are.

With Sanity Studio, you can accommodate previews' in several ways:

  • Generate a link in the user interface to an external preview or production environment with document.productionUrl in the Studio configuration
  • Build custom side-by-side previews by customizing the document view with Structure Builder
  • Embed a frontend presentation tailored for previews in a document view using the Iframe Pane plugin, or a custom view component.

Previewing in your application or experience

This article mainly covers how to preview content within the studio, but is related to the topic of how to create front end previews of your content in general. To learn more about how you can use Content Lake’s Perspectives feature to selectively retrieve content as if all your drafts were published, or as if no drafts existed, please see the Presenting and Previewing Content article.

Generating a link to a production environment

You can generate a link to a front end preview environment that will appear behind the three-dotted menu above the document view.

The three-dotted menu allows you to open a generated URL in a new tab

This is done by returning a URL via document.productionUrl where you configure your Studio, typically in sanity.config.ts. This property accepts a callback function that is invoked with any previous productionUrl values as the first argument, and context as it second, with useful values like the current document state, projectIddatasetcurrentUser, a configured client for fetching referenced documents, and the Studio's schema.

You can also return a promise in case you want to fetch information from other documents or an external source to generate the URL.

// sanity.config.ts
import {defineConfig} from 'sanity'
import {deskTool} from 'sanity/desk'

export default defineConfig({
  name: 'default',
  title: 'My Cool Project',
  projectId: 'my-project-id',
  dataset: 'production',
  document: {
    // prev is the result from previous plugins and thus can be composed
    productionUrl: async (prev, context) => {
      // context includes the client and other details
      const {getClient, dataset, document} = context
      const client = getClient({apiVersion: '2023-05-31'})

      if (document._type === 'post') {
        const slug = await client.fetch(
          `*[_type == 'routeInfo' && post._ref == $postId][0].slug.current`,
          {postId: document._id}
        )

        const params = new URLSearchParams()
        params.set('preview', 'true')
        params.set('dataset', dataset)

        return `https://my-site.com/posts/${slug}?${params}`
      }

      return prev
    },
  },
})

Gotcha

Sanity Studio currently supports only one generated link. You can come into situations where plugins implement their own productionUrl setting. Depending on how you deal with the prev value, your customization might override that of a plugin.

Embedding previews in the Studio

You might have seen the Preview Anything blog post that features different types of previews beyond the visual representation of a website. It shows how you can preview how content appears in Search Engine Result Pages, social media, in different accessibility accommodations, and specialized renders of signage and physical publishing.

While you can use the document.productionUrl in the Studio configuration to generate helpful links for content creators, another approach is to add custom views to the document pane in the Studio. This is powerful, especially when you have support for real-time content previews.

You can add additional document views using the Structure Builder API. While you can add views to any document node when you define document list trees, the quickest way to add views is by using the Desk tool‘s defaultDocumentNode property to return document views conditionally on a document‘s value (for example, its _type).

A document view takes any React component that receives document values for its different states in real-time (draftdisplayedhistoricalpublished) in props. You can use this with custom components to build previews or embed a remote preview web page in an <iframe>. If you want to do the latter, we recommend checking out the Iframe pane plugin available on sanity.io/exchange. Below is an example of how to implement it:

// sanity.config.ts
import {defineConfig} from 'sanity'
import {deskTool, type DefaultDocumentNodeResolver} from 'sanity/desk'
import Iframe from 'sanity-plugin-iframe-pane'
import {SanityDocument} from 'sanity'

// Customize this function to show the correct URL based on the current document
function getPreviewUrl(doc: SanityDocument) {
  return doc?.slug?.current
    ? `${window.location.host}/${doc.slug.current}`
    : window.location.host
}

const defaultDocumentNode: DefaultDocumentNodeResolver = (S, {schemaType}) => {
  // Only show preview pane on `movie` schema type documents
  switch (schemaType) {
    case `movie`:
      return S.document().views([
        S.view.form(),
        S.view
          .component(Iframe)
          .options({
            url: (doc: SanityDocument) => getPreviewUrl(doc),
          })
          .title('Preview'),
      ])
    default:
      return S.document().views([S.view.form()])
  }
}

export default defineConfig({
  // ...other config settings
  plugins: [
    deskTool({
      defaultDocumentNode,
    }),
    // ...other plugins
  ],
})

Disabling draft documents with Studio Live-edit mode

Sometimes you might not need drafts at all. Say you're using listeners to update a ranking list in an app and you just want the changes in the studio to go out in real-time on the wire as mutations as the order is being changed.

To disable drafts for a data type simply include liveEdit: true in the schema definition, for example:

export default {
  name: 'author',
  title: 'Author',
  type: 'document',
  liveEdit: true,}

Was this article helpful?