Query content with GROQ
If you're new to Sanity, you're probably new to GROQ. It's an incredibly powerful way to query content, and thankfully, it's quick to get started with.
You'll only need to know the basics of writing queries for now. However, it is beneficial to learn GROQ when working with Sanity as it powers queries, GROQ-powered webhooks and content permissions when configuring Roles.
This lesson is focused on writing basic GROQ queries to serve our Next.js application. Future lessons will expand on these queries.
Sanity content is typically queried with GROQ queries from a configured Sanity Client. Sanity also supports GraphQL. You may prefer to use GraphQL in your application, but these courses will focus on querying with Sanity Client and GROQ.
You can break up most GROQ queries into three key parts.
Consider this query:
*[_type == "post"]{title}*: returns all documents in a dataset as an array[_type == "post"]represents a filter where you narrow down the proceeding array{ title }represents a projection where you define which attributes in those array items you want to return in the response
next-sanity exports the defineQuery function which will give you syntax highlighting in VS Code with the Sanity extension installed.
The defineQuery function also has another important role, Sanity TypeGen searches for variables that use it to generate Types for query results.
For convenience and organization, you'll write all queries inside a dedicated file in your project.
import {defineQuery} from 'next-sanity'
export const POSTS_QUERY = defineQuery(`*[_type == "post" && defined(slug.current)][0...12]{  _id, title, slug}`)
export const POST_QUERY = defineQuery(`*[_type == "post" && slug.current == $slug][0]{ title, body, mainImage}`)POSTS_QUERYwill return an array of up to 12 published documents of the typepostthat have a slug. From each document, it will return the_id,titleandslugattributes.- This can be used on a "posts index" page to show the latest posts.
POST_QUERYfilters down topostdocuments of the post type where the value theslugmatches a passed-in variable$slug. Only one document is returned because of the[0]filter. From this one document, it will return thetitle,bodyandmainImageattributes.
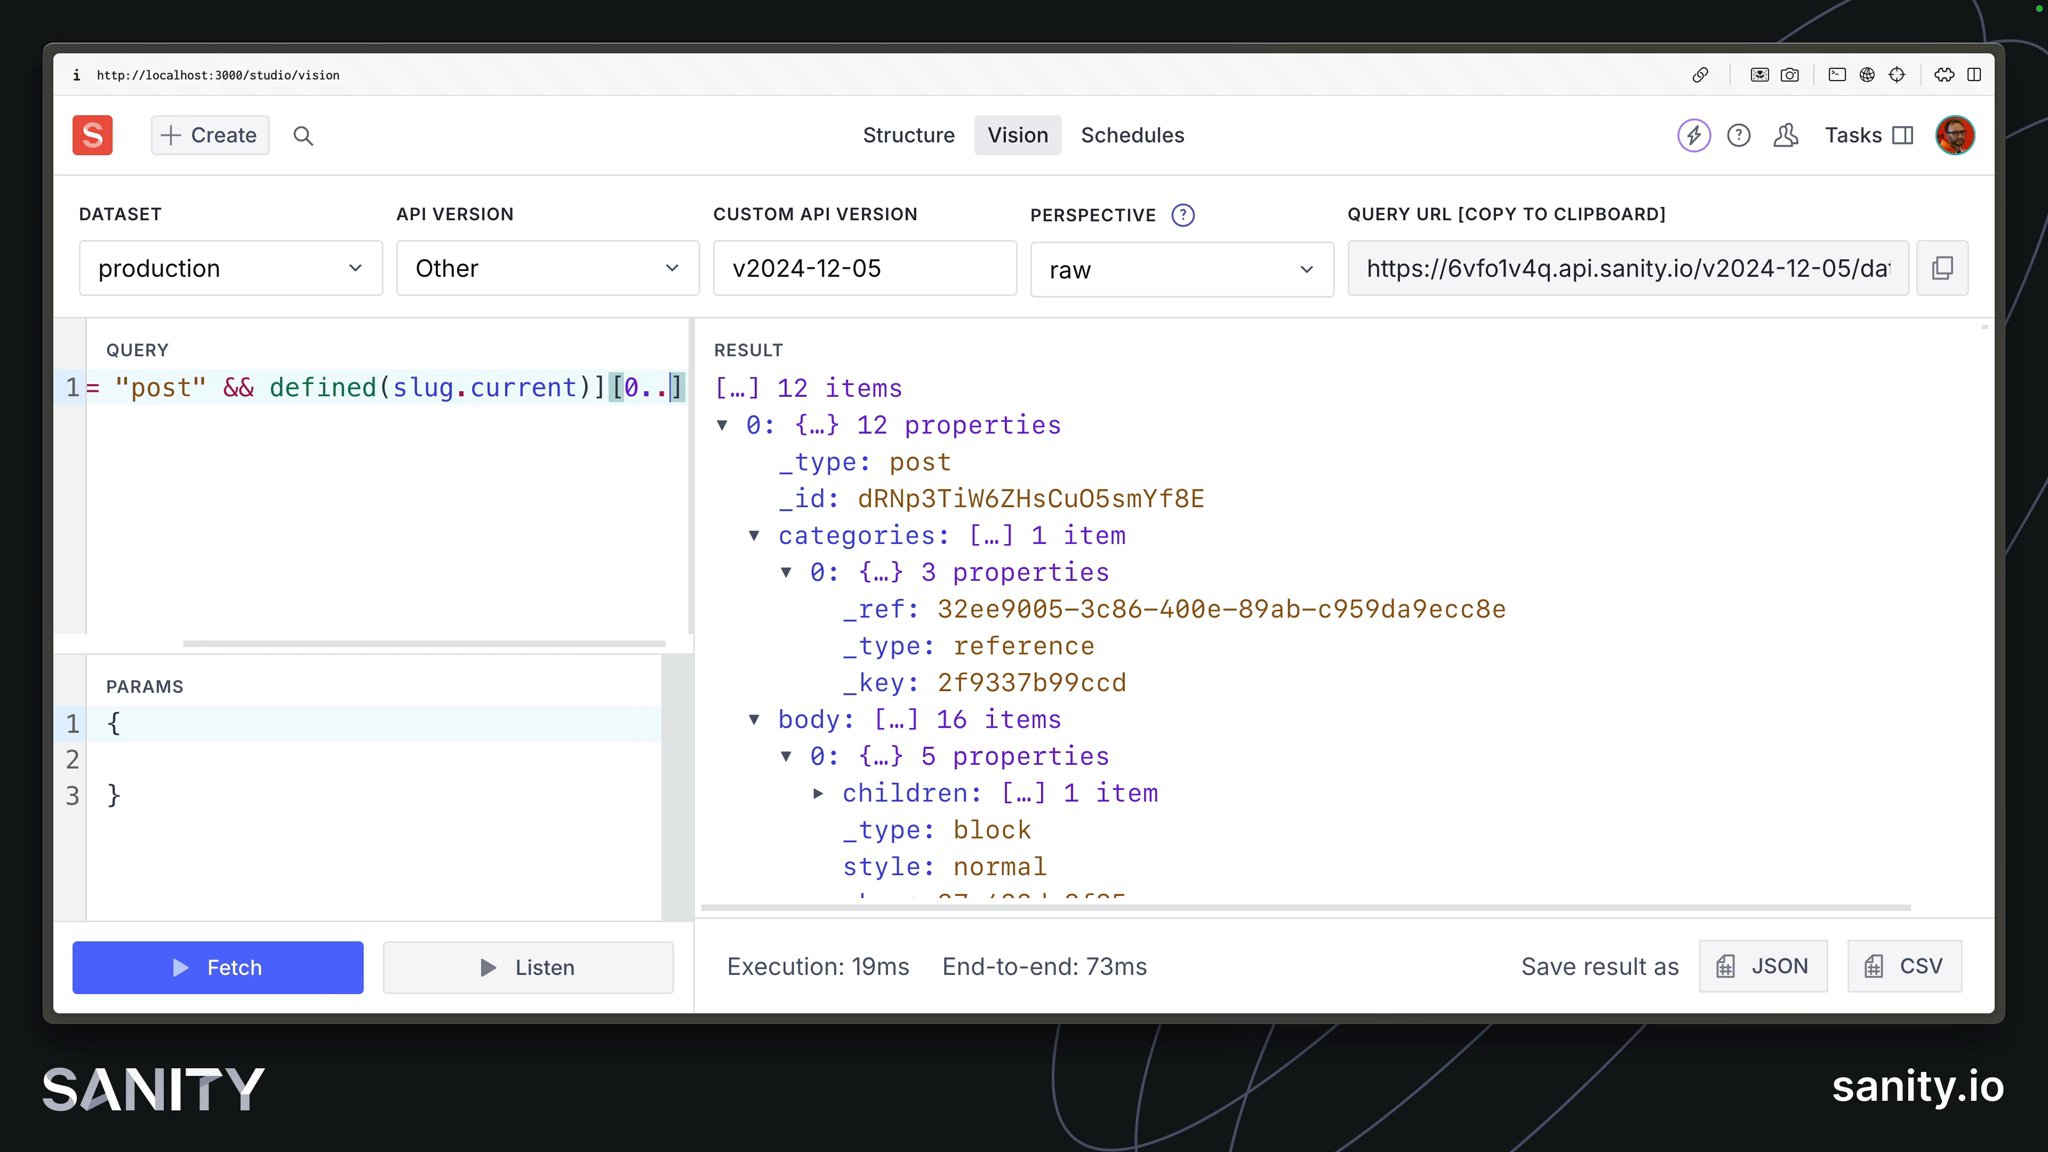
Before using these queries in your front end, it's possible to test them at any time from within your Sanity Studio using the Vision tool.
POSTS_QUERY GROQ query string and click Fetch*[_type == "post" && defined(slug.current)][0...12]{ _id, title, slug}You should see up to 12 items in the "result" panel.
Queries fetched in Vision use the same user authentication that the Studio does. So it will return private documents when using the default perspective – raw.
." in the _id, such as { _id: "drafts.asdf-1234" } and can only be queried by an authenticated request. In a private dataset all documents are private.The Sanity Client for your front end is not authenticated (unless you give it token) so it will only return publicly visible documents in a public dataset.
Now that you've proven that your GROQ queries get results, let's automatically generate TypeScript types for these responses.