Create a new Sanity project
For your Next.js application, Sanity will play the role of content storage for documents and assets such as images. That content is cloud-hosted in what we call the Sanity Store and query structured content.
In this lesson, you'll create a new project at Sanity and embed an editing interface—Studio—inside the Next.js application. An embedded Studio allows you to create, edit, and publish content hosted in the Content Lake from your Next.js application's development environment or wherever it is deployed.
The Sanity Content Lake also powers content operations workflows, such as firing fine-grained GROQ-powered webhooks so your business can react to content changes as they happen. In time, your Next.js application may also write content – such as comments and likes – into the Content Lake from the front end.
While this course focuses on building a web application, Sanity is more than a website-focused CMS (content management system).
In a nutshell, Sanity is a Content Operating System, with a configurable, React-based administration panel, cloud-hosted data storage, and a worldwide CDN for content delivery.
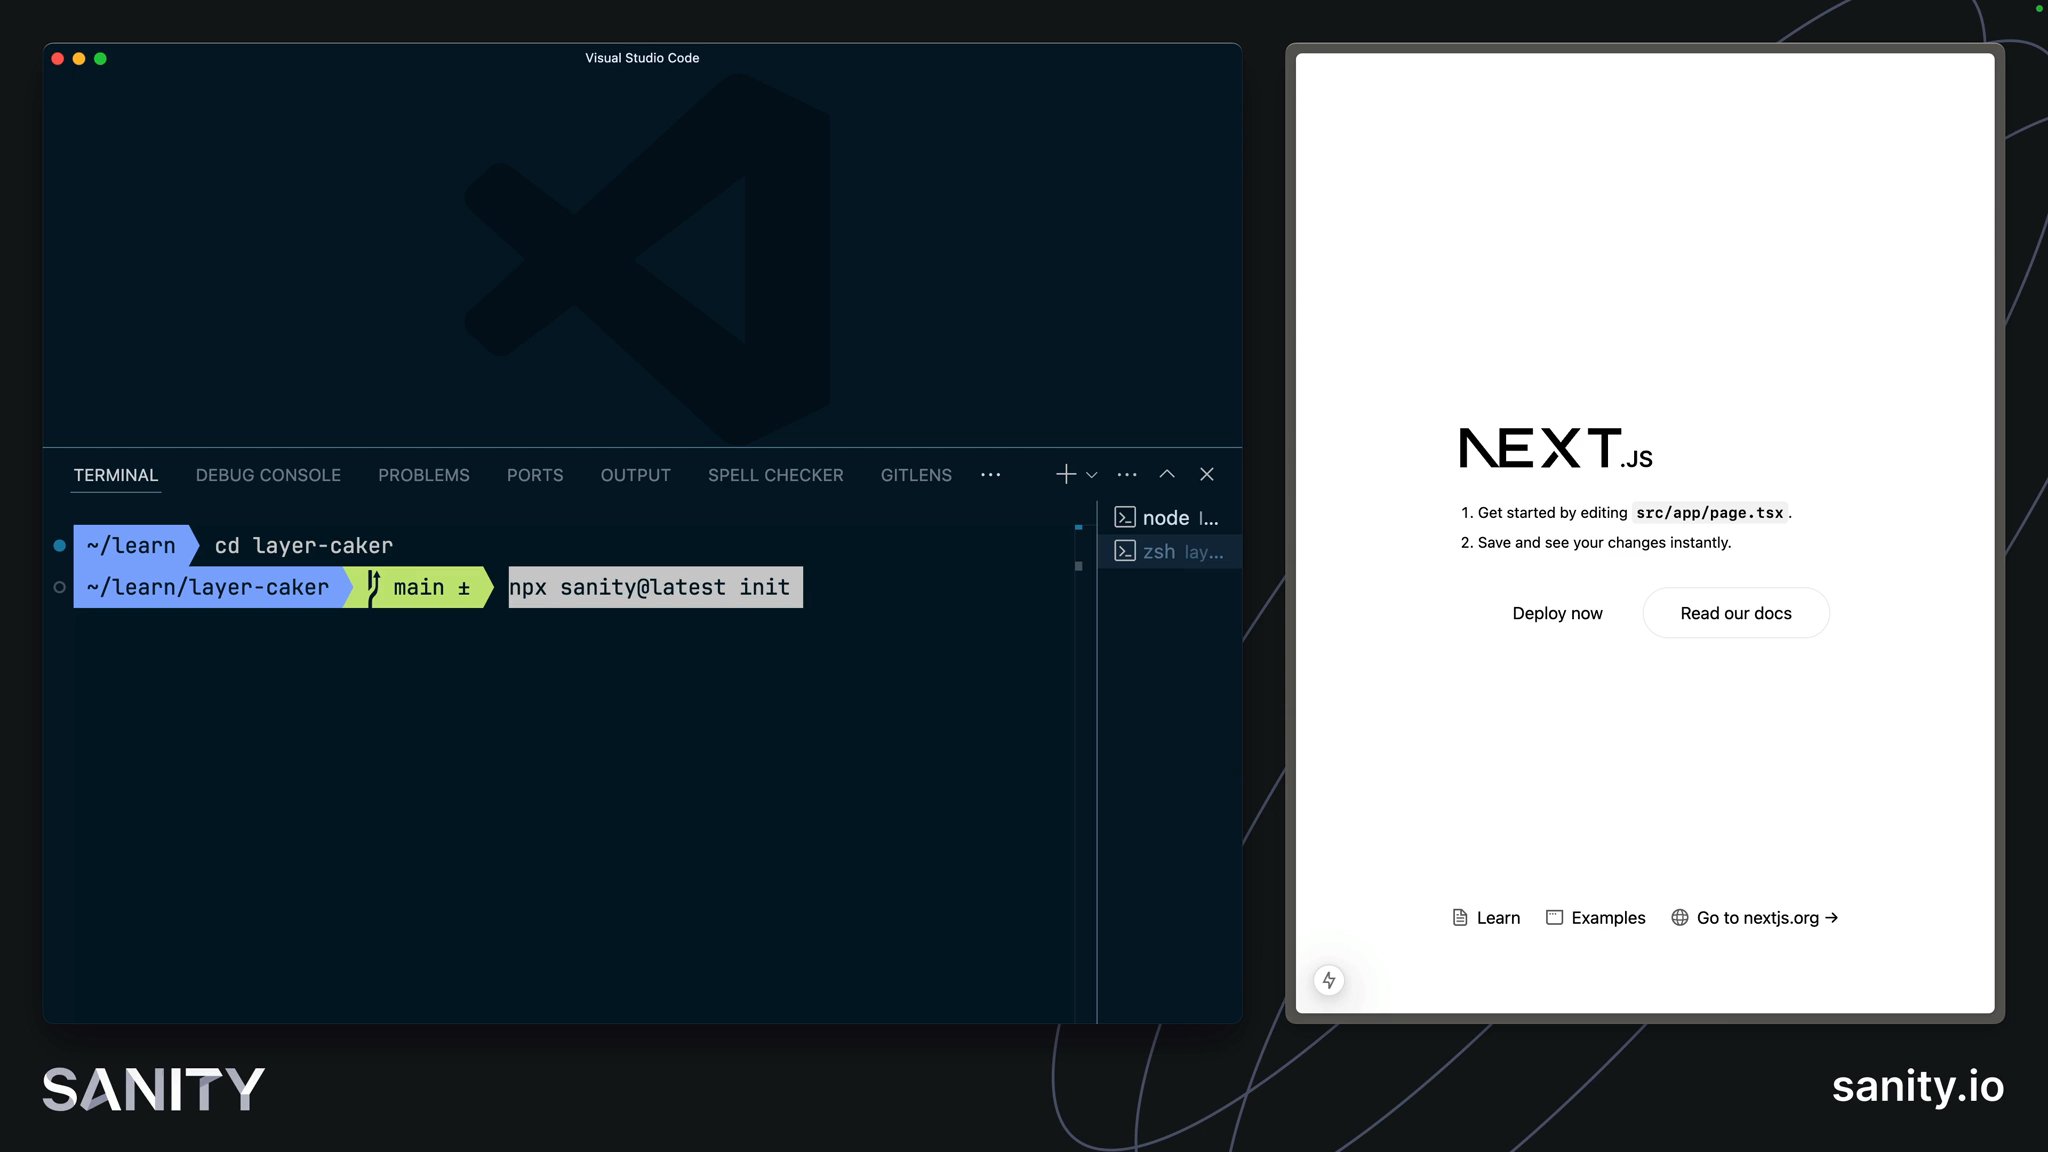
The Sanity CLI can initialize a new Sanity project within a Next.js application. It detects the framework during the process and prompts you to make appropriate choices.
If you do not yet have a Sanity account, follow the prompts to create one.
npx sanity@latest initWhen prompted, make the following selections. If you accidentally select the wrong option, you can cancel and re-run the command again.
layer-cakerproduction/studioblog template.env.local fileThis command:
- Created a new Sanity project and dataset, which are remotely configured and hosted on the Content Lake
- A dataset is a collection of content (text and assets) within a project hosted in the Sanity Store and query structured content.
- A project can have many datasets and is also where you'd configure other project-level settings like members, webhooks, and API tokens.
- Added relevant files to your local Next.js application and installed some dependencies that you'll need to get started.
Your Sanity Studio code in the Next.js application is like a "window" into the remotely hosted content. Your Studio configuration code determines which document types are available to create, update, and delete. All the content you author is hosted in the Content Lake.
In short, with Sanity:
- Studio configuration is performed locally with code.
- Content (text and assets) is hosted remotely.
- Project configuration is handled at sanity.io/manage.
In addition to your Next.js files, you should have the following files in your project. These files configure:
- Sanity Studio for creating content
- Sanity Client for querying content
- A helper file to display images on the front end,
src/sanity/lib/image.ts
.├── .env.local├── sanity.cli.ts├── sanity.config.ts├── (...and all your Next.js files)└── src ├── app │ └── studio │ └── [[...tool]] │ └── page.tsx └── sanity ├── lib │ ├── client.ts │ ├── image.ts │ ├── live.ts ├── schemaTypes │ ├── authorType.ts │ ├── blockContentType.ts │ ├── categoryType.ts │ ├── postType.ts ├── env.ts └── schema.tsBrowse your embedded Sanity Studio route at http://localhost:3000/studio to see your built-in content management system.
Make sure you log in with the same credentials you used to log in to the Sanity CLI in your terminal.
sanity init command above to change.You're embedding the Sanity Studio within the Next.js application for the convenience of managing everything in one repository. It's also convenient for authors to only need to know one URL for their front end and content administration. However, it can promote website-specific thinking.
Fortunately, if you ever decide to separate your Sanity Studio into its repository—or both applications into a mono repo—it should be a straightforward process of moving the configuration files around. The data storage of your text and assets would remain unchanged in the Content Lake.
The blog template gave you three website-specific schema types: post, category and author. You can now create content of these types within your embedded Sanity Studio.
Soon, you'll be querying for content on the front end. For this to work, you'll need to create some.
post document typeWe have prepared a dataset for you to speed up the process. You can optionally download and import this into your project.
production.tar.gz – a pre-prepared dataset backup with assets, posts, categories, and authors.Place this file in the root of your project and import it using the CLI.
npx sanity dataset import production.tar.gz productionDelete the backup file once the import successfully completes.
rm production.tar.gzYou have content in your Studio, but your front-end is not yet configured to display it. In the next lesson, let's unpack the bridge between your Sanity content and front-end.