Git-based workflows
If you've built modern web applications with a developer team, you may already be familiar with Git and GitHub. This lesson explains the basics for anyone new to Git-based version control or unfamiliar with branch-based workflows for collaborating with other developers on a project.
A strategy for safely iterating on a project is the key to working confidently on updates, new features, and improvements.
For this lesson, you will need an account on GitHub. You could use other Git providers if you choose, but you would need to adapt the tasks in this lesson accordingly.
Currently, your Next.js application is only available on your machine. It must be deployed on Vercel's hosting to be shared with the world. To do that, there is an intermediary step of uploading your files to a Git repository.
You can give your repository any name. You can also choose to make it Public or Private.
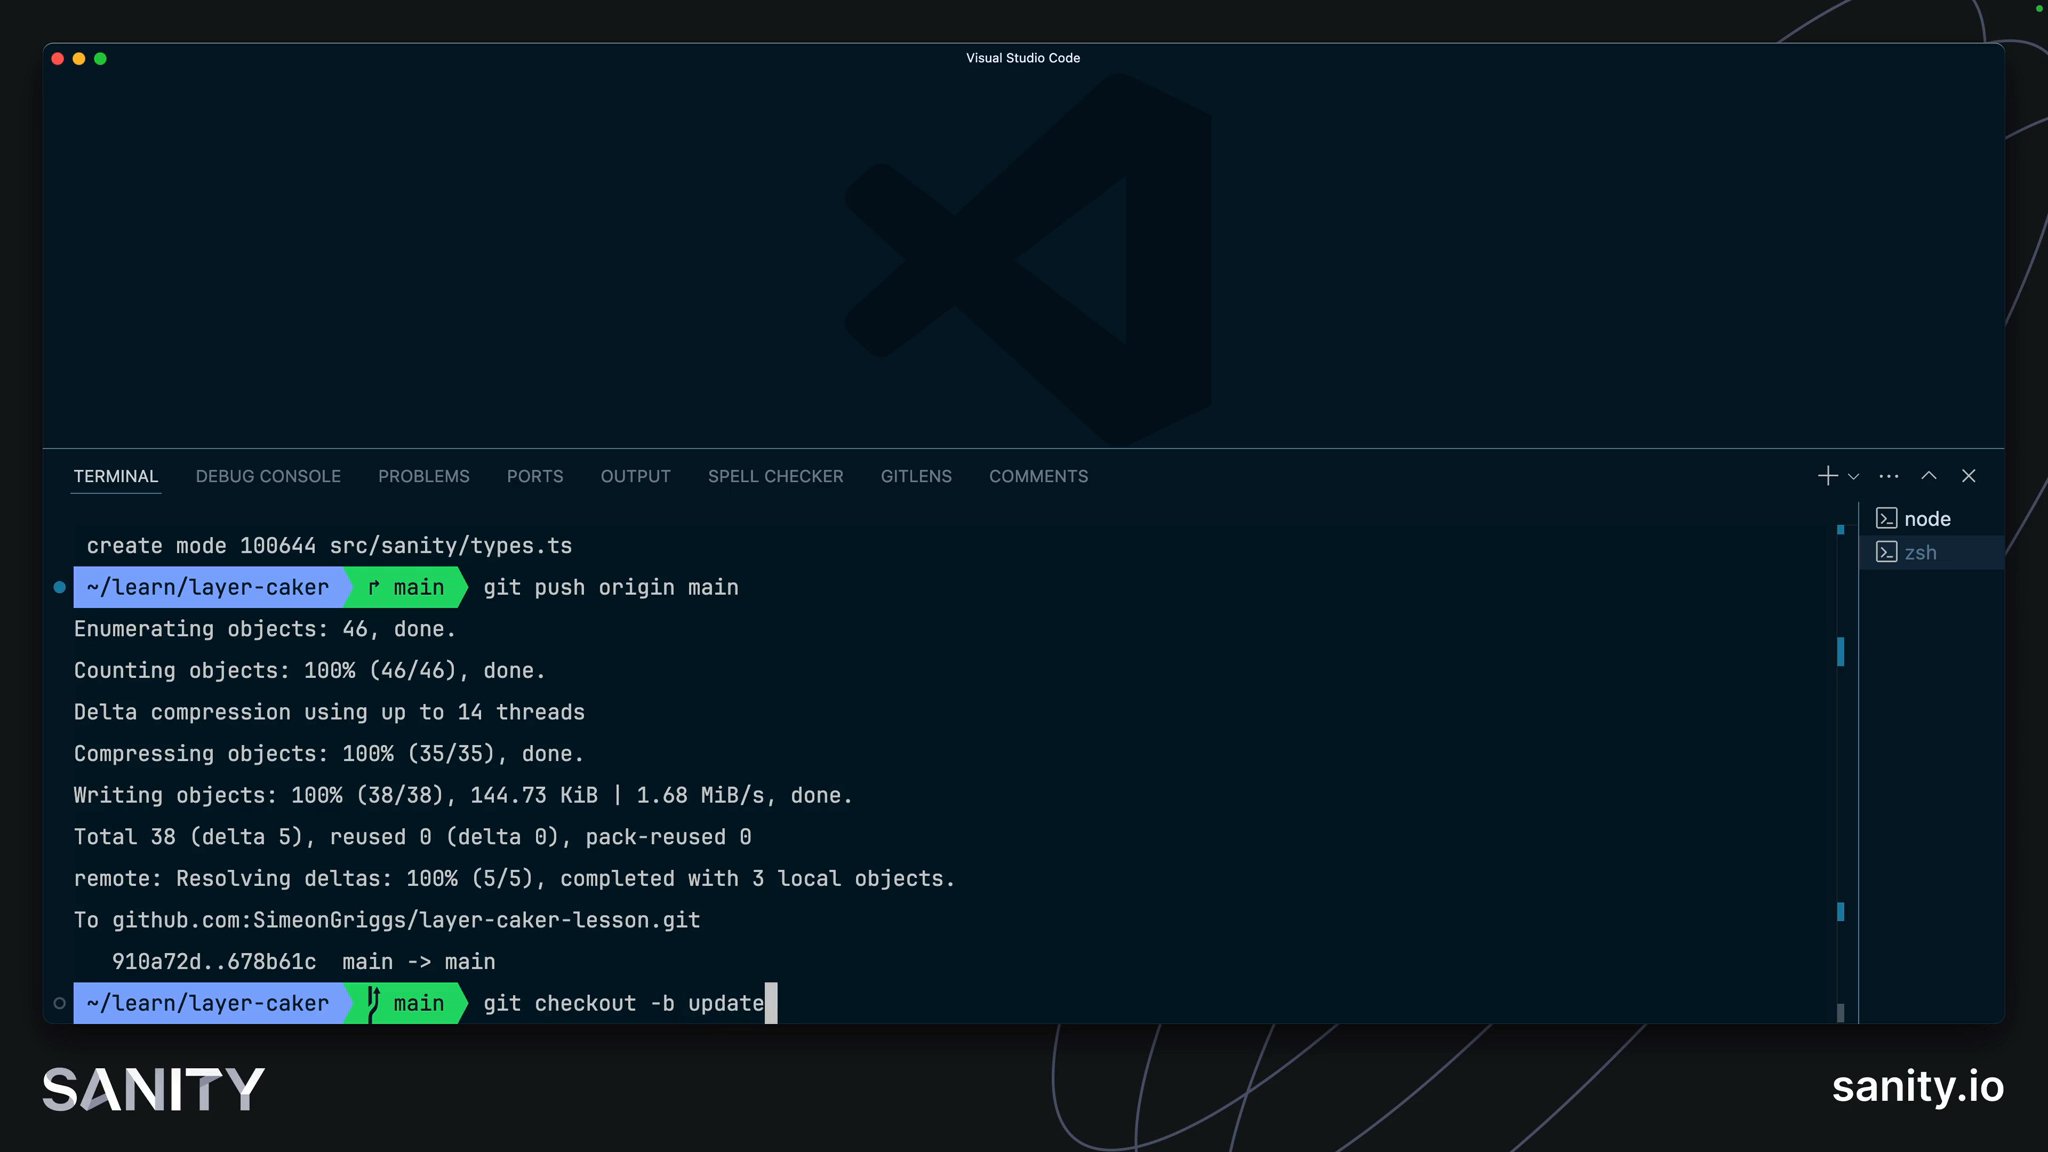
On the next screen, you should see instructions for "quick setup" and commands to run for either a new or existing repository. When you ran create-next-app, it initialized one automatically, so you can follow the instructions "... or push an existing repository from the command line."
The code for my repository looks like this above, but the first line will differ from yours as it has your account and repository name.
Currently, the remote repository only contains the original files created when you ran create-next-app, not any Sanity-related files you created or changed after that.
You must "commit" those files locally and push them to the main branch.
maingit add .git commit -m "add sanity files"git push origin mainRefresh your repository on GitHub, and you should see the additional files.
main branch like this is okay this once, but it's not great for tracking the history of changes and is terrible for working collaboratively with others. Continuing to do this will likely result in problems.Before connecting your repository to Vercel to host your application, it's good to have a strategy now for working locally on new features and updating remotely.
Your local files are now stored remotely on GitHub as a point-in-time snapshot. At this moment, your local and remote files are in sync.
Each time you work locally, you will need to update your remote Git repository to update your hosted Next.js application.
Most commonly, this would be done by:
- creating a "branch" off of the
mainbranch - committing changes to local files
- pushing that branch to remote
- creating a "pull request" from the branch to
main - merging those changes into the
mainbranch remotely - updating your
mainbranch locally
Let's try this now.
update-readmegit checkout -b update-readmeREADME.md with the following:# Sanity and Next.js
This is a [Sanity.io](https://sanity.io) and [Next.js](https://nextjs.org) project created following a Course on [Sanity Learn](https://sanity.io/learn).
## Getting Started
First, run the development server:
```bashnpm run dev```
- Open [http://localhost:3000](http://localhost:3000) with your browser to see the result.- Open [http://localhost:3000/studio](http://localhost:3000/studio) to edit content.git statusYou should see the following, which shows us that the README.md file has been modified, but nothing is yet staged for a commit:
On branch update-readmeChanges not staged for commit:  (use "git add <file>..." to update what will be committed)  (use "git restore <file>..." to discard changes in working directory)        modified:   README.md
no changes added to commit (use "git add" and/or "git commit -a")git add .git commit -m "update readme"git push -u origin update-readmeYou should get a confirmation in the terminal that it was successfully completed, and a URL to visit to create a pull request.
update-readme into main.You should then see a page just like this:
Creating a "PR" is an essential step in your future workflow for your fellow developers and content creators.
On a developer team, you may have a colleague review and approve your changes before they are merged.
For your authors, and once you have connected this repository to Vercel, this will create a "Preview build" of your Next.js application so that you can see the results of your latest round of changes in the hosted environment before merging.
Preview builds are great for collaboration so you can share updated versions of the application without affecting the production environment. This is useful for testing new front end features as well as showing authors any updated Sanity Studio configuration.
From this page, you can also see an overview of the changes being made. In this PR, it is only one file with a few lines changed.
Now, the main branch has the latest version of your code, but only remotely. In your local development environment, the main branch is out of date.
git checkout mainIf you open README.md now you'll notice it has reverted to the previous version, because this is what it looked like when you were last locally working on main.
git pull origin mainNow README.md is as you had it before, and both your local and remote versions of the main branch are up to date.
You now have a basic version of a Git workflow to follow. Once other developers are working on the same repository, they'll all have their branches and pull requests which you may be involved in reviewing. You'll also need to update your local version of the main branch before creating any new branches.
Your code is now hosted remotely, but your web application is not. With this setup, it's time to go live. Let's connect Vercel to your repository in the next lesson.