Creating Custom Content Blocks: Wordpress Gutenberg vs. Sanity
The new Gutenberg editor for Wordpress comes with the ability to create custom content blocks using React. Let’s compare how easy it is to make those in Sanity.

Knut Melvær
Head of Developer Community and Education
Published
Wordpress 5.0 comes with a brand new rich text editor called Gutenberg. It is highly anticipated and has created both buzz and controversy. The promise of Gutenberg is customizability, especially when it comes to adding custom content blocks. If you want to get started with Gutenberg, you can read this excellent introduction in Smashing Magazine. It is built in React and allow developers to extend the editors basic functionality.

We couldn’t resist though. Since having custom content blocks is in the DNA of Sanity, we wanted to show how easy it is to recreate the testimonials slider that the 12 min read, and 10 part article introduces you to. Like an eleventh of the time easier.
Of course, the comparison only goes so far. Wordpress is a classic CMS with a template engine, whereas you can use Sanity as a headless CMS with the frontend framework you would prefer, be it Vue, React or something else.
If you haven’t tried Sanity yet, it only takes two minutes to get started. To create a project and get an instant real-time hosted content API, and the connected open sourced editor locally, run this line in your terminal:
npm install -g @sanity/cli && sanity init
If you choose the blog template in the CLI tool, you’re pretty much set to go!
The testimonial slider content model
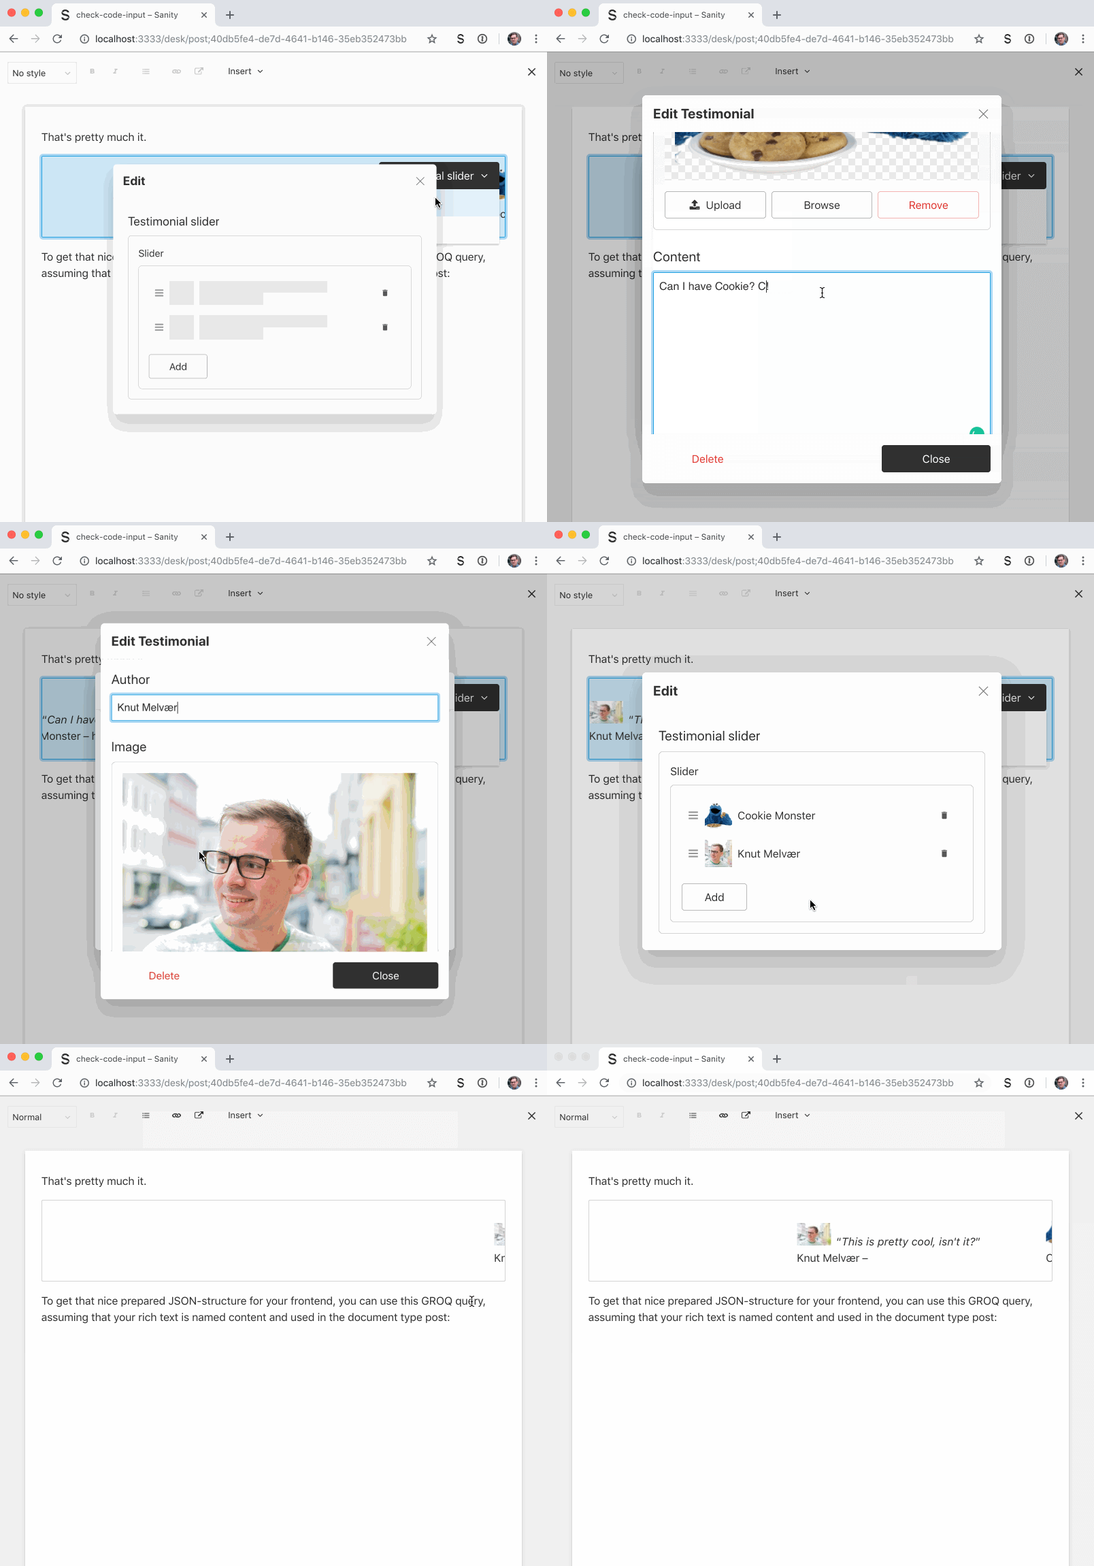
In the tutorial on Smashing Magazine, you learn to make a “testimonial slider” – typically used on marketing pages as a way to visualize social proof for your product.
To re-create the Wordpress testimonial slider for Sanity you only need to define its content model. We’ll take care of the input fields, and the real-time syncing to the datastore.
The content model is pretty straightforward: First, we make the type for a testimonialSlider. It’s an object, with an array (which also holds the order of the testimonials) of testimonial objects with the fields author, image, content, and link to the source. I made the content field be clean text, but we could also have used blockContent if we wanted to have rich text (and a slider within a slider, in case you are into recursive content patterns). If we add options: { hotspot: true } to the image field, your editor can even set custom hotspots and crops for the image, which may be useful for image art direction.
const testimonialSlider = {
  name: 'testimonialSlider',
  title: 'Testimonial slider',
  type: 'object',
  fields: [
    {
      name: 'slider',
      title: 'Slider',
      type: 'array',
      of: [
        {
          name: 'testimonial',
          title: 'Testimonial',
          type: 'object',
          fields: [
            {
              name: 'author',
              title: 'Author',
              type: 'string'
            },
            {
              name: 'image',
              title: 'Image',
              type: 'image'
            },
            {
              name: 'content',
              title: 'Content',
              type: 'text'
            },
            {
              name: 'link',
              title: 'Link',
              type: 'url'
            }
          ]
        }
      ]
    }
  ]
}

const blockContent = {
  name: 'blockContent',
  type: 'array',
  of: [
    {
      type: 'block'
    },
    {
      type: 'testimonialSlider'
    }
  ]
}

export default {
  testimonialSlider,
  blockContent
}
That’s pretty much it. The user interface will be clean and can be used right away.

To get that nice prepared JSON-structure for your frontend, you can use this GROQ query, assuming that your rich text is named content and used in the document type post:
*[_type == "post"]{
  ...,
  content[]{
    ...,
    _type == "testimonialSlider" => {
      slider[]{
        ...,
        image{
          ...,
          asset->
        }
      }
    }
  }
}
Custom preview component
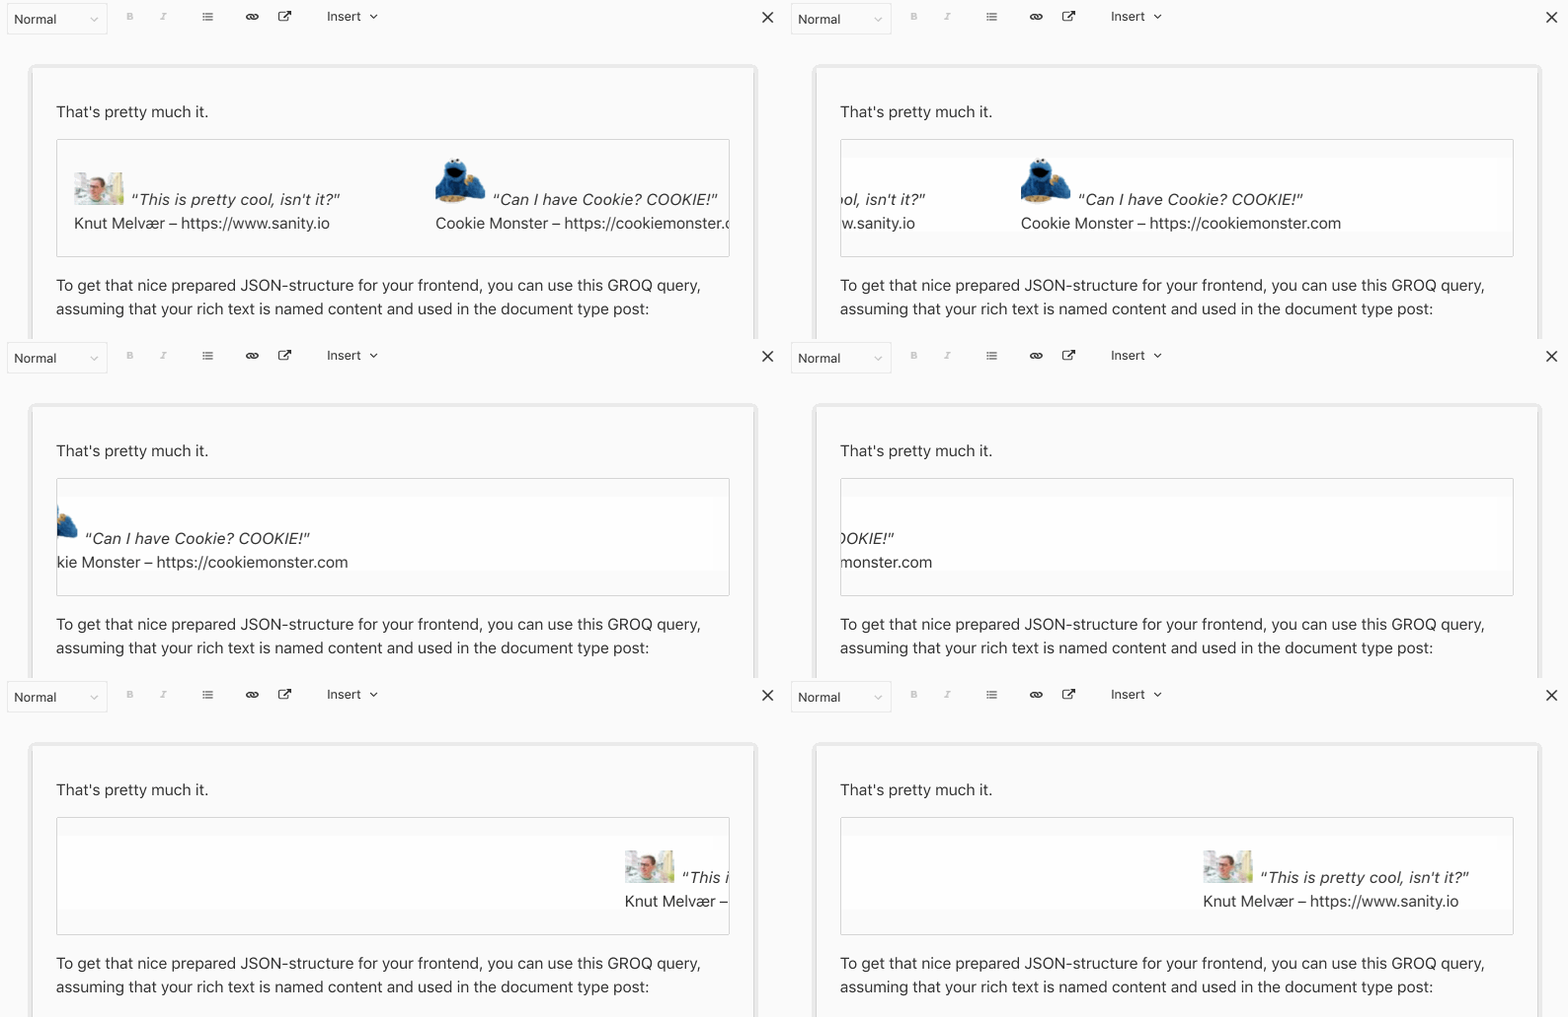
You can also add a custom preview component with some React code:
import React from 'react'
import client from 'part:@sanity/base/client'
import urlBuilder from '@sanity/image-url'
const urlFor = source => urlBuilder(client).image(source)

const sliderPreview = ({ value = {} }) => {
  return (
    <marquee>
      {value &&
        value.slider.map(slide => (
          <div
            key={slide._key}
            style={{ display: 'inline-block', marginRight: '1em' }}
          >
            <figure>
              <img
                src={urlFor(slide.image)
                  .width(50)
                  .url()}
                style={{ marginRight: '0.5em' }}
              />
              <span className="legend">
                “<em>{slide.content}</em>”<br />
                {slide.author} – {slide.link}
              </span>
            </figure>
          </div>
        ))}
    </marquee>
  )
}
Include it in your schema by adding this to your testimonialSlider content type schema:
const testimonialSlider = {
  name: 'testimonialSlider',
  title: 'Testimonial slider',
  type: 'object',
  preview: {
    select: {
      slider: 'slider'
    },
    component: sliderPreview
  },
  fields: [
    /* the fields */
  ]
}
Here I’ve used the good old HTML element marquee to get a scrolling effect; you probably shouldn’t do the same:

Beyond appearances: The advantage of deeply typed content
This testimonial slider example tightly ties to a specific presentation on a webpage, which makes sense in WordPress because it’s built to render and manage a website. WordPress saves the input in Gutenberg as HTML, which is what you eventually also get out of the APIs. HTML in content APIs is generally not what you want if you want to use it in your favorite frontend framework, or in something that should render in something other than a web browser.
Sanity saves the content in the editor as Portable Text, which makes it portable across any markup, but also makes rich text queryable. It should be easy to create custom editorial experiences, with the custom types and inputs that makes sense in your project or organization, and it should be easy to take that content and fit it to whatever form of presentation.