Adding Sanity content to any front end
Our project currently contains a Sanity Studio at the root, but if we're going to also create a frontend to render Sanity data, it should probably live in its own directory. Usually this meant busy work for us with the file system, but Cursor Agent can take care of it instead.
This project currently has a Sanity Studio in the root, but I would also like to add a frontend later. Move all of the project files to their own folder called "studio". Add a new README to the root. Add a package.json and .gitignore to the root. Do not create any frontend code.Once this completes, it should have successfully moved all of the working files into a directory called /studio, left the Cursor rules in the root, and created an updated README that details the project. It may have also created an updated package.json file with scripts to run the studio from the root directory.
In my example it left the node_modules directory in the root. You may need to install your dependencies in the studio directory again.
In every course that I have ever written before this one, I've had to be very specific about what steps you are going to take. However, I can take a great liberty with this in an AI-powered course because I am relying on the AI's ability to perform most of the technical tasks.
All we need to do is describe what we want, not recall how we want it.
And so instead of telling you which framework to use, I'm going to trust the AI has a reasonable understanding on the best way to do things.
Admittedly, this is not the most reliable method to get bulletproof code. If you do want to start with a particular framework, we have many templates available, which will give you a handcrafted starting point.
I'm not an expert in Astro so I'm going to choose it for my example.
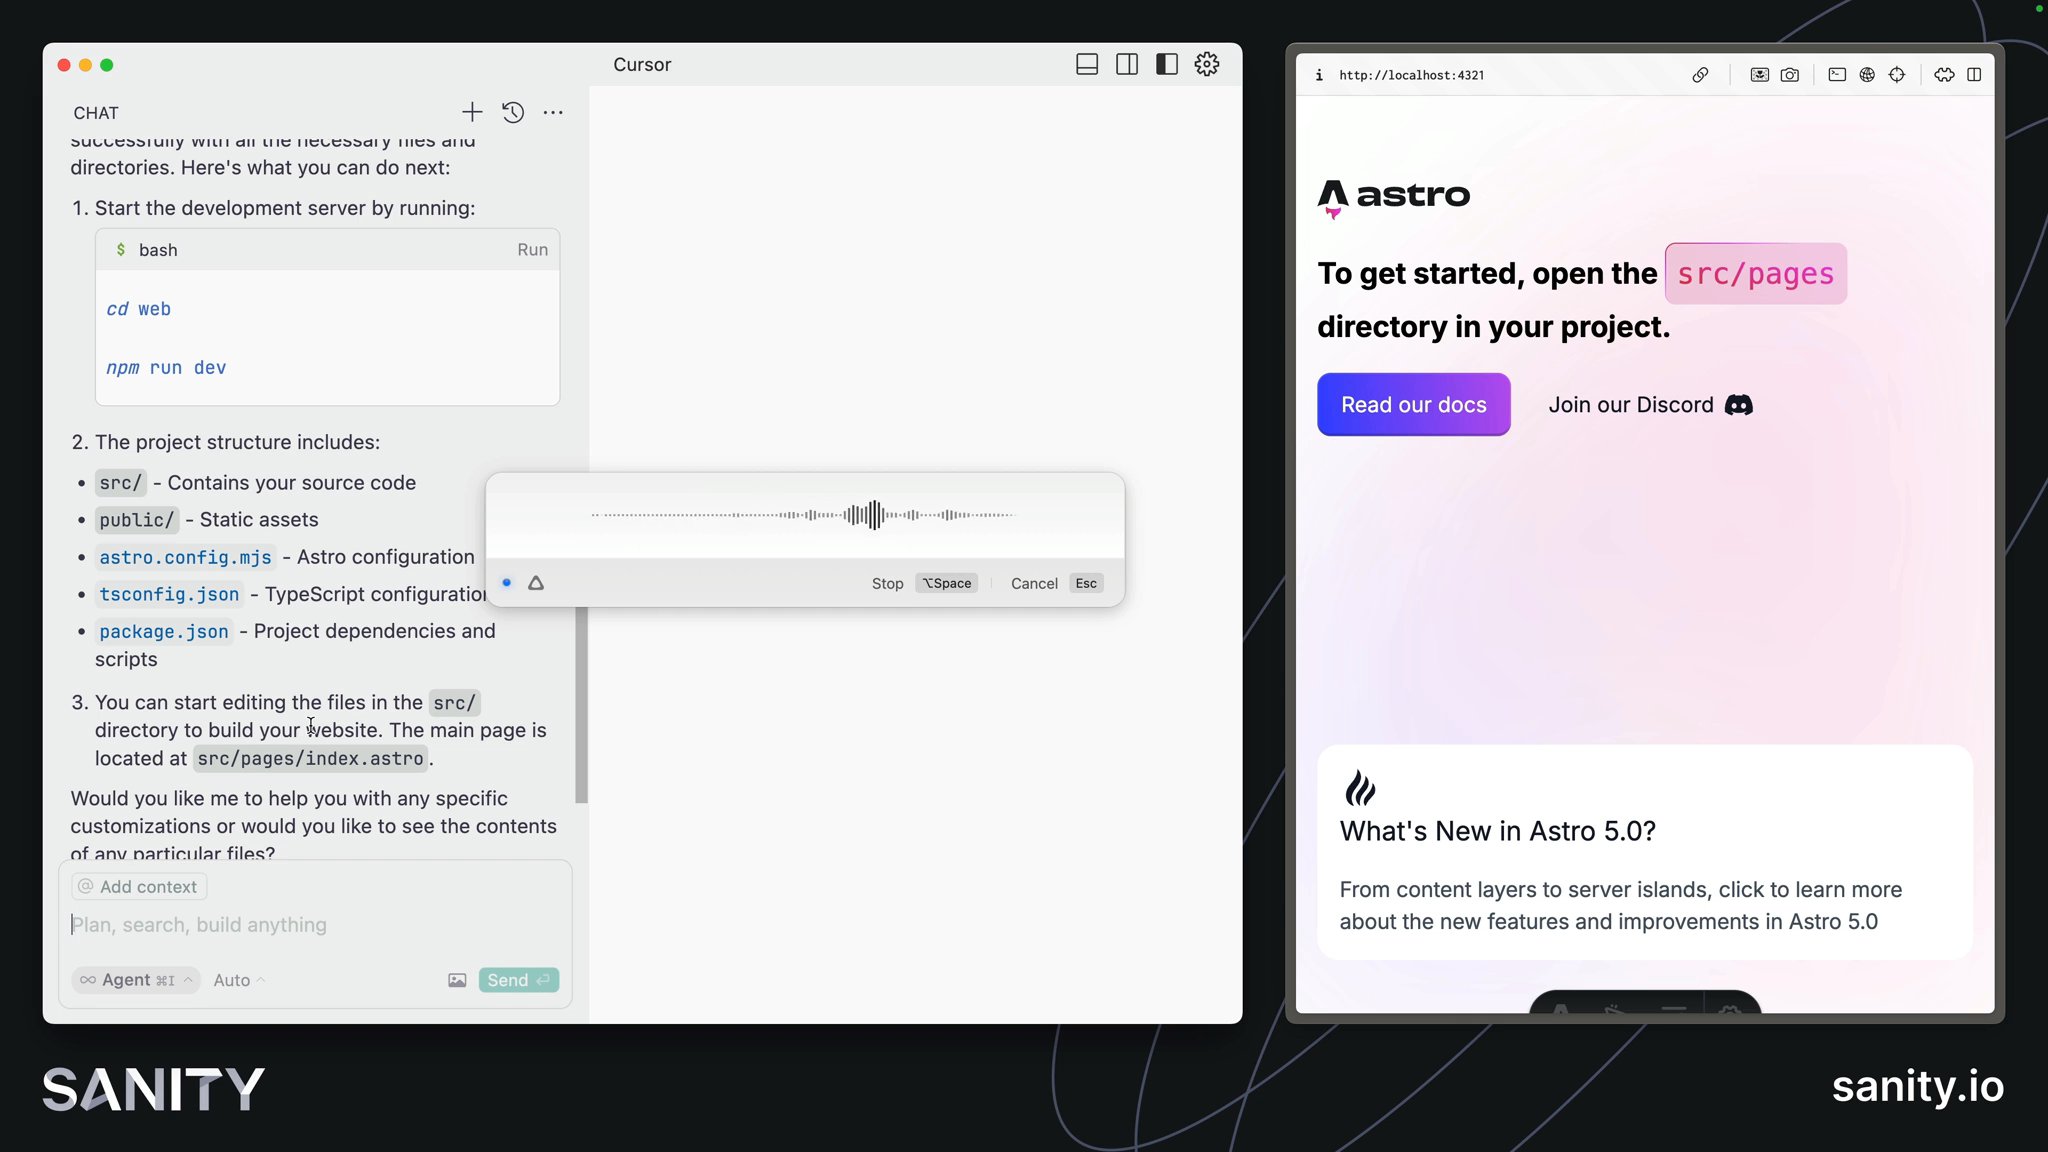
Create a new, blank Astro website within its own folder in this project.Once the prompt finishes, you should have a new directory with some instructions on how to continue to configure your build. It may have even started the development process for you.
It's now time to integrate your Sanity content within it. Before prompting any code changes, check first how confident your AI-assistant is to perform the task.
Without writing any code, tell me how well you understand importing content from Sanity into an Astro frontend.Hopefully, it's very confident! However, we should never be too trusting of AI's confidence or give it too much to do in one go. Let's keep our asks small for now and just get it to successfully query all of the blog posts in our project.
Because we have all of our Sanity Studio configuration files within the same project, it should be able to read through them to get a good understanding of the project details and the GROQ queries it will need to write to complete this task.
Excellent. In that case, I would like you to look at - @sanity.config.ts to find project details about my Sanity Studio- @schemaTypes to understand the document types that we have available- @sanity-opinionated.mdc on how to write GROQ queries
Then update the Astro front end to query for the latest blog posts. Render them on the home page as a simple list. Do not create individual route blog posts. We just want to confirm this first small task before taking any further action.
The Agent should then work through several steps researching the project, installing dependencies, configuring Sanity Client, writing a GROQ query and eventually querying for and rendering blog posts from your Sanity project.
What you do next is entirely up to you. You may like to include styling, render individual blog posts, or author pages, or store locations.
Whatever you need, just ask.
One of the major benefits of having both your back and front end in code is now that you can make changes to both at once. Say you wanted to rename a field or add a new field to a document type. You could write a prompt that will update both the Sanity Studio configuration and the front end layout.