Set up SSO authentication with SAML and Azure/Entra ID
Implement single sign-on authentication with the SAML protocol and Microsoft Azure AD/ Entra ID as the identity provider.
This developer guide was contributed by Saskia Bobinska (Senior Support Engineer), Benjamin Weinberger (Support Engineer at Sanity.io), Tim Naughton (Sanity Support Engineer), Dain Cilke (Software Engineer @ Sanity.io), and Marco Spinello (Technical writer at Sanity.io. I curate my own typos.).
Configure and enable SSO authentication in your Sanity instance using the SAML protocol and Microsoft Azure AD as an identity provider (IdP.)
During the setup and configuration process, it's a good idea to keep two windows side by side:
- One with Sanity Manage.
- The other with the configuration settings of the IdP; in this case, Azure (Microsoft Entra ID).
Getting ready
Go to the service configuration (Sanity)
Go to Sanity Manage and select the organization you want to enable SSO for your organization.
To navigate to the service provider configuration inside Sanity Manage:
- In the organization you intend to add SSO to, go to Settings → SAML SSO.
- If no SAML SSO provider exists, click Open SAML SSO configuration and proceed to create and configure a SAML SSO provider.
Go to the service configuration (Azure/Entra ID)
To navigate to the identity provider configuration in Azure:
- Log into Azure.
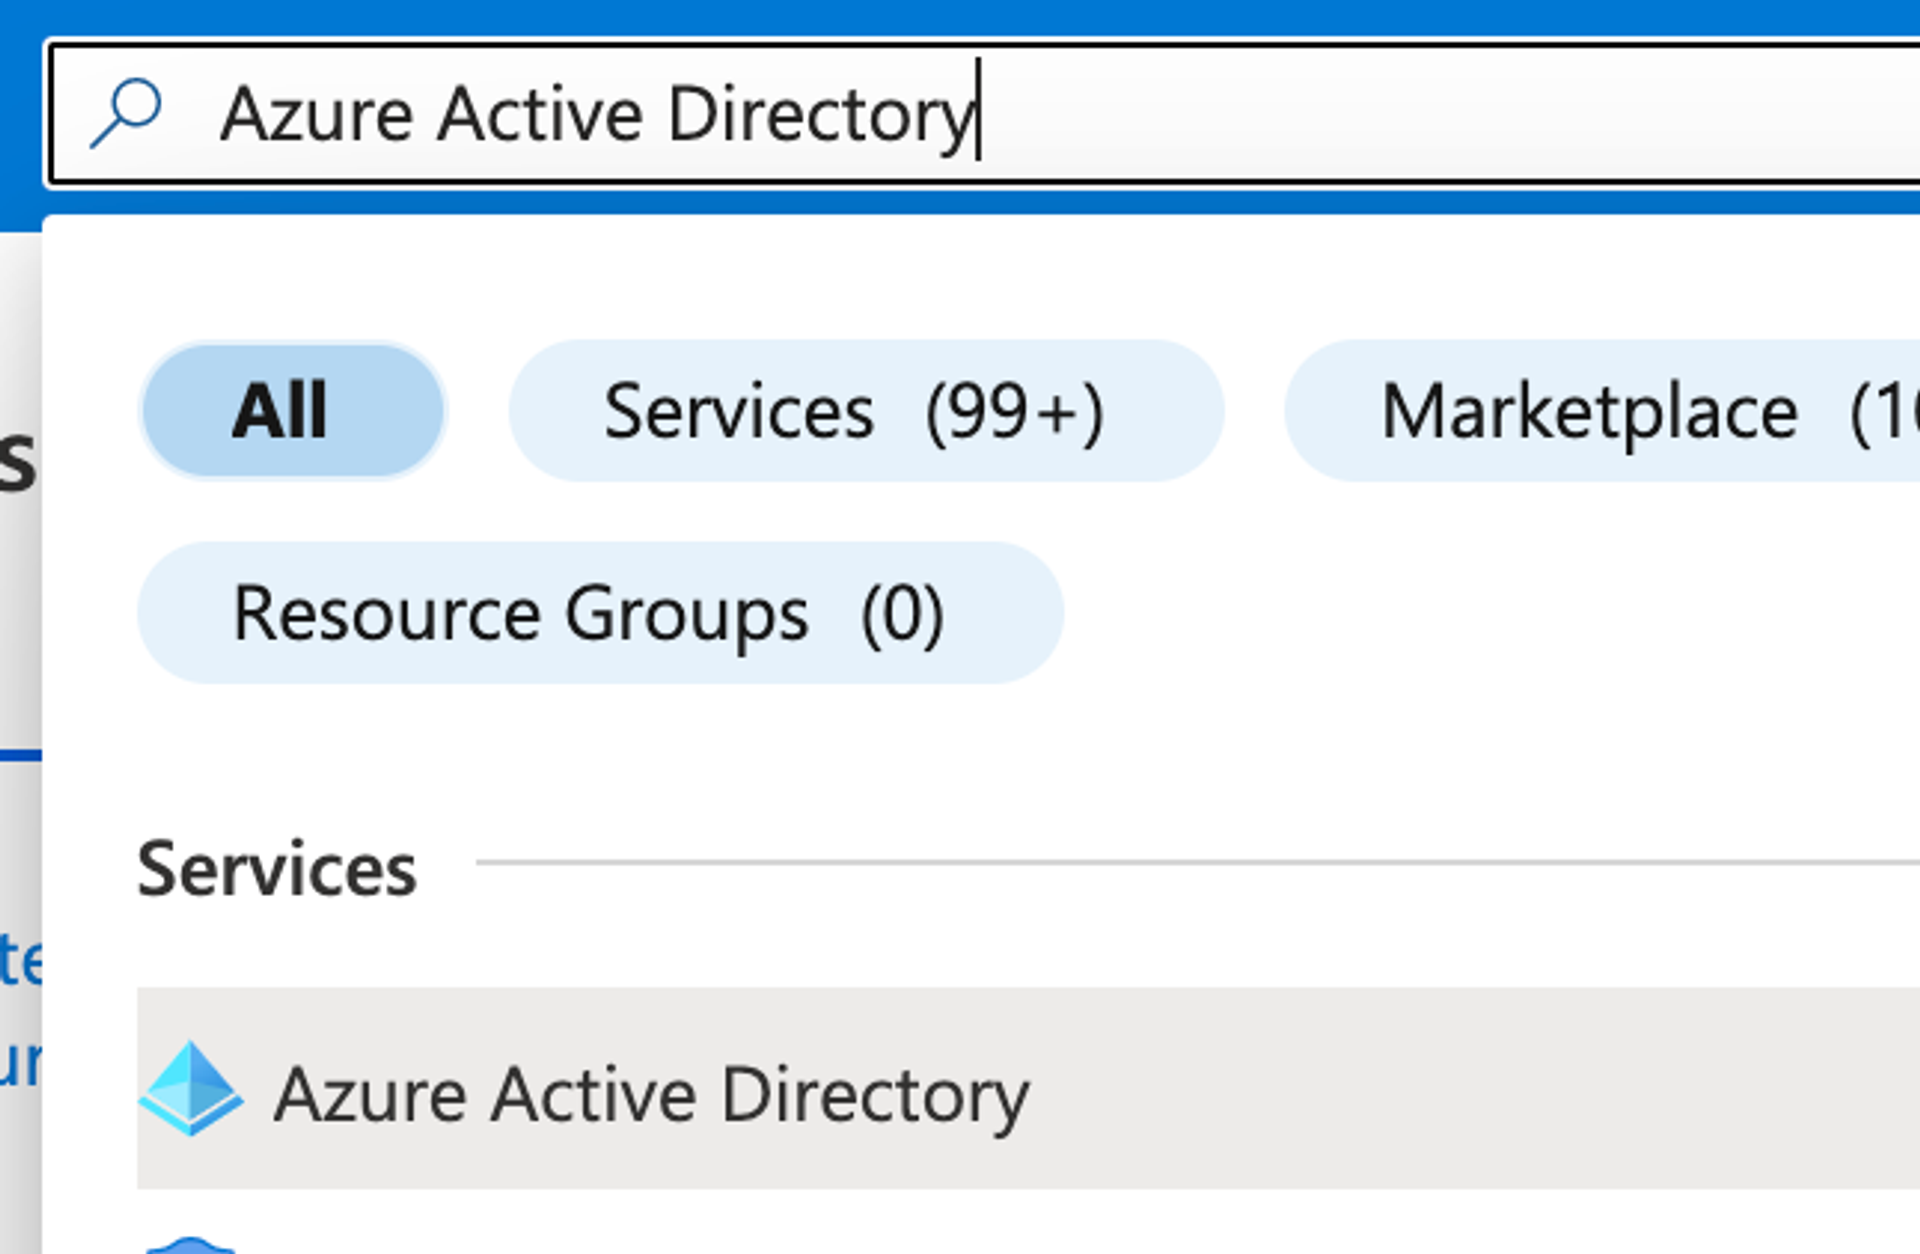
- Go to Azure Active Directory.
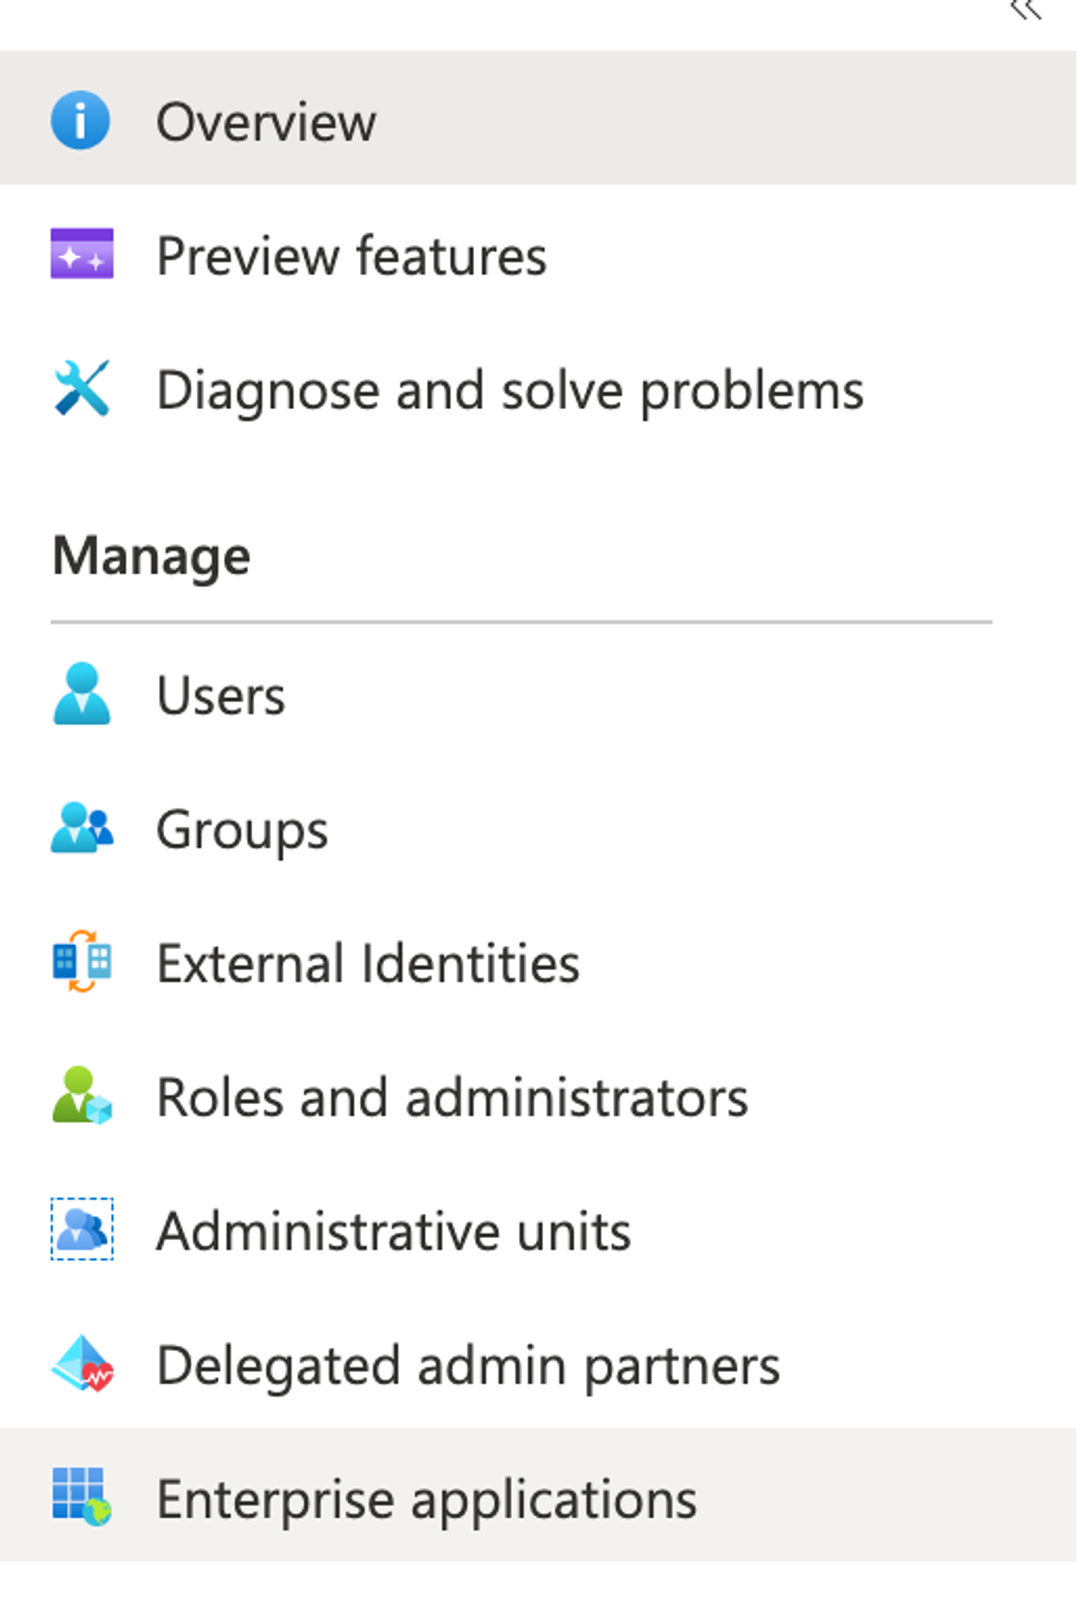
- On the sidebar, go to Enterprise applications.
In Enterprise applications:
- Select an existing SAML application or create a new enterprise application.
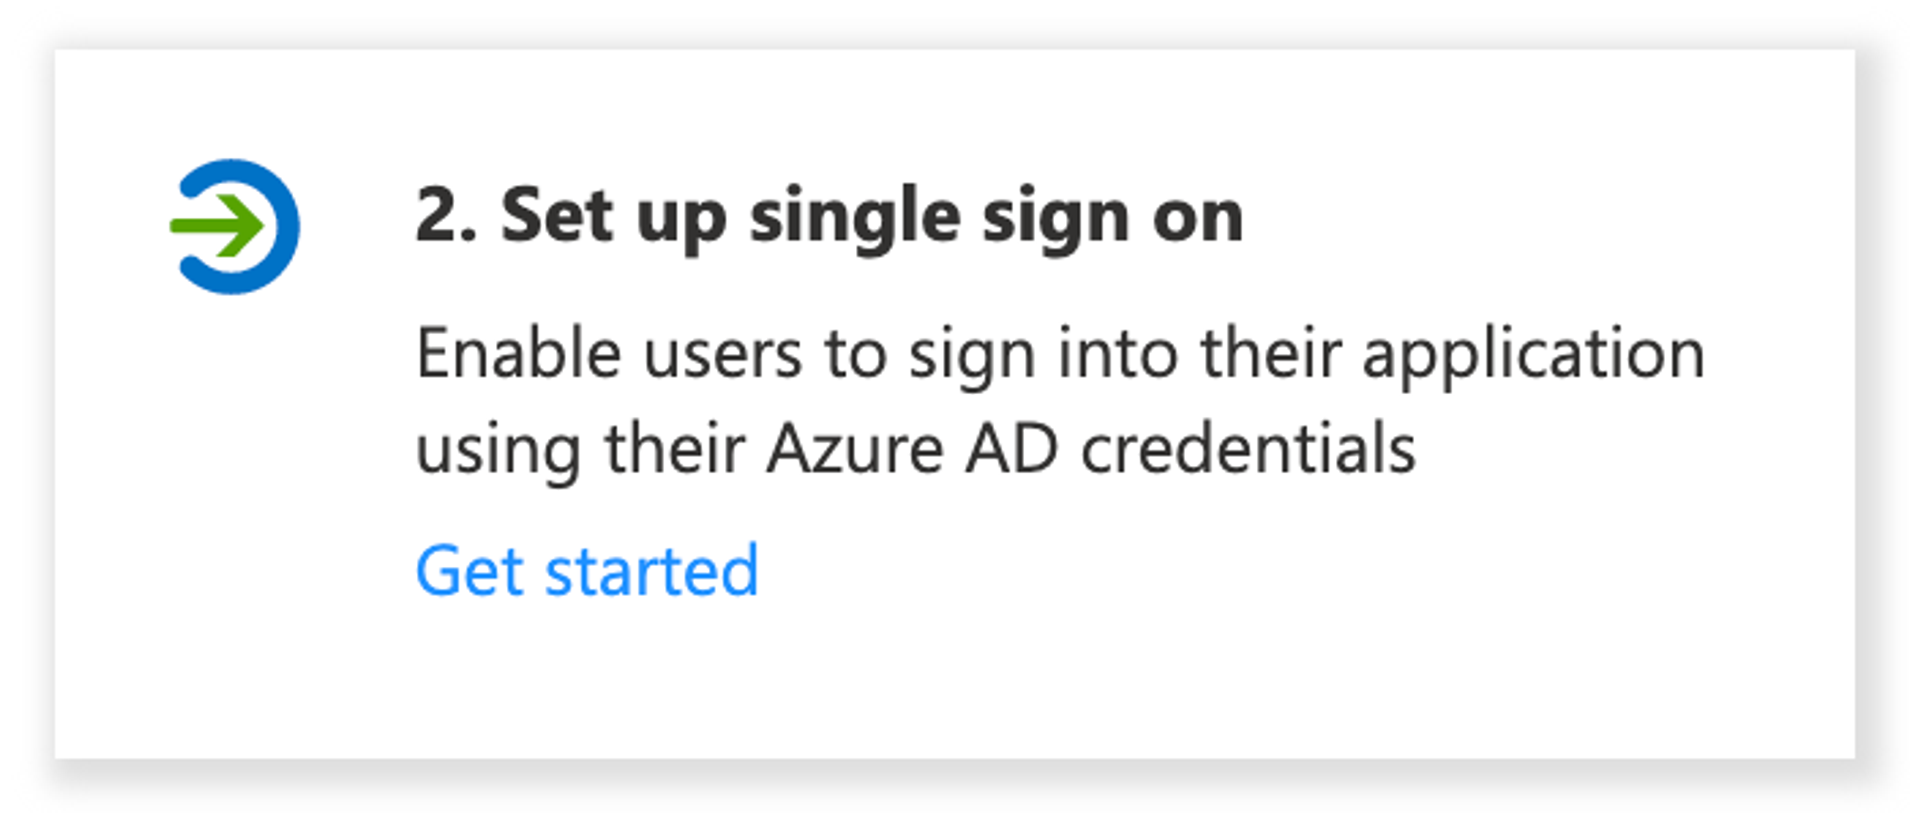
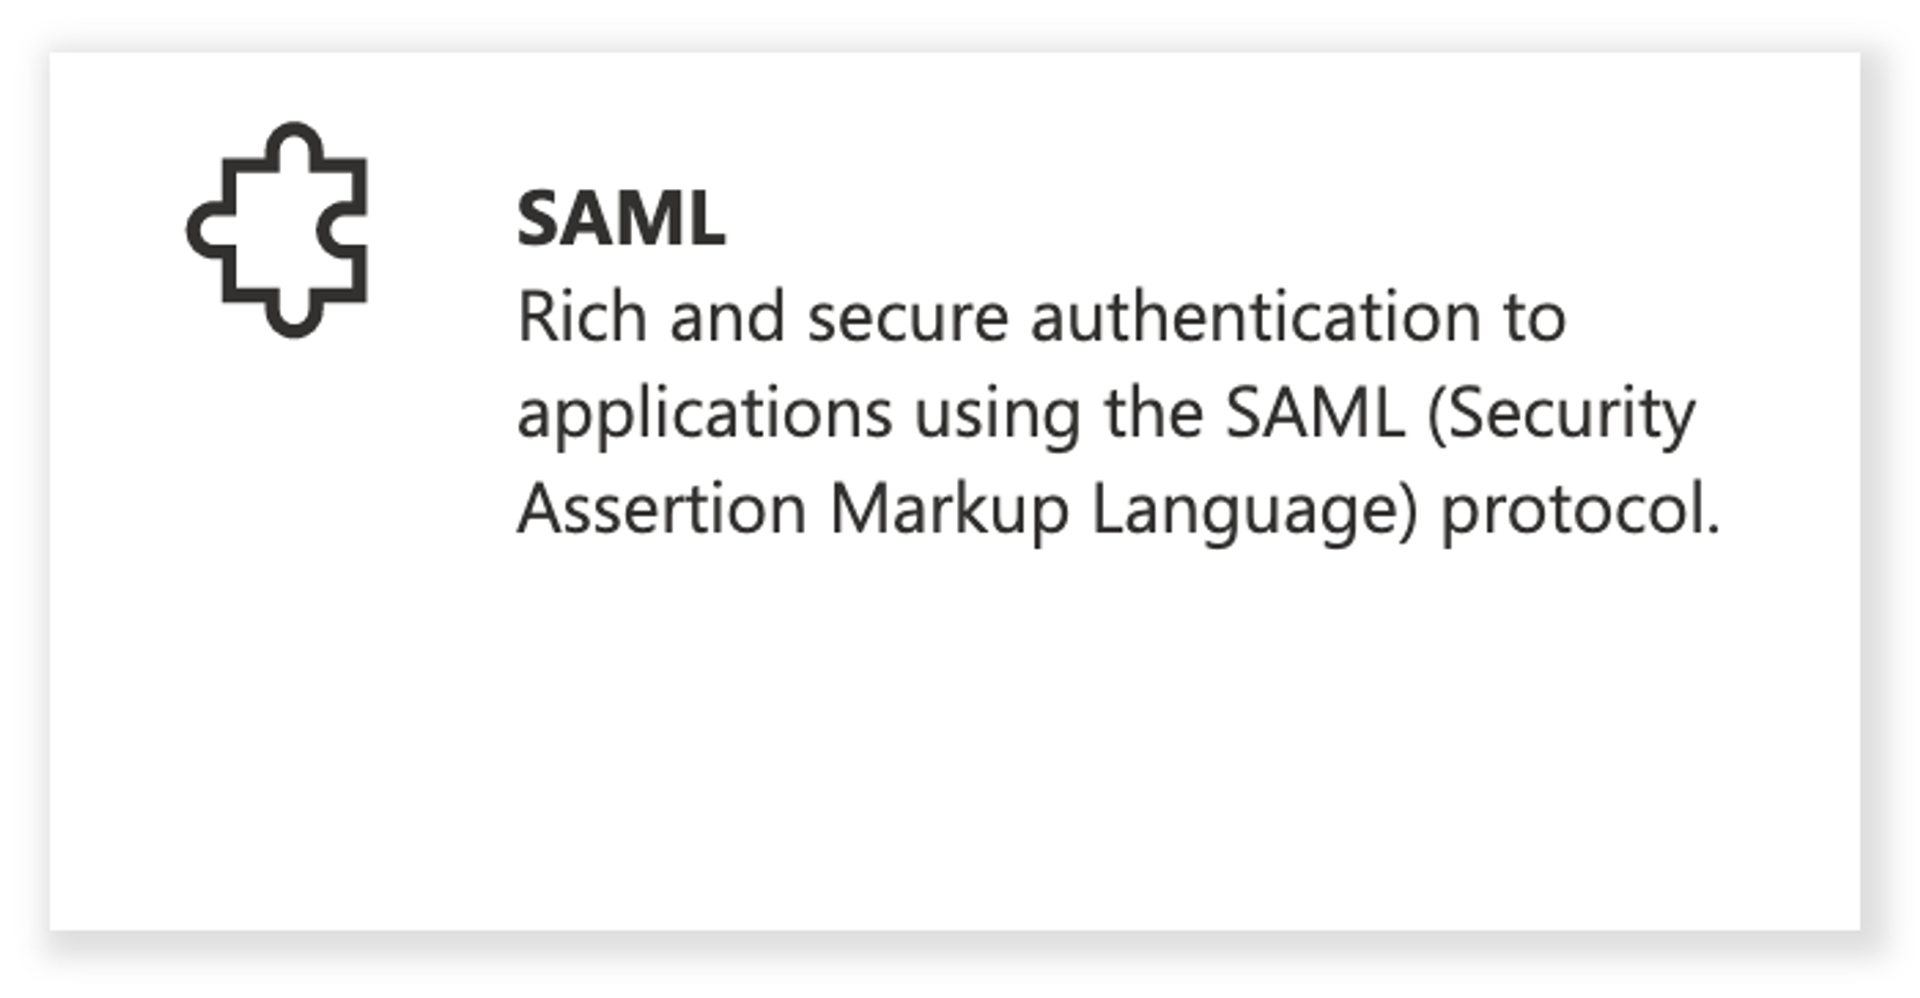
If you create a new application, you can also integrate any other applications not available in the gallery. - Go to Set up single sign on, and then choose the SAML sign-on method to use.
If you're keeping two browser tabs or windows open side by side, now you should have one on the configuration screen inside Sanity Manage, and the other on the configuration screen in Azure.
Configuring the Azure IdP
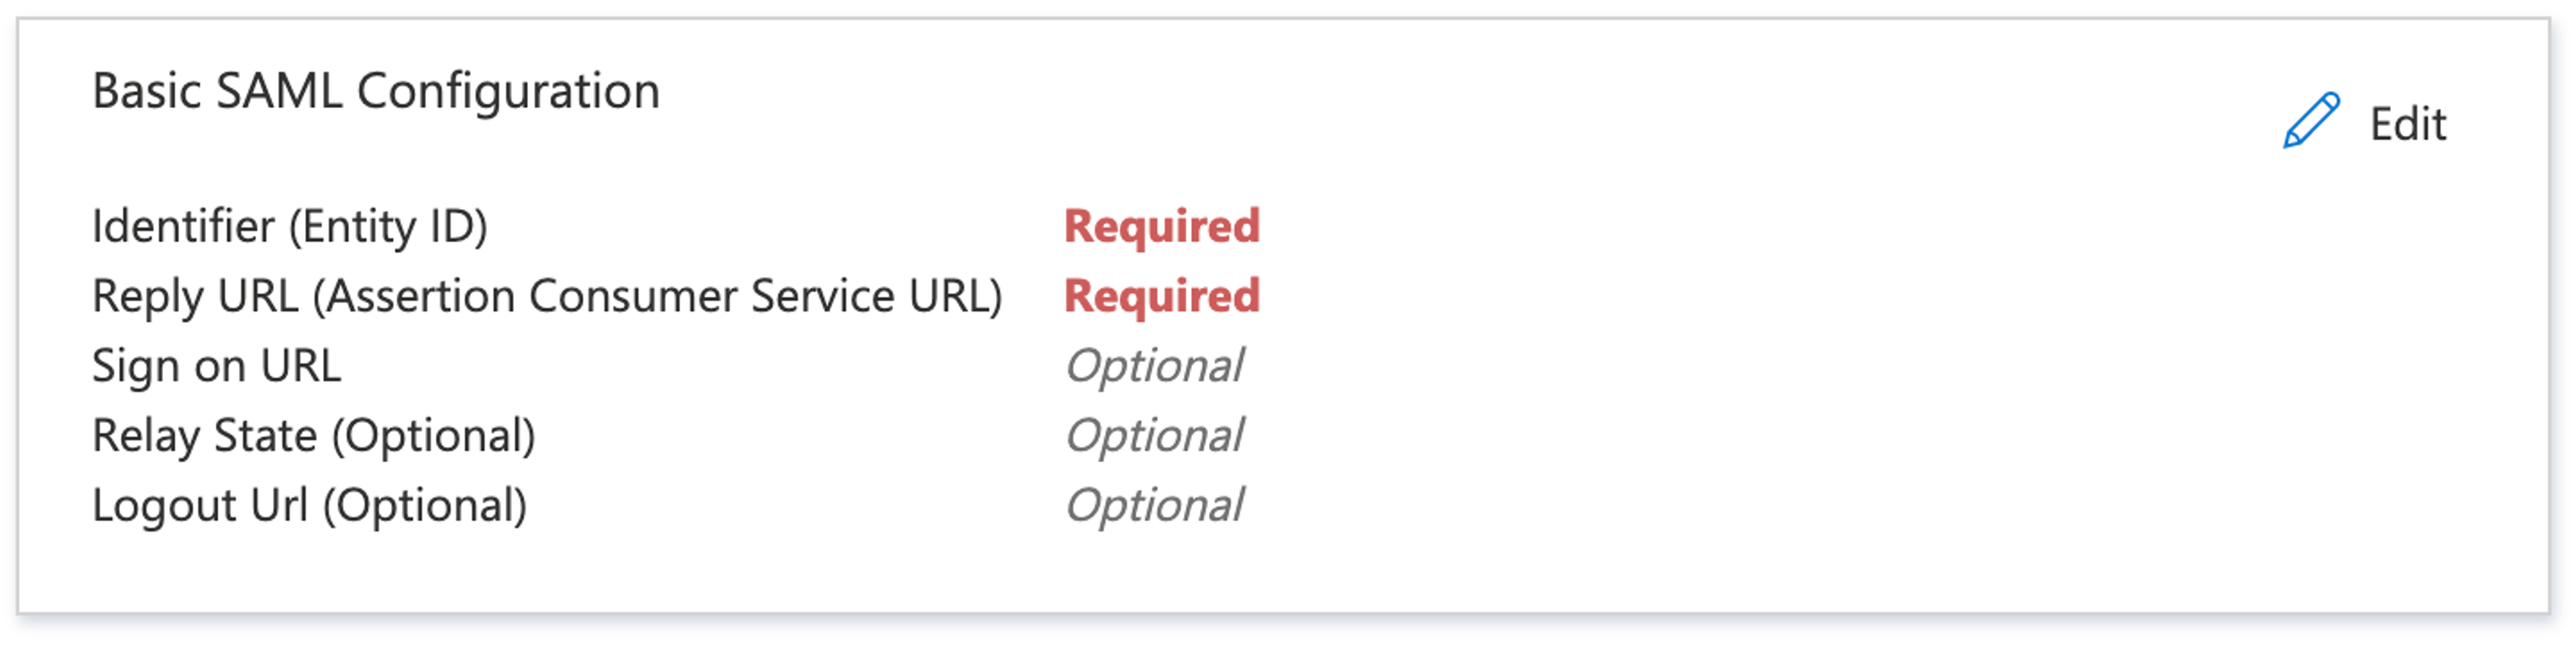
Basic SAML Configuration
- In Azure, edit the Basic SAML Configuration form.
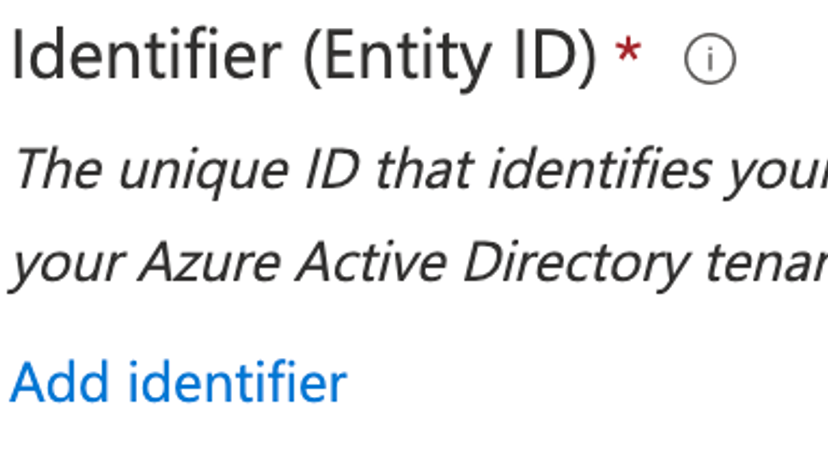
- Add an Identifier (Entity ID) to the basic SAML configuration.
- Identifier (Entity ID) -> Sanity entity ID in Sanity Manage.
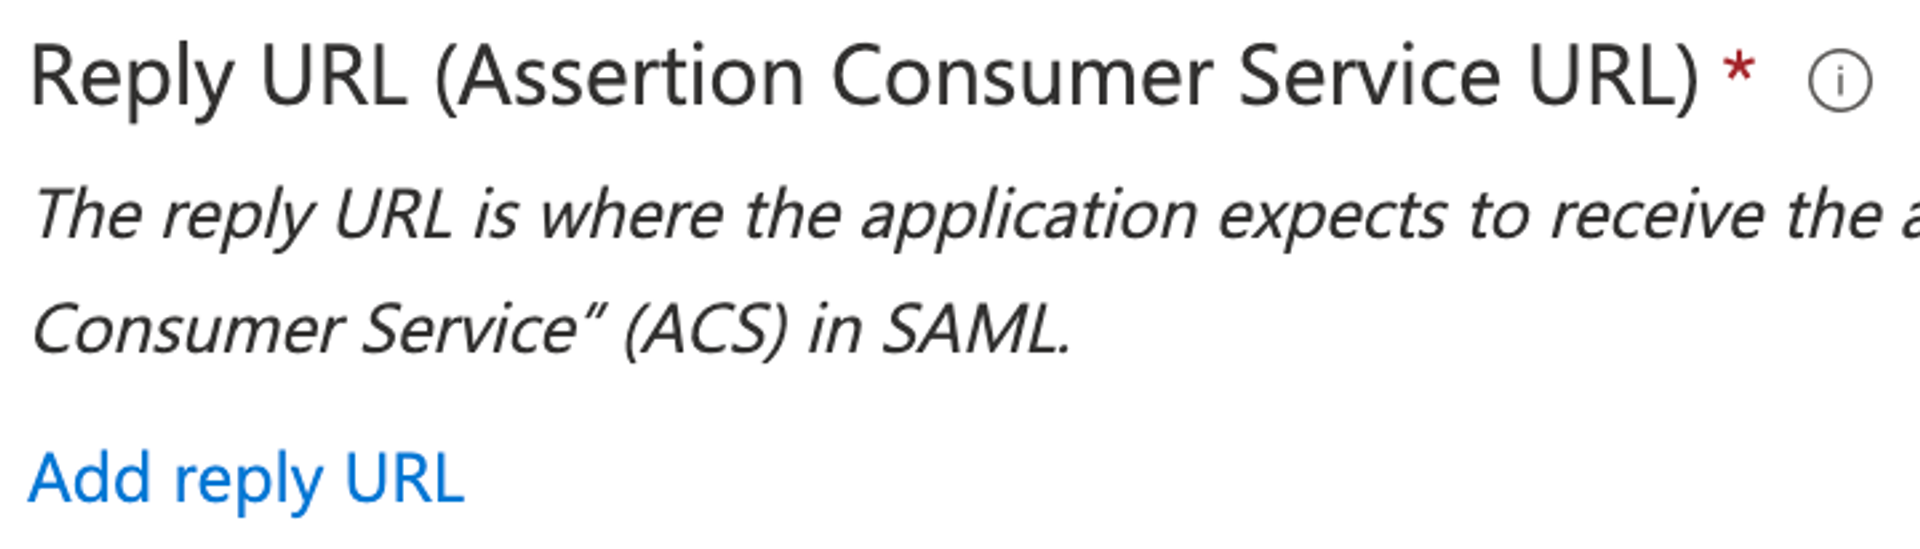
- Add a Reply URL (Assertion Consumer Service URL).
- Reply URL (Assertion Consumer Service URL) -> Sanity callback URL in Sanity Manage.
- Click Save.
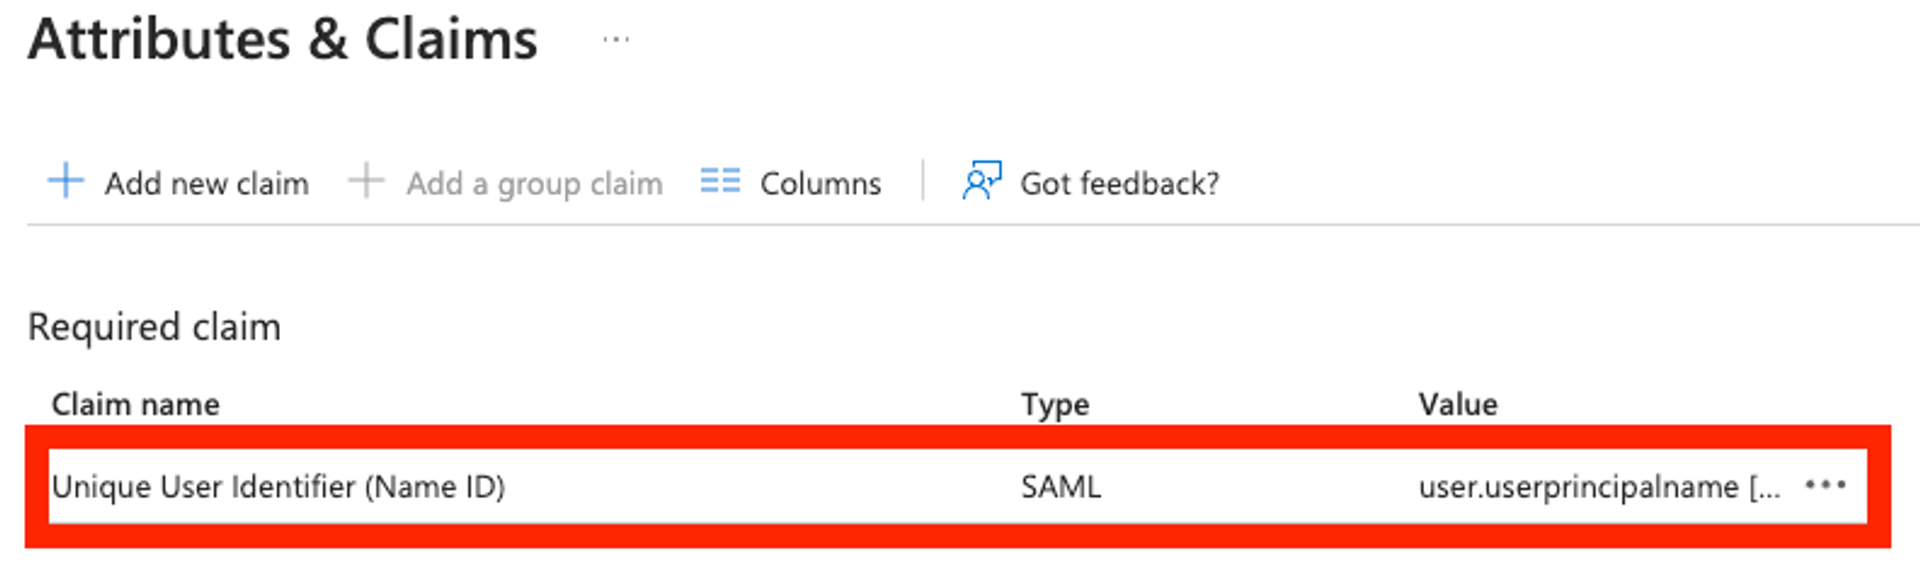
Attributes & Claims
Required Claim
- In Azure, edit the Attributes & Claims form.
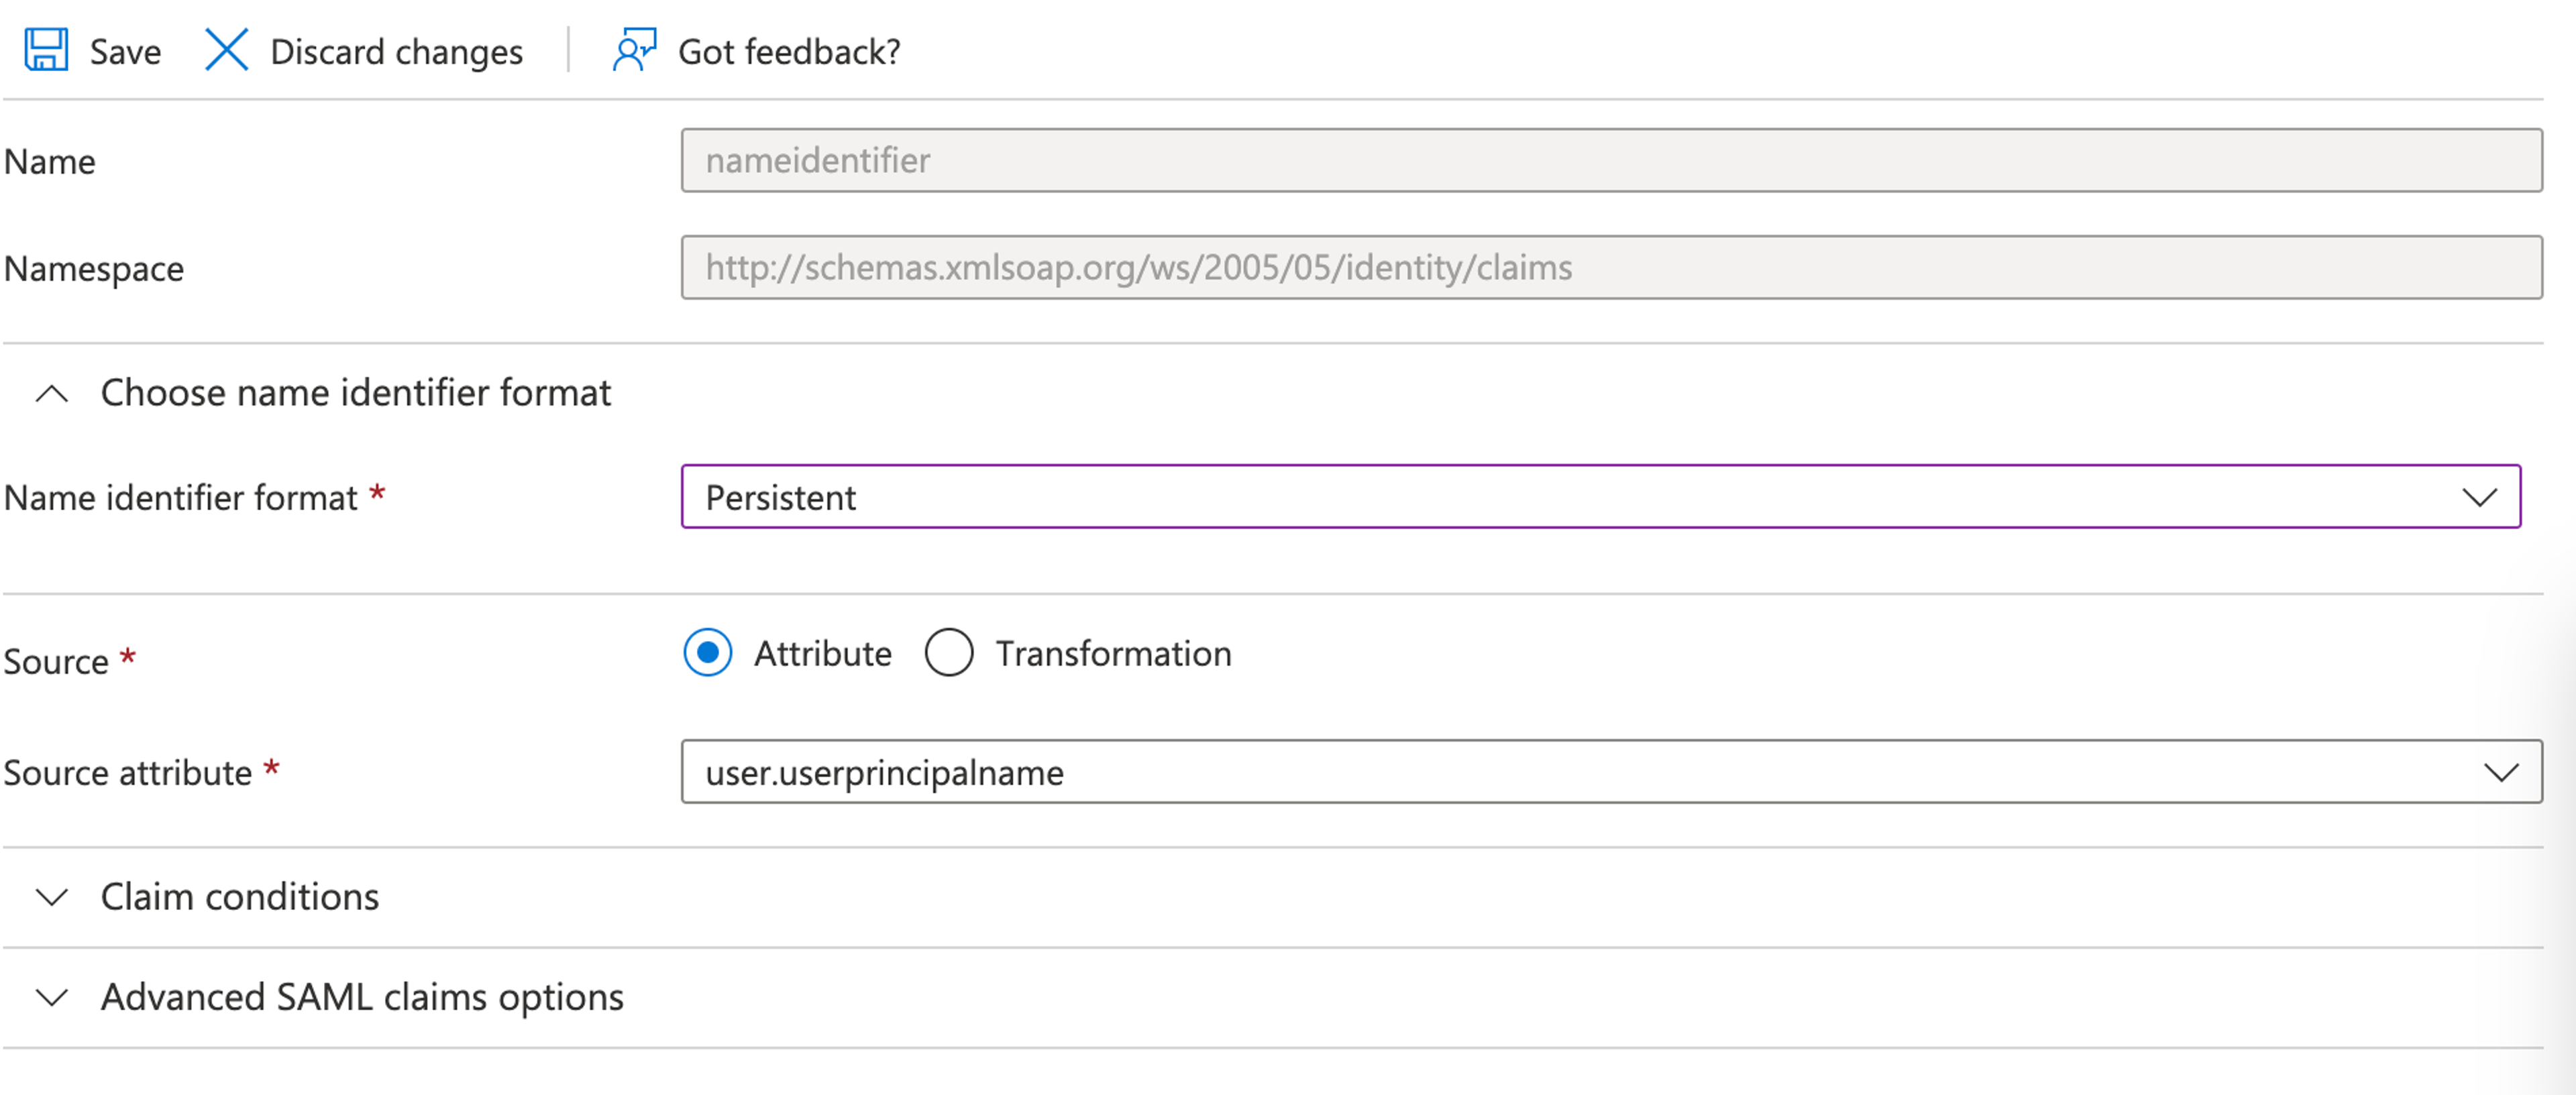
- Edit the Unique User Identifier (Name ID) claim, and change the Name identifier format to Persistent.
- Click Save.
Additional Claims
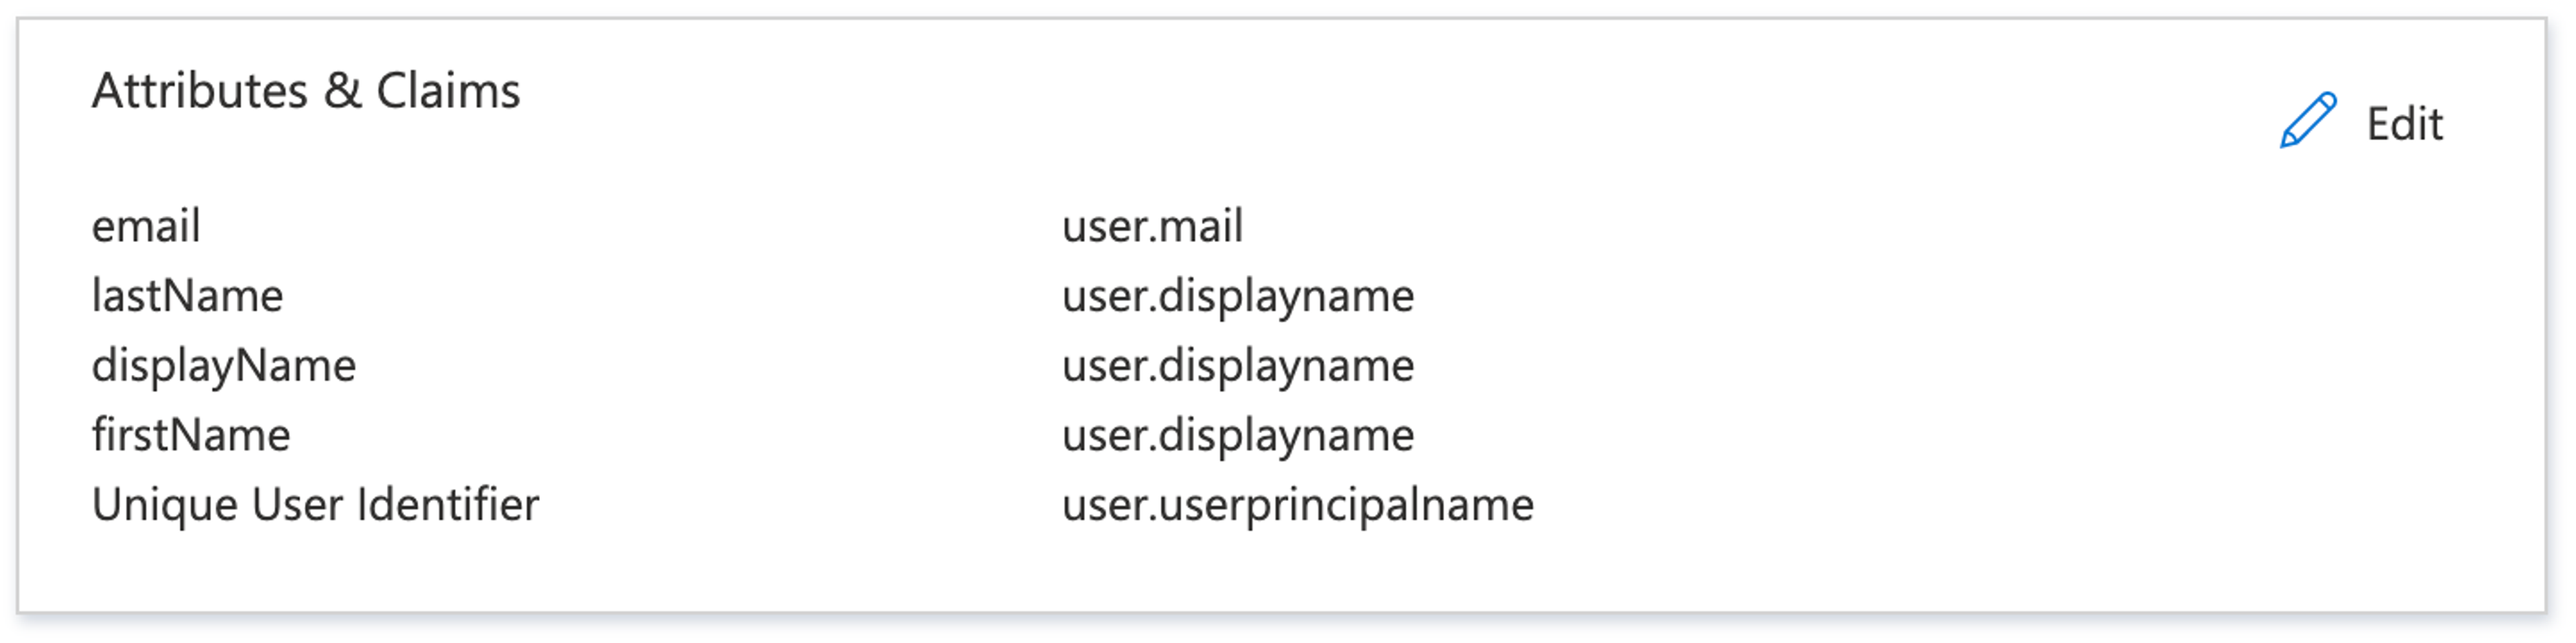
Now, configure Azure to send the claims that Sanity requires in the expected form.
The claims (attributes) that Sanity expects are listed inside Sanity Manage:
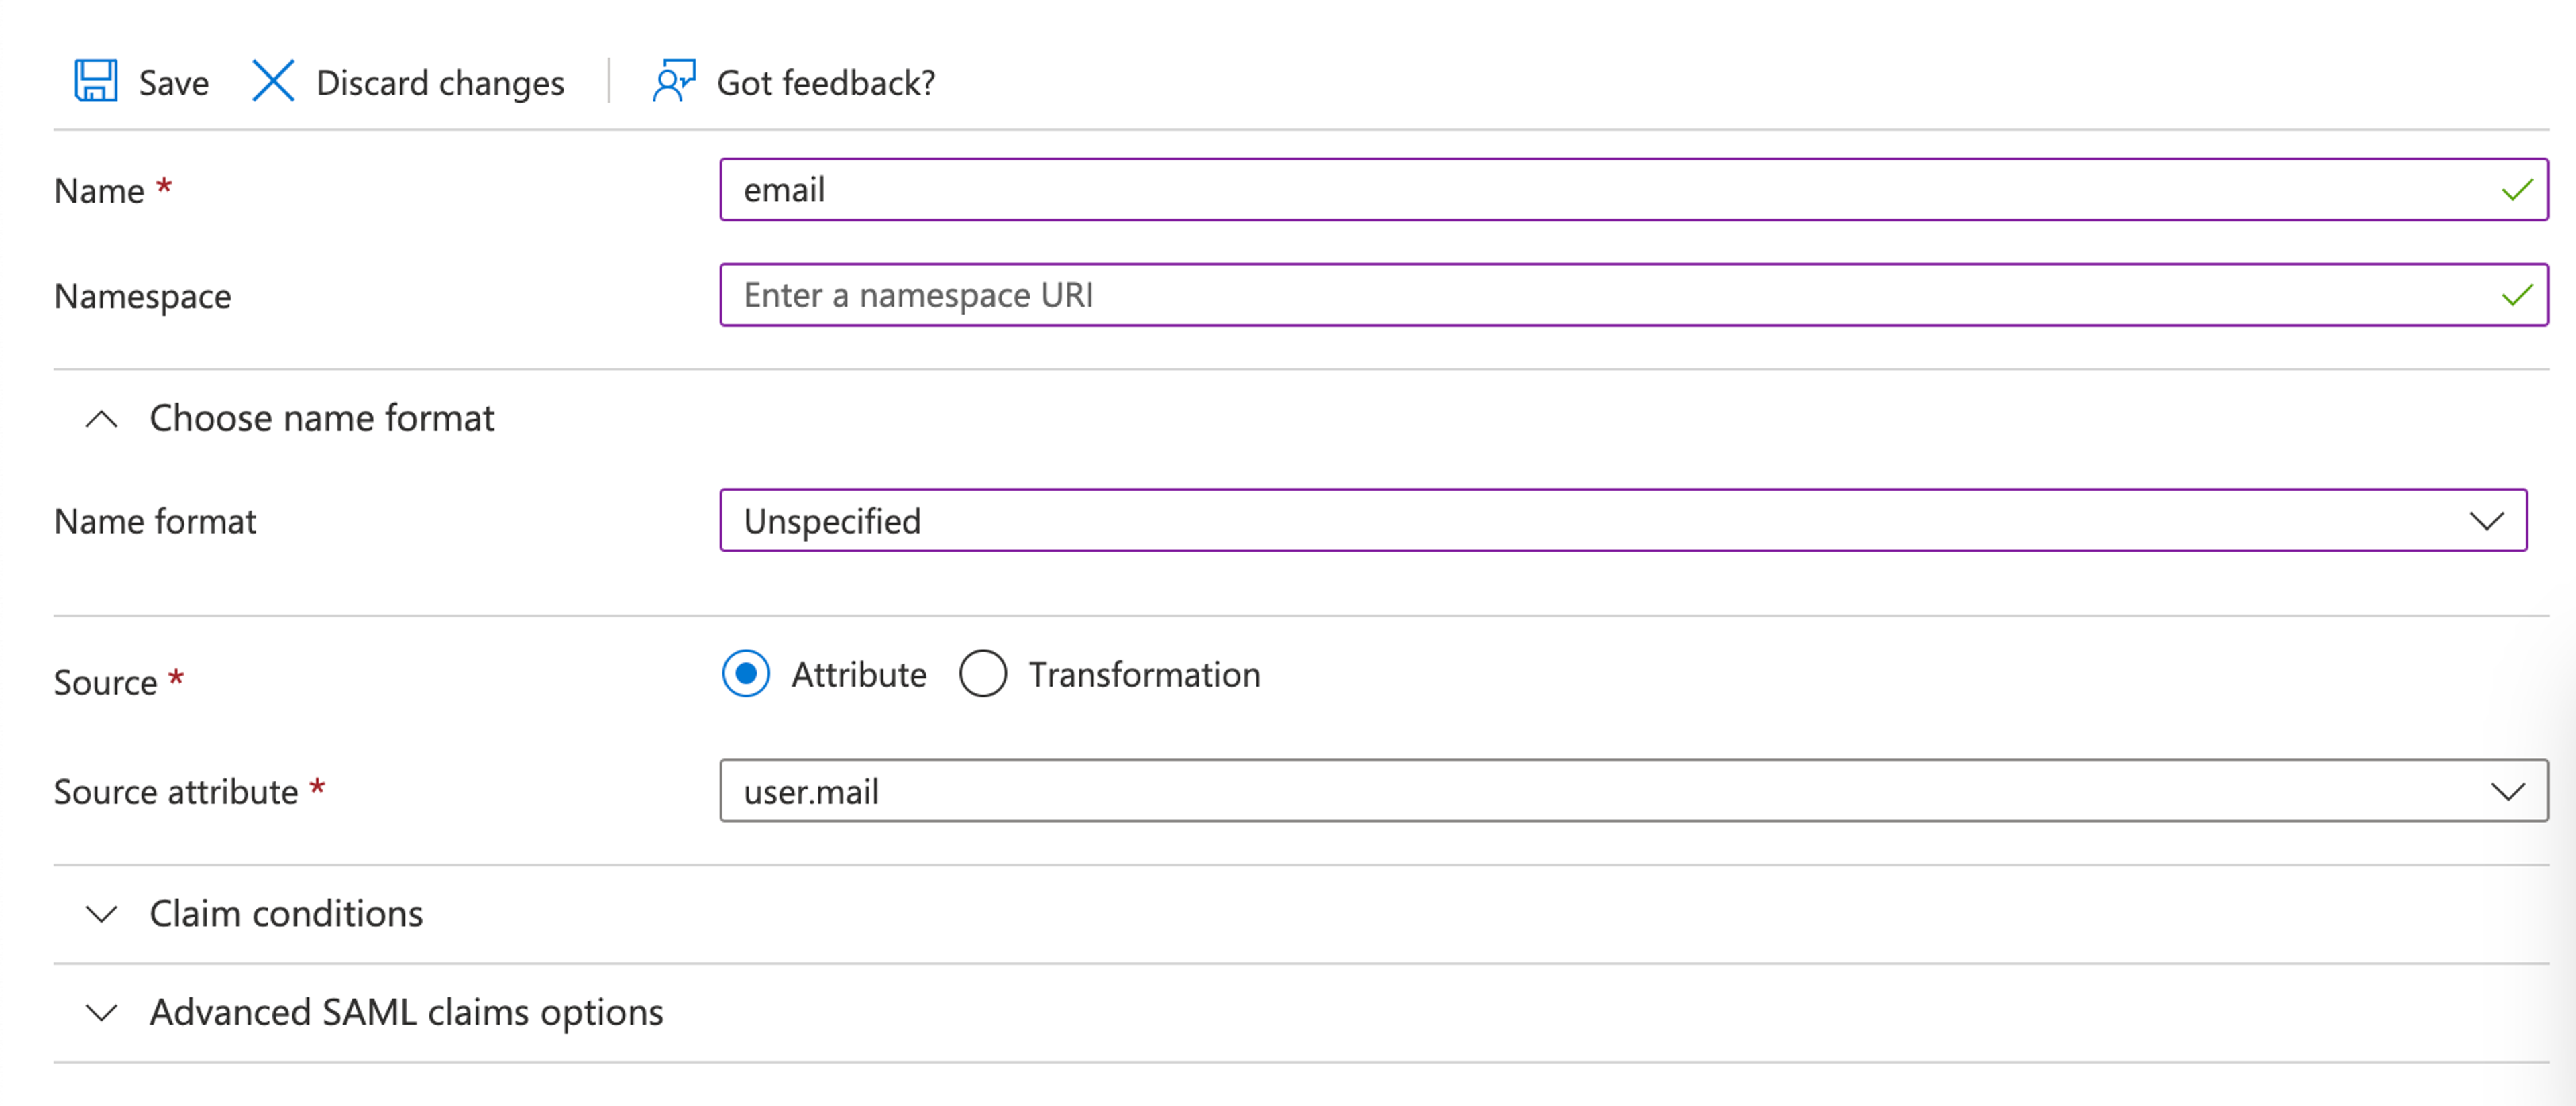
For each claim:
- Ensure the claim Name matches the attribute name in the table above.
- Ensure the Namespace is deleted.
- Ensure the Name format is set to Unspecified.
- Ensure the Source attribute is mapped correctly. This varies, and it depends on the specific Azure Active Directory configuration.
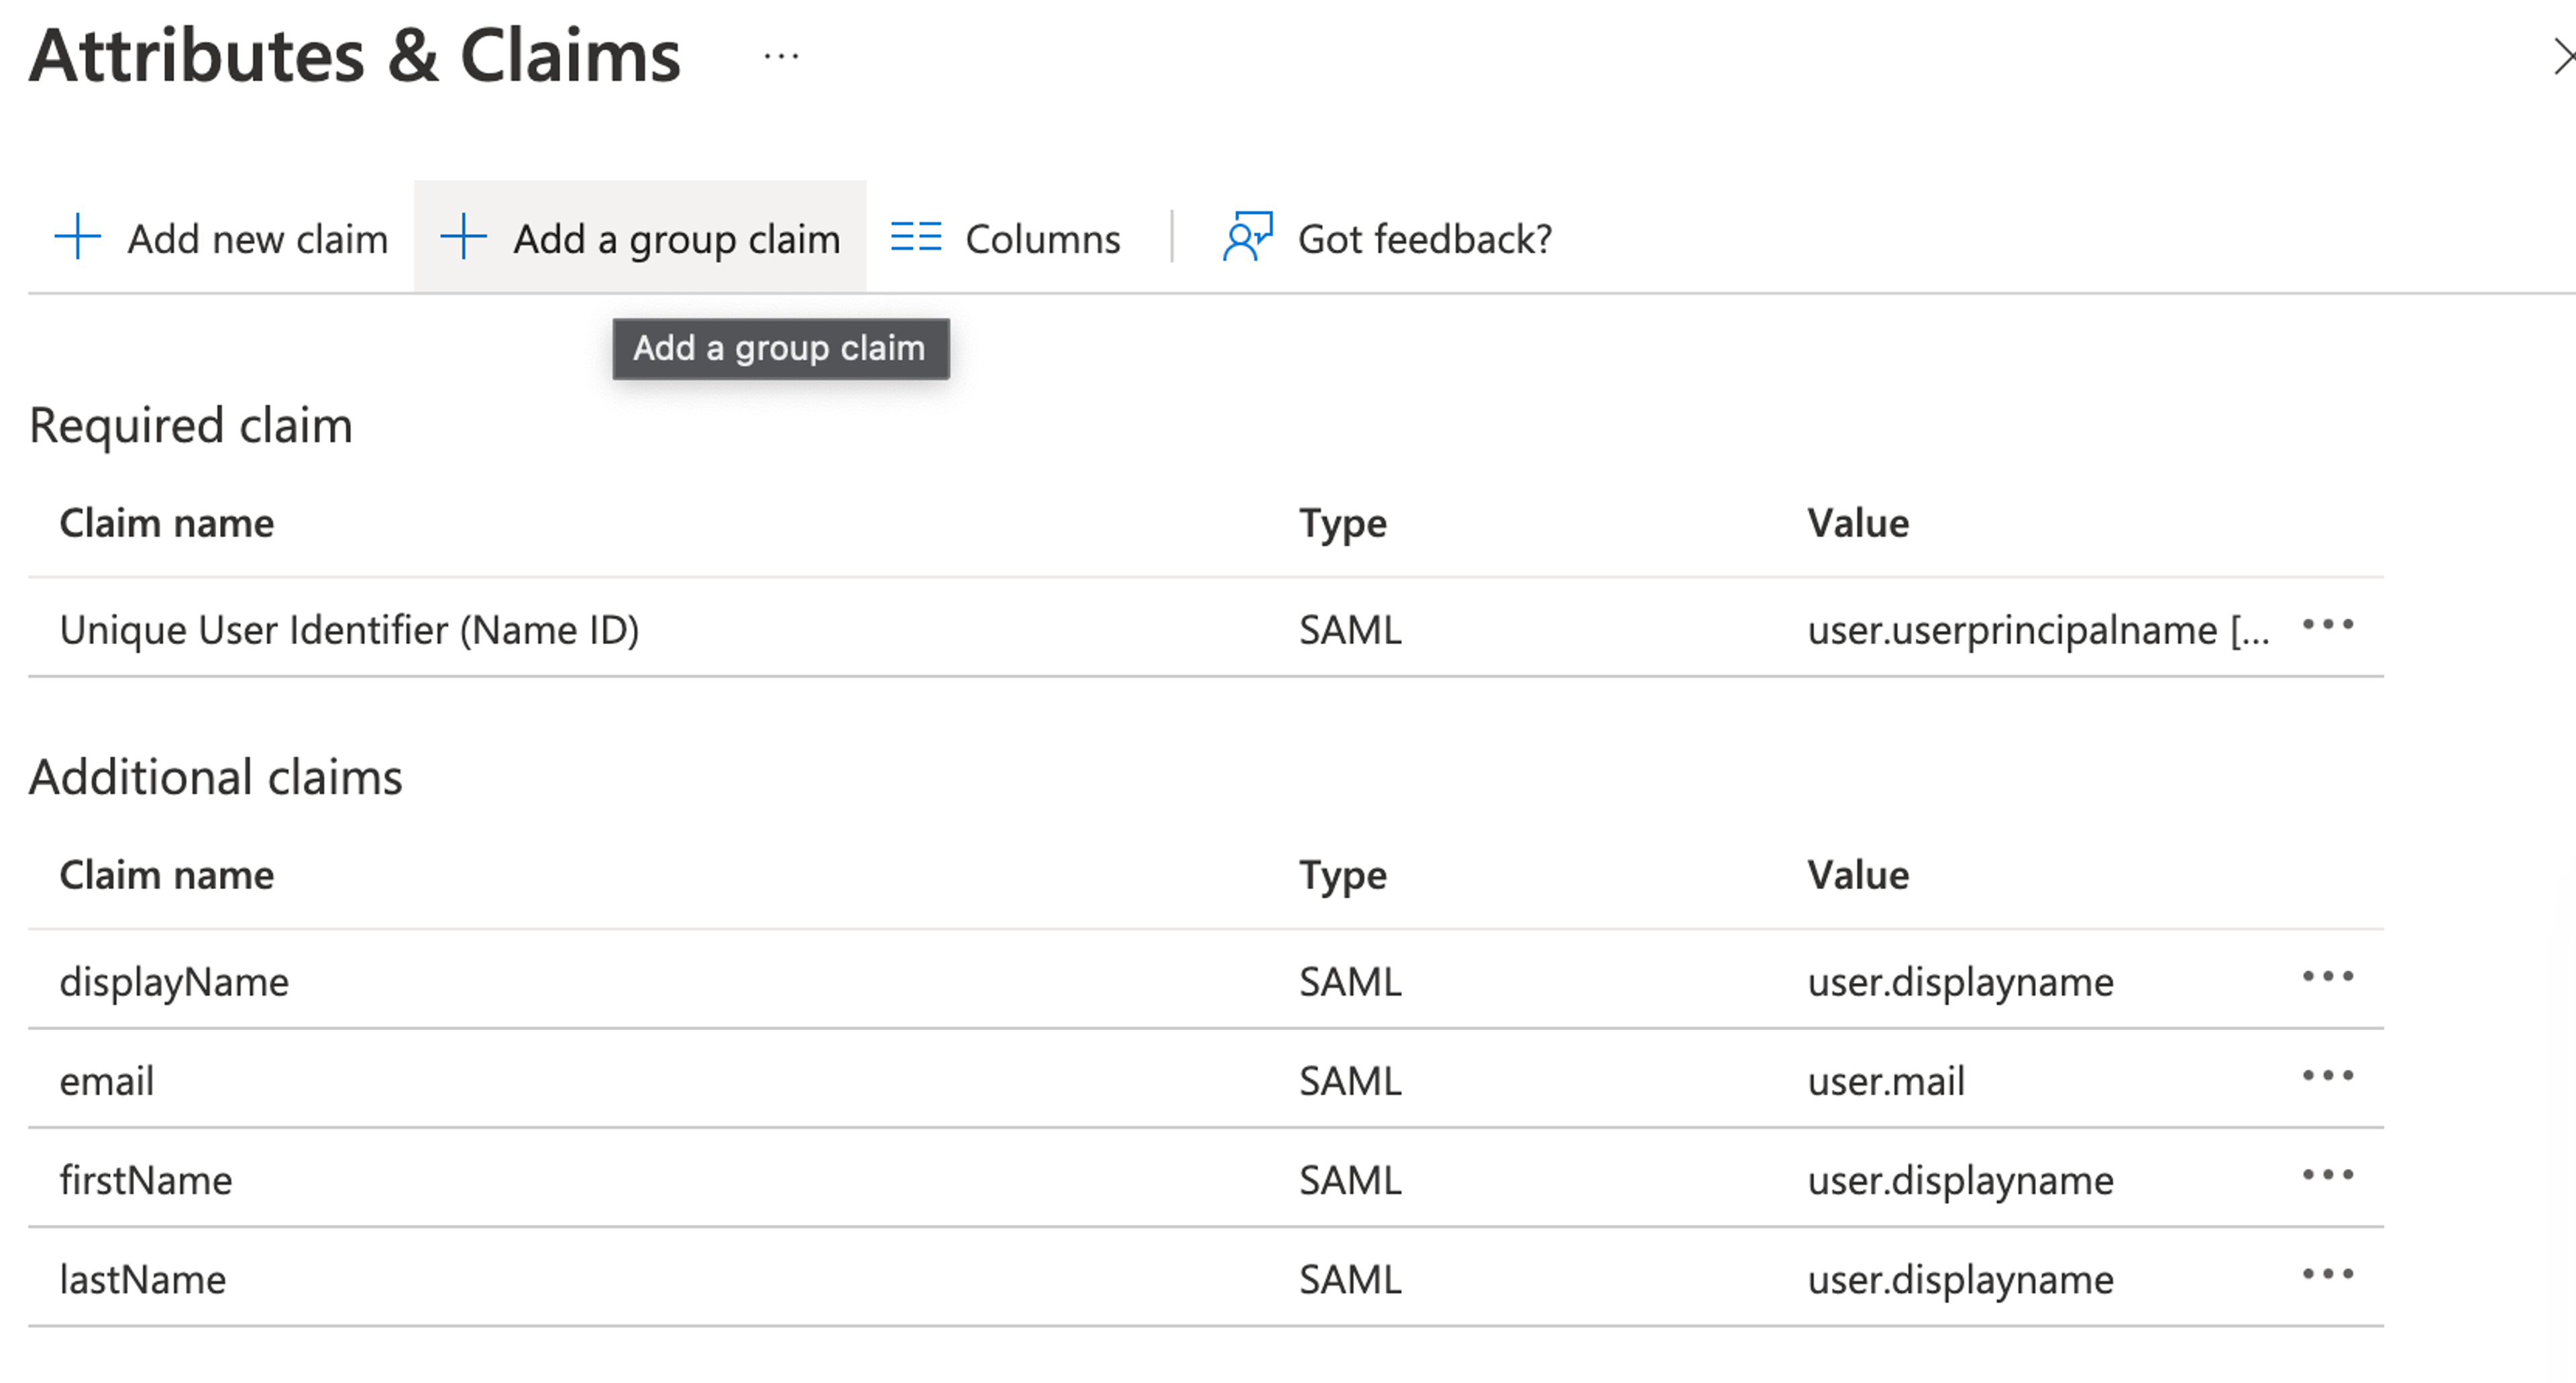
Once all claims have been added:
Sanity requires user.firstName and user.surname. The mapping in the example replaces both fields with user.displayname.
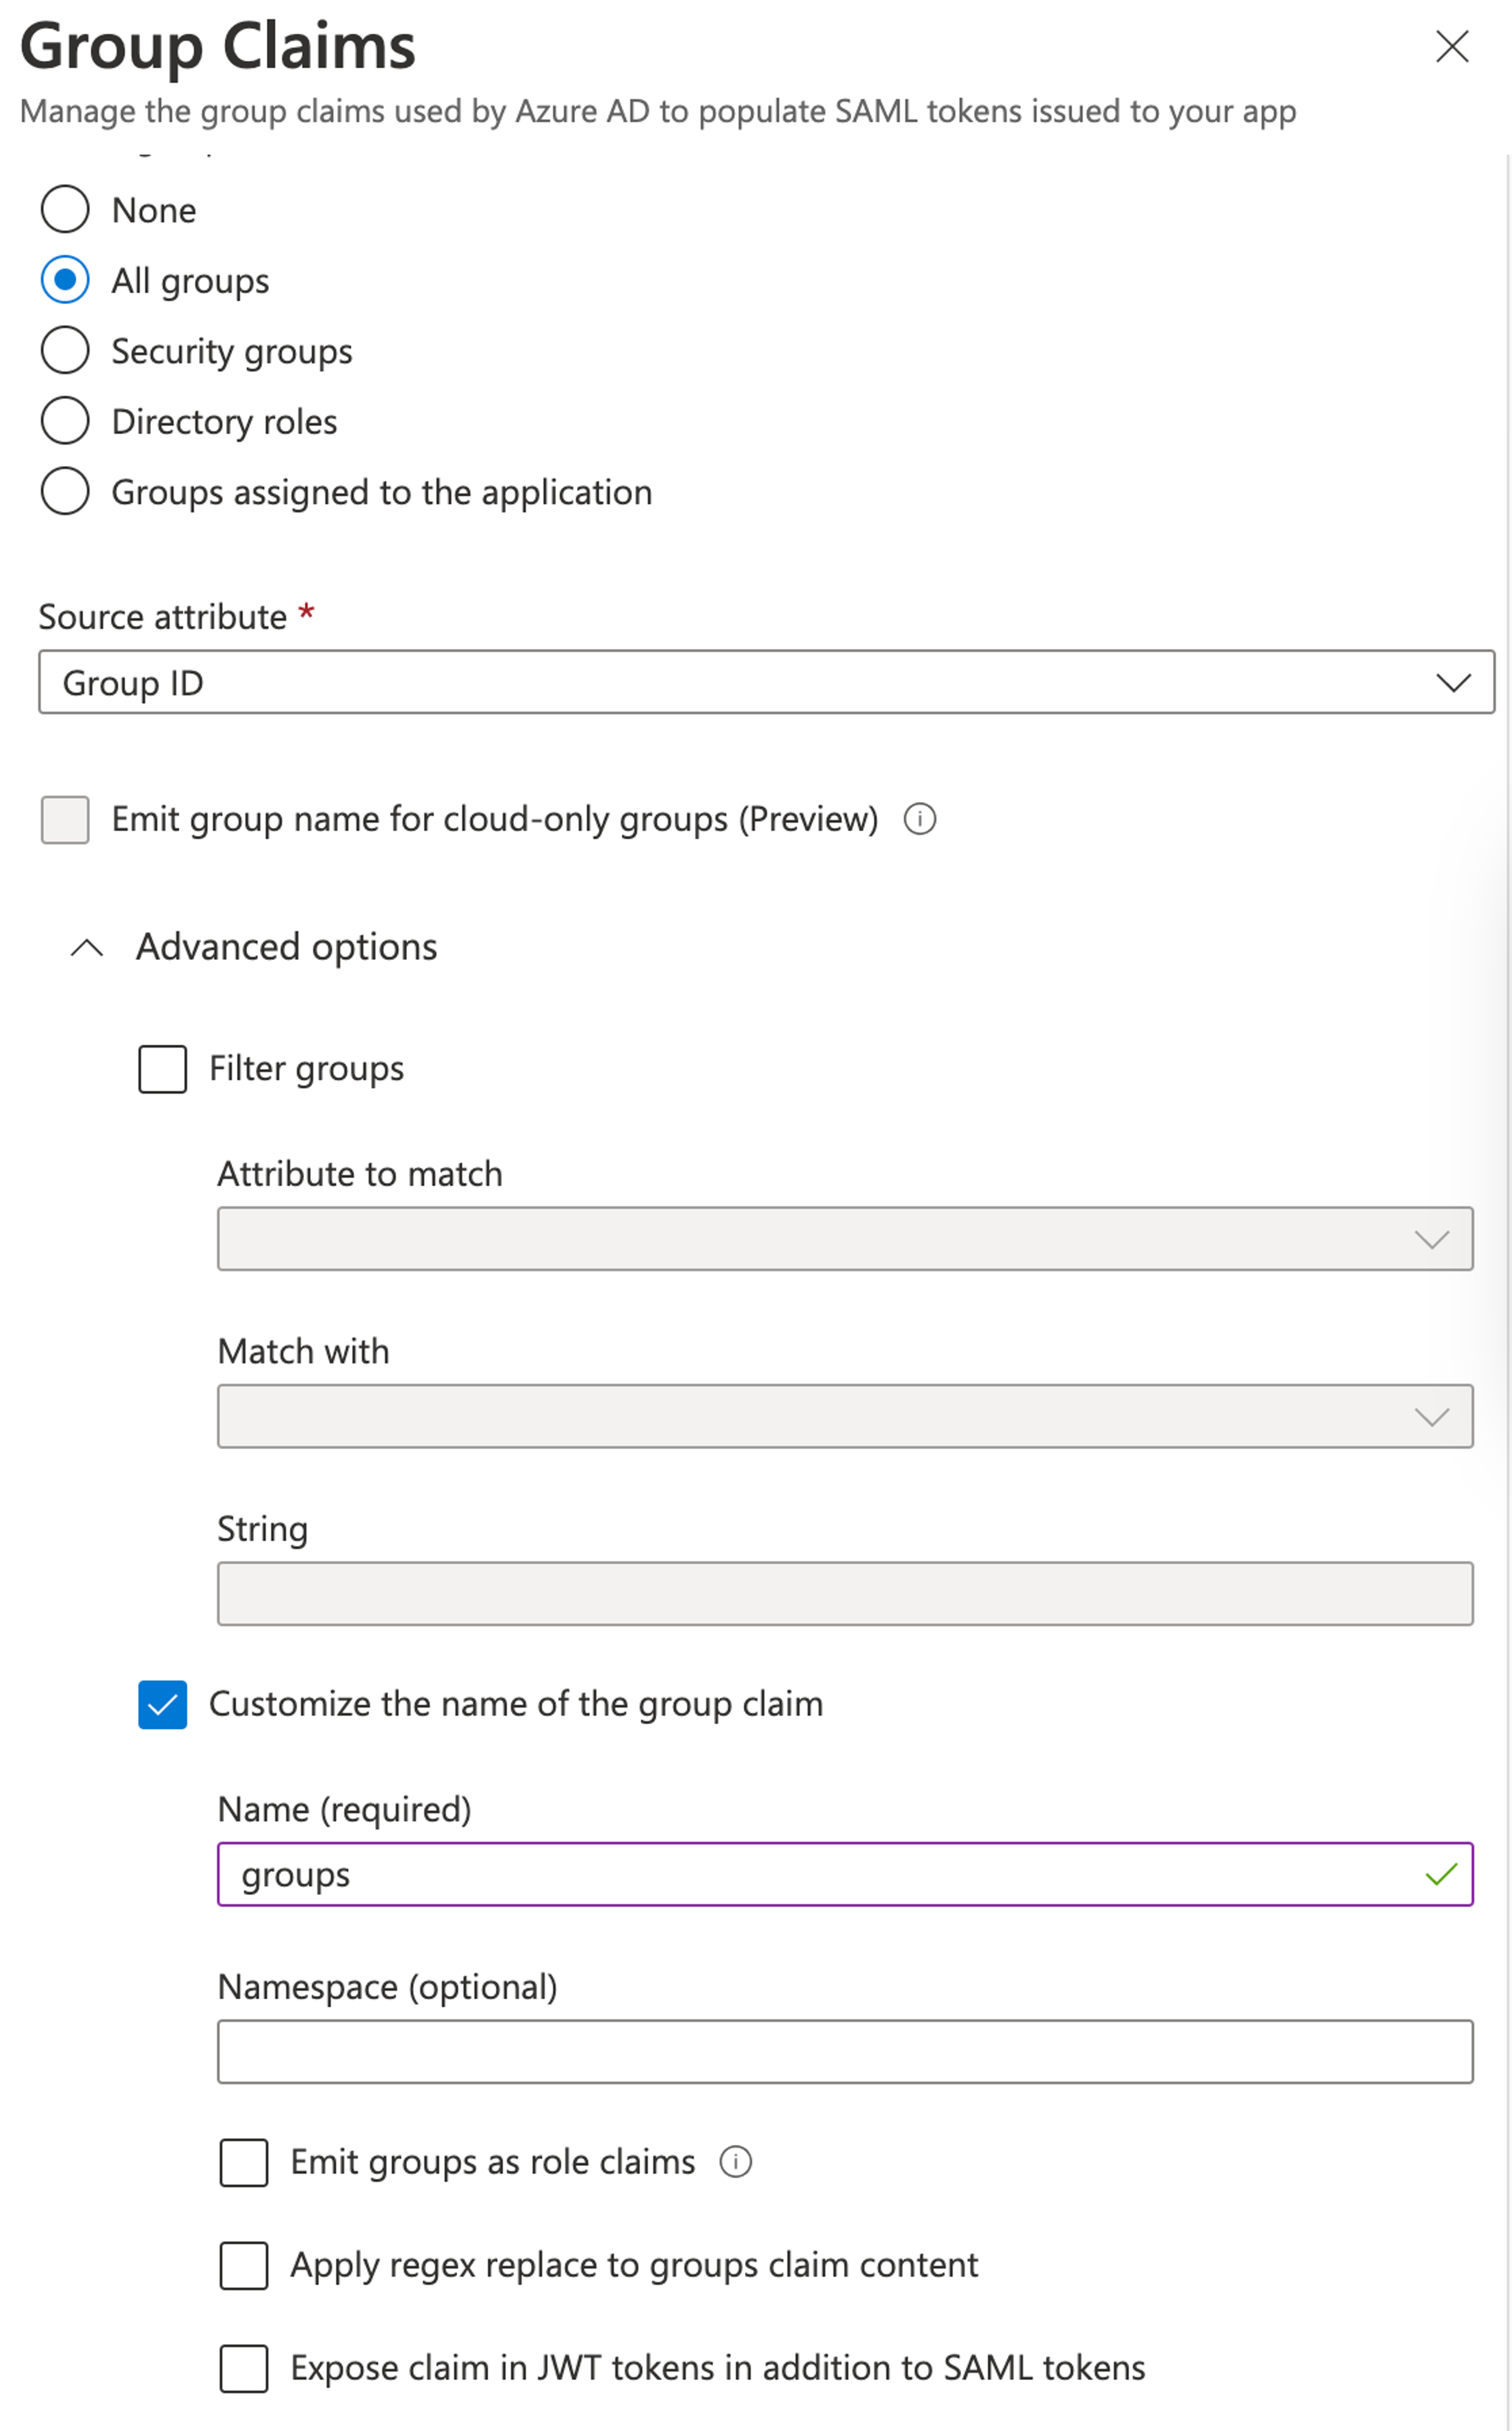
Group Claims
Enterprise customers can map user identity provider roles to service provider roles. For example, users with an Azure example-azure-user-role role are mapped to the Sanity viewer role when they log in.
- To support the mapping functionality, you must configure the identity provider to send the groups of the user.
- To do so, Sanity Manage expects a
groupsclaim with the format set tounspecified.
Note: with Azure/Entra ID, you will be sending the Group ID and not the name of the group in your IdP. If you send the name, you may not see your role mappings correctly when logging into Sanity
In Azure, add a new group claim:
Select the groups that you want Azure to send to Sanity, and assign the group claim a descriptive name:
Once you're done, save the changes.
Configuring the Sanity Service Provider
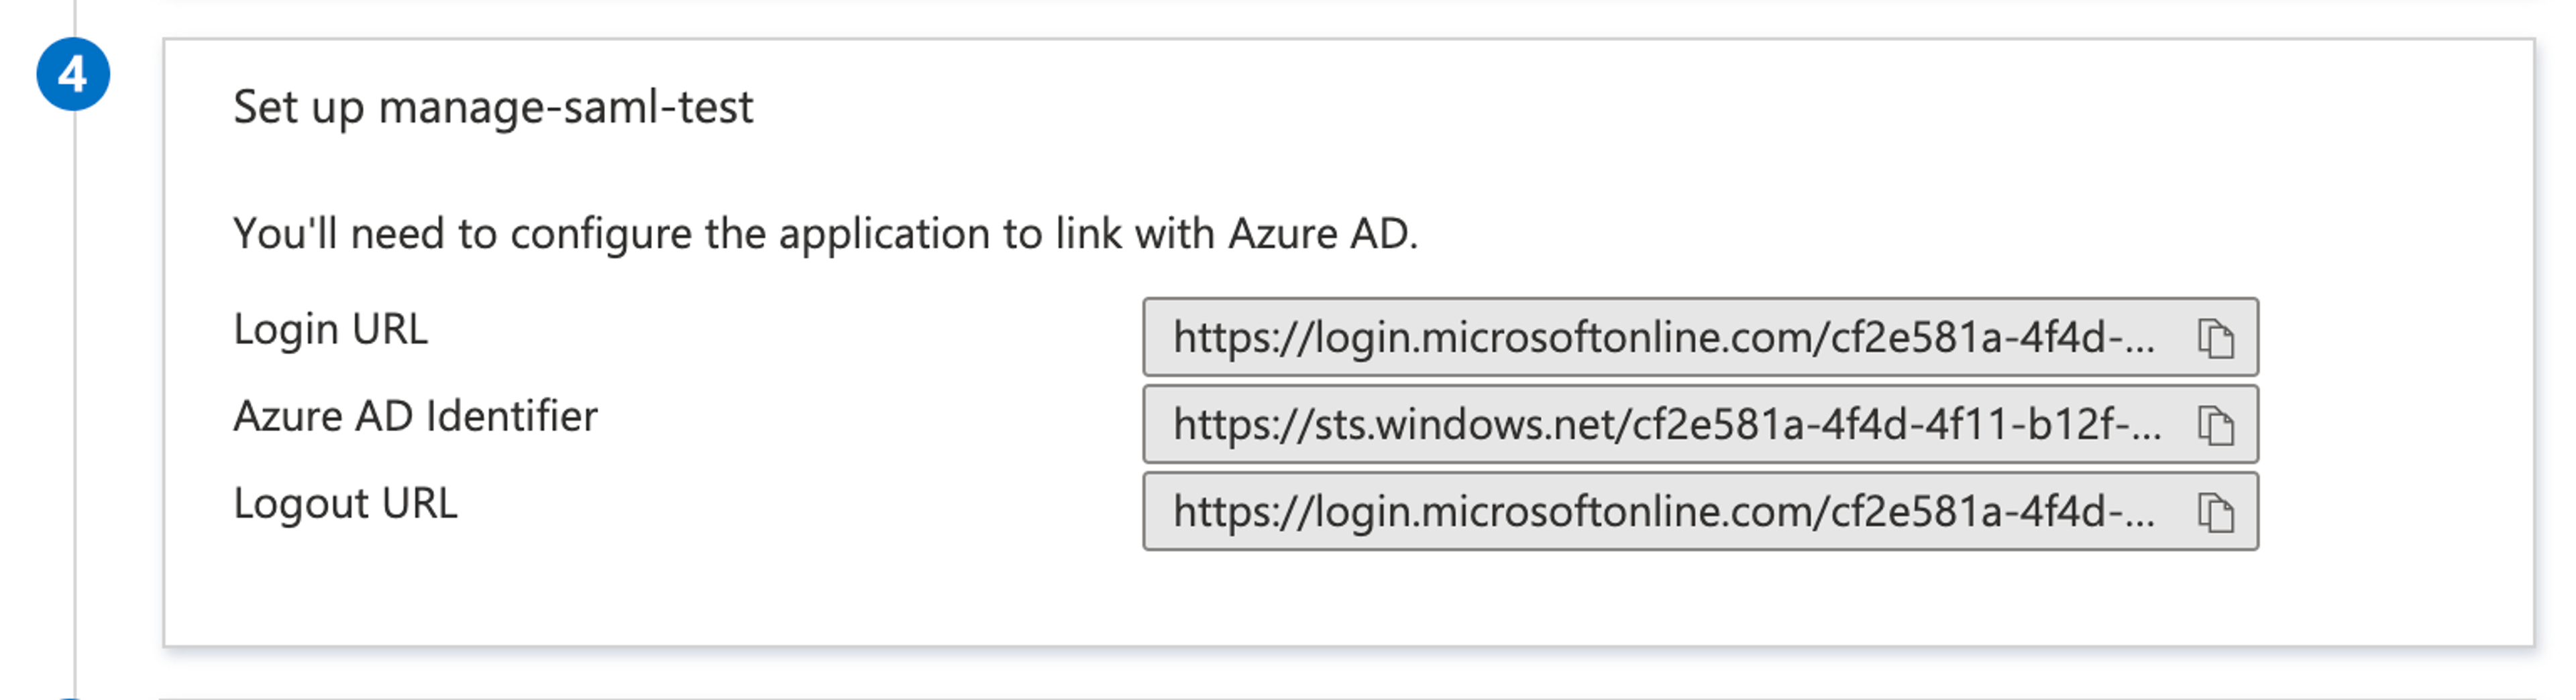
Sign-On URL and Issuer
In Azure, browse to the Set up {application name} block:
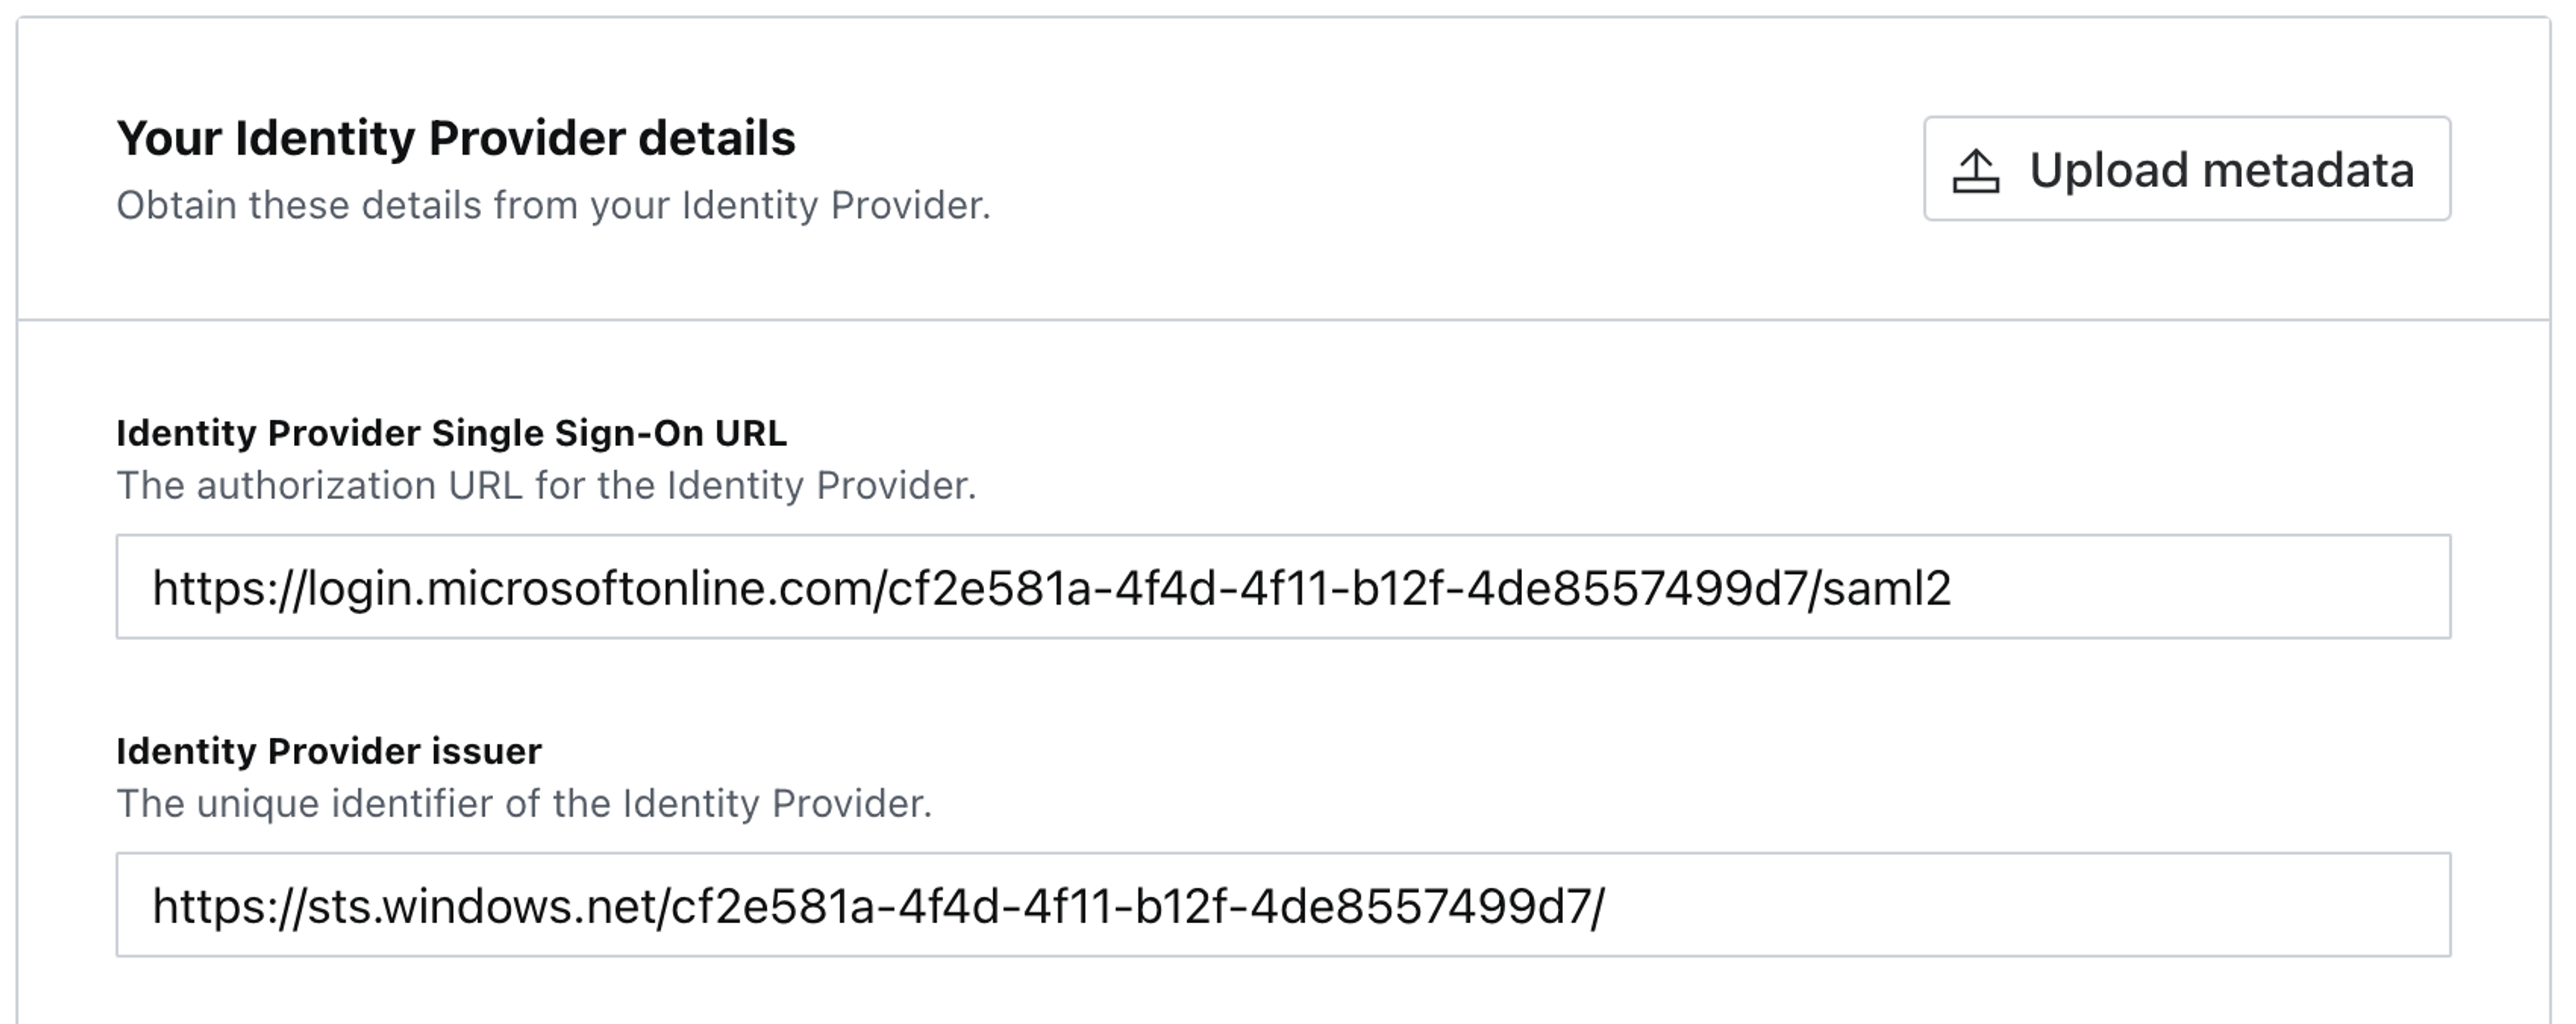
Get the Azure URLs for login and authentication, and add them to the Your Identity Provider details configuration section inside Sanity Manage:
In this scenario:
- Azure Login URL maps to Sanity Identity Provider Single Sign-On URL.
- Azure Azure AD Identifier maps to Sanity Identity Provider issuer.
InResponseTo
In the SAML specification, InResponseTo is defined as
The ID of a SAML protocol message in response to which an attesting entity can present the assertion.
This setting is identity provider-specific. Azure doesn’t support it. Therefore, ensure that Enable InResponseTo is deselected/disabled.
Signed SAML Assertion
The Signed SAML Assertion option notifies the Sanity instance that the identity provider is configured to use the signing certificate found in the Sanity service provider details section.
This is an optional step configured in Verification certificates:
Unless you have already uploaded the certificate, leave the Want assertion signed deselected under Signed SAML Assertion.
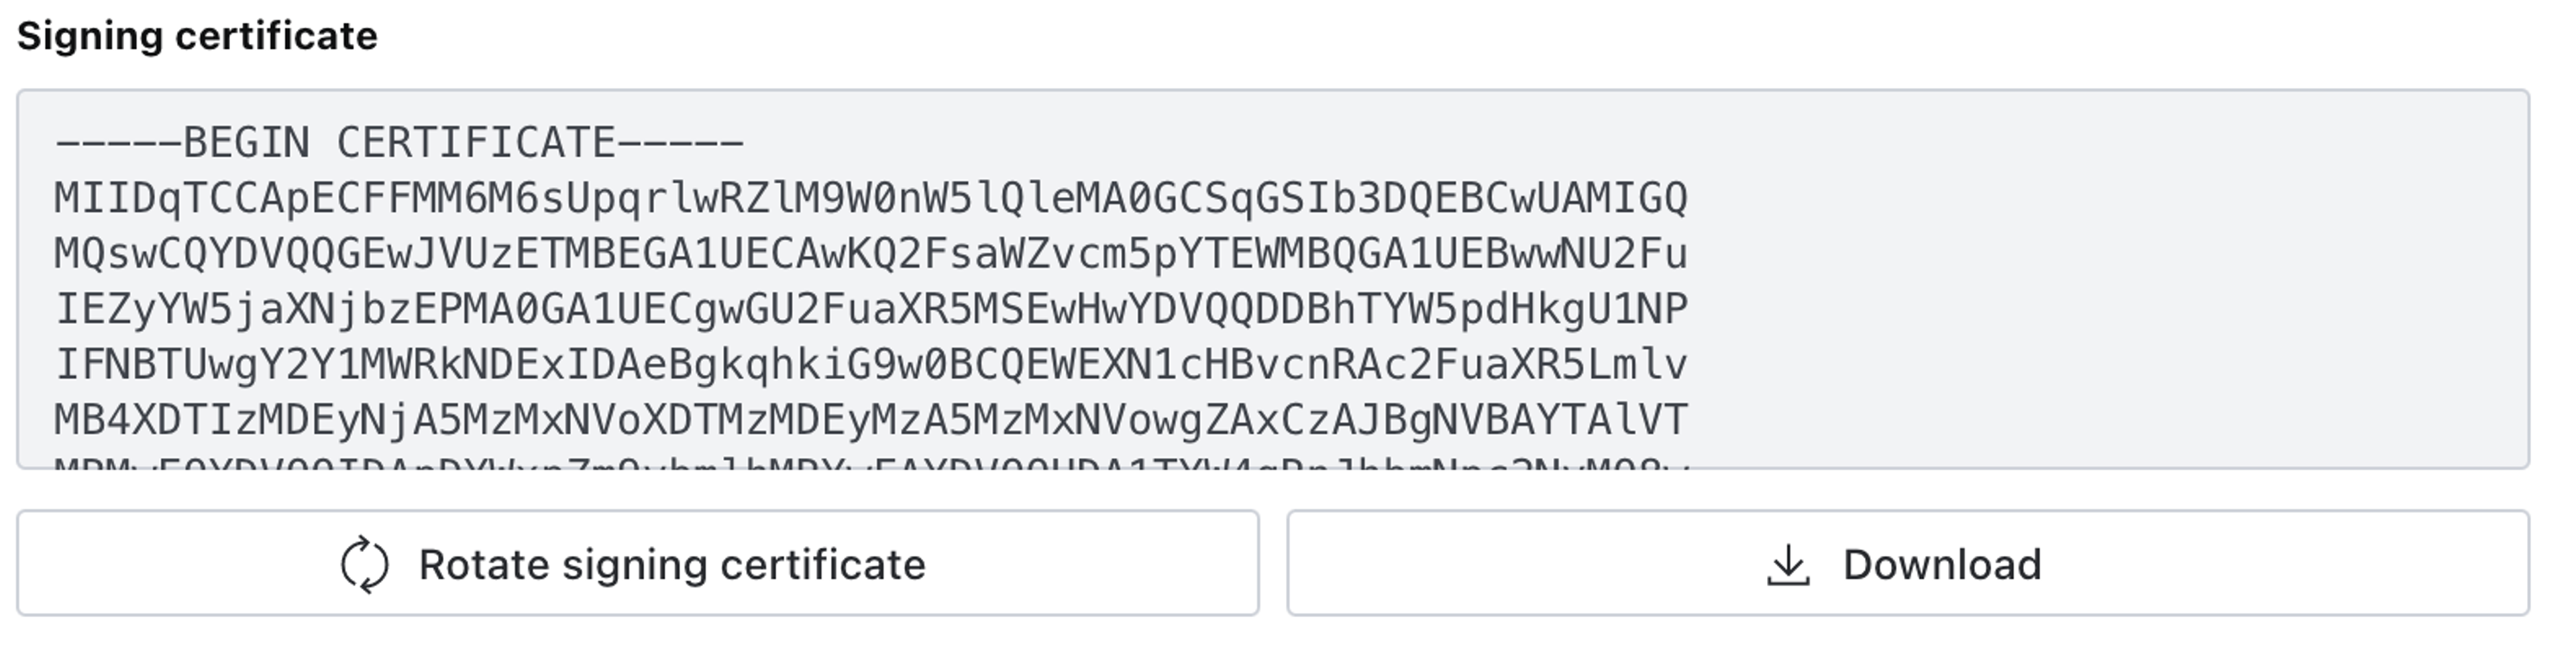
X.509 Certificate
To get an X.509 certificate:
- Go to SAML Certificates and click Edit.
- Download the certificate as PEM certificate download.
- Open the downloaded certificate file with any text editor, and copy-paste the certificate content into Sanity Manage.
Save
Ensure you save all changes inside Sanity Manage and in Azure.
Common errors
- Receiving a 422 error:
{"statusCode":422,"error":"Unprocessable Entity","message":"child \"attributes\" fails because [\"value\" must contain at least one of ...- There is an issue with your claims. All claims are case sensitive and are required. Make sure the type is set to unspecified and that the namespace URI is empty and the name format is 'unspecified'
- My users are being assigned the default role and not their group mapped role
- Ensure your mappings in Sanity are going off the Group ID within Azure/Entra ID as the ID is sent, not the name.
- You may need to enable "Auto update roles on login". When a SAML SSO user logs in to Sanity their roles will be updated to reflect those defined by the project's role mappings. If you change the role mappings the user's roles will not be reset if this is not enabled.
- Do you have a default relay state setup?
- When I access Sanity from my IdP dashboard, I receive:
{ "id": "3431pXO", "displayName": "Sanity Support", "email": "sanity@sanity.io", "familyName": "Sanity Support", "givenName": "Sanity", "middleName": null, "imageUrl": null, "provider": "saml-f6a94", "tosAcceptedAt": "2024-11-20T18:51:57.264Z", "createdAt": "2024-11-20T18:51:57.264Z", "updatedAt": "2024-11-20T18:51:57.535Z", "isCurrentUser": true, "providerId": "49jc94jf949930304jkojfciojlj934003490943" }- It does not appear you have set up your default relay state within your IdP, you will need to also configure within your Idp settings. You can follow our guide on setting the default relay state.